Makita XSH06PT - Manuals

User Manual Makita XSH06PT


Summary
2 ENGLISH ENGLISH (Original instructions) SPECIFICATIONS Model: XSH06 XSH07 Blade diameter 185 mm (7-1/4″) Max. Cutting depth at 0° 66.0 mm (2-5/8″) at 45° bevel 45.5 mm (1-13/16″) at 56° bevel 34.0 mm (1-5/16″) No load speed 6,000 /min Overall length 342 mm (13-1/2″) Rated voltage D.C. 36 V Net wei...
4 ENGLISH 3. Follow instruction for lubricating and chang- ing accessories. 4. Do not modify or attempt to repair the appli- ance or the battery pack except as indicated in the instructions for use and care. Cordless circular saw safety warnings Cutting procedures 1. DANGER: Keep hands away from cut...
6 ENGLISH 8. Some material contains chemicals which may be toxic. Take caution to prevent dust inhala- tion and skin contact. Follow material supplier safety data. 9. Do not stop the blades by lateral pressure on the saw blade. 10. Do not use any abrasive wheels. 11. Only use the saw blade with the ...
Makita Circular Saws Manuals
-
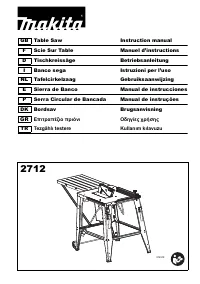 Makita 2712
User Manual
Makita 2712
User Manual
-
 Makita 4131
User Manual
Makita 4131
User Manual
-
Makita 4131
Manual
-
 Makita 5104
User Manual
Makita 5104
User Manual
-
Makita 5104
Manual
-
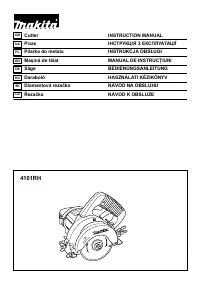 Makita 4101 RH
User Manual
Makita 4101 RH
User Manual
-
 Makita 5007F
User Manual
Makita 5007F
User Manual
-
Makita 5007F
Manual
-
 Makita 5007FA
User Manual
Makita 5007FA
User Manual
-
Makita 5007FA
Manual
-
 Makita 5007MG
User Manual
Makita 5007MG
User Manual
-
Makita 5007MG
Manual
-
 Makita 5007NK
User Manual
Makita 5007NK
User Manual
-
 Makita 5008MGA
User Manual
Makita 5008MGA
User Manual
-
Makita 5008MGA
Manual
-
 Makita 5057KB
User Manual
Makita 5057KB
User Manual
-
Makita 5057KB
Manual
-
 Makita 5143R
User Manual
Makita 5143R
User Manual
-
Makita 5143R
Manual
-
 Makita 5377MG
User Manual
Makita 5377MG
User Manual