Makita XNU01T - Manuals
User Manual Makita XNU01T


Summary
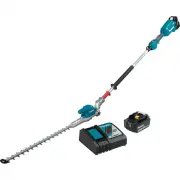
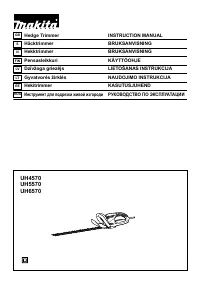
2 ENGLISH ENGLISH (Original instructions) SPECIFICATIONS Model: XNU01 XNU02 Blade length 500 mm (19-3/4") 600 mm (23-5/8") Strokes per minute 2,000 / 3,600 / 4,400 /min Cutting blade angle 115° (up 45°, down 70°) – Overall length 2,115 mm (83-1/4") 2,050 mm (80-1/2") Rated voltage D....
4 ENGLISH 7. Follow all charging instructions and do not charge the battery pack or tool outside the temperature range specified in the instruc - tions. Charging improperly or at temperatures outside the specified range may damage the battery and increase the risk of fire. Service 1. Have your power...
5 ENGLISH 30. If the blades stop moving due to the stuck of foreign objects between the blades during operation, switch off the tool and remove the battery cartridge, and then remove the foreign objects using tools such as pliers. Removing the foreign objects by hand may cause an injury for the reas...
Makita Brush Cutters Manuals
-
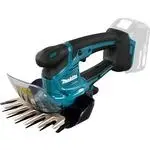 Makita DUM604ZX
User Manual
Makita DUM604ZX
User Manual
-
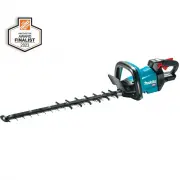 Makita GHU01Z
User Manual
Makita GHU01Z
User Manual
-
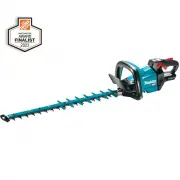 Makita GHU02Z
User Manual
Makita GHU02Z
User Manual
-
 Makita GHU03Z
User Manual
Makita GHU03Z
User Manual
-
 Makita UH004G
User Manual
Makita UH004G
User Manual
-
 Makita UH005G
User Manual
Makita UH005G
User Manual
-
 Makita UH4261
User Manual
Makita UH4261
User Manual
-
Makita UH4861
User Manual
-
Makita UH5261
User Manual
-
 Makita UH6570
User Manual
Makita UH6570
User Manual
-
Makita UH6570
Manual
-
 Makita XHU02Z
User Manual
Makita XHU02Z
User Manual
-
 Makita XHU04Z
User Manual
Makita XHU04Z
User Manual
-
 Makita XHU07Z
User Manual
Makita XHU07Z
User Manual
-
 Makita XHU08Z
User Manual
Makita XHU08Z
User Manual
-
 Makita XHU09Z
User Manual
Makita XHU09Z
User Manual
-
 Makita XHU10Z
User Manual
Makita XHU10Z
User Manual
-
 Makita XMU04Z
User Manual
Makita XMU04Z
User Manual
-
 Makita XMU04ZX
User Manual
Makita XMU04ZX
User Manual
-
 Makita XMU05Z
User Manual
Makita XMU05Z
User Manual