Makita HS7100 - Manuals
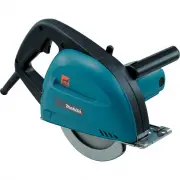
Makita HS7100 Circular Saw – User Manual, Manual in PDF format online.
Manuals:
User Manual Makita HS7100


Summary
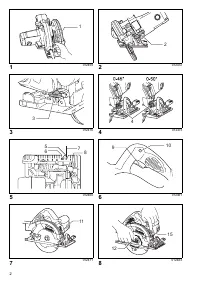
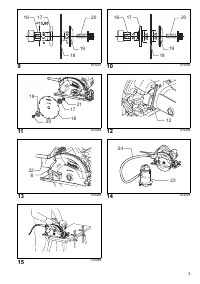
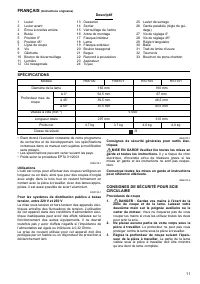
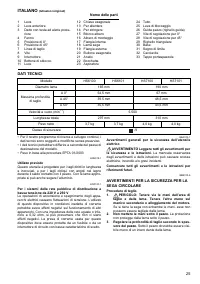
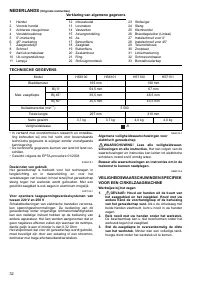
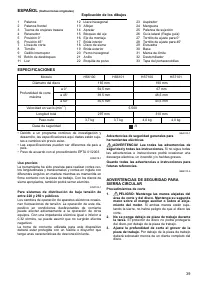
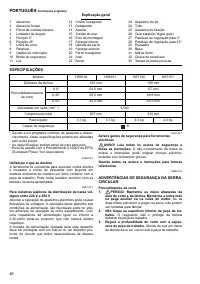
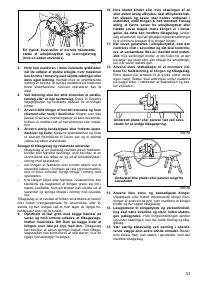
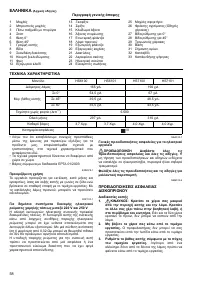
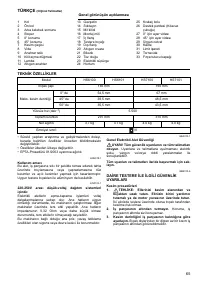
5 ENGLISH (Original instructions) Explanation of general view 1 Lever 2 Front lever 3 Rear wing nut 4 Stopper 5 0° position 6 45° position 7 Cutting line 8 Screw 9 Switch trigger 10 Lock-off button11 Light 12 Hex wrench13 Loosen14 Tighten15 Shaft lock16 Mounting shaft17 Inner flange18 Saw blade19 Ou...
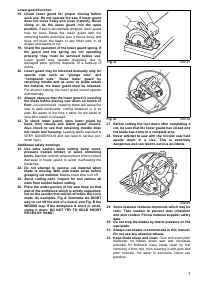
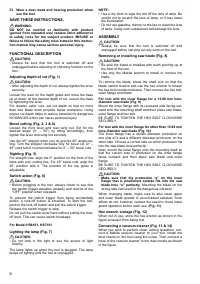
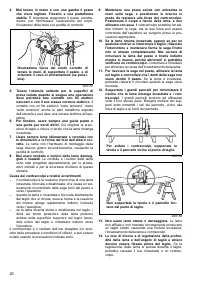
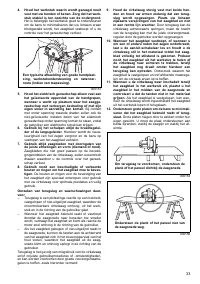
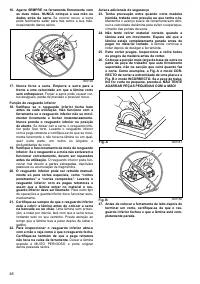
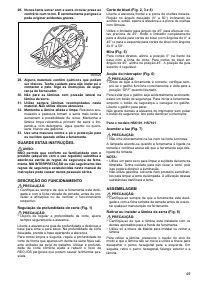
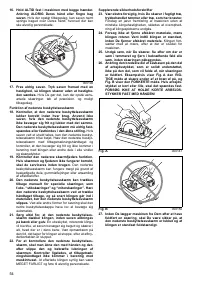
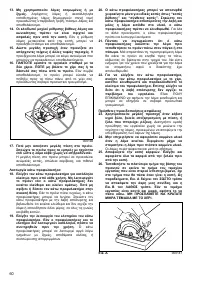
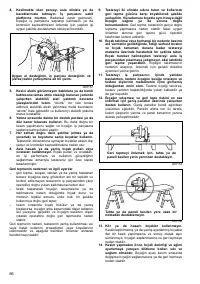
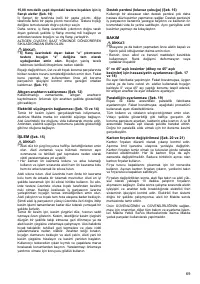
8 33. Wear a dust mask and hearing protection when use the tool. SAVE THESE INSTRUCTIONS. WARNING: DO NOT let comfort or familiarity with product(gained from repeated use) replace strict adherenceto safety rules for the subject product. MISUSE orfailure to follow the safety rules stated in this inst...
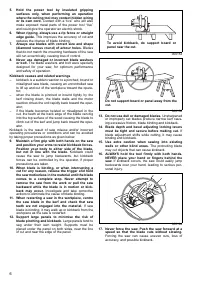
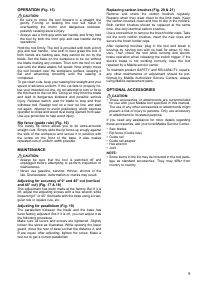
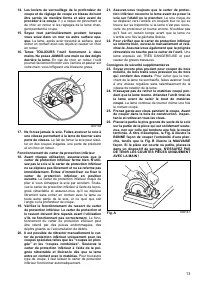
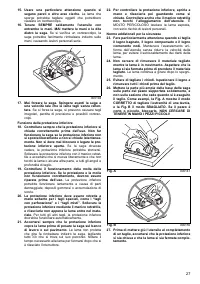
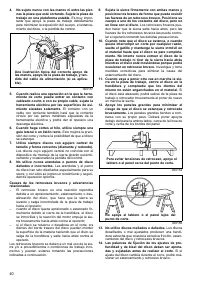
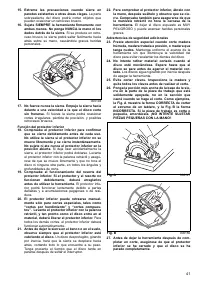
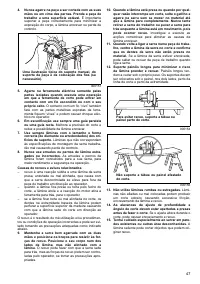
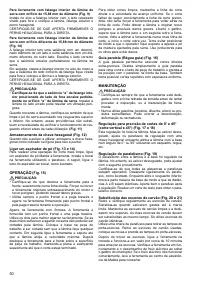
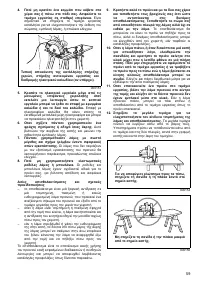
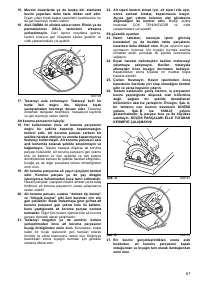
9 OPERATION (Fig. 15) CAUTION: • Be sure to move the tool forward in a straight line gently. Forcing or twisting the tool will result inoverheating the motor and dangerous kickback,possibly causing severe injury. • Always use a front grip and rear handle and firmly hold the tool by both the front gr...
Manual Makita HS7100


Summary
P 2 / 16 R epair Apply the following grease/ lubricant to the specific portions to protect parts and product from unusual abrasion. [1] NECESSARY REPAIRING TOOLS CAUTION: Repair the machine in accordance with “Instruction manual” or “Safety instructions”. [2] LUBRICATION Fig. 1 Code No. Description ...
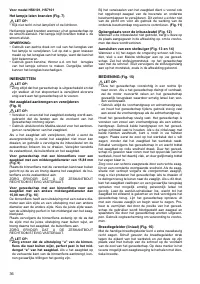
3. Loosen M6x20 Hex bolt using Lever 45, then remove E-8 Bow stop ring with a slotted screwdriver. 6. Base can now be separated from the machine. 7. Base can be replaced after removing Top guide, Lock levers, and four M6x8 Hex socket set screws. 4. Remove M6x20 Hex bolt by using Lever 45 as a tool, ...
P 4 /1 6 R epair [3] DISASSEMBLY/ASSEMBLY [3] -1. Base Fig. 3 ASSEMBLING ASSEMBLING, ADJUSTMENT Base can be mounted to the machine by taking the reverse steps of Disassembling. Note: Follow the important instructions described in Fig. 2A . See Fig. 3 for Assembling and Adjustment of Lock lever for c...
Makita Circular Saws Manuals
-
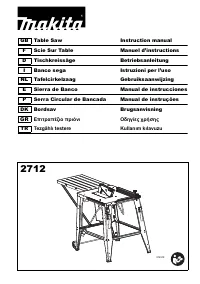 Makita 2712
User Manual
Makita 2712
User Manual
-
 Makita 4131
User Manual
Makita 4131
User Manual
-
Makita 4131
Manual
-
 Makita 5104
User Manual
Makita 5104
User Manual
-
Makita 5104
Manual
-
 Makita 4101 RH
User Manual
Makita 4101 RH
User Manual
-
 Makita 5007F
User Manual
Makita 5007F
User Manual
-
Makita 5007F
Manual
-
 Makita 5007FA
User Manual
Makita 5007FA
User Manual
-
Makita 5007FA
Manual
-
 Makita 5007MG
User Manual
Makita 5007MG
User Manual
-
Makita 5007MG
Manual
-
 Makita 5007NK
User Manual
Makita 5007NK
User Manual
-
 Makita 5008MGA
User Manual
Makita 5008MGA
User Manual
-
Makita 5008MGA
Manual
-
 Makita 5057KB
User Manual
Makita 5057KB
User Manual
-
Makita 5057KB
Manual
-
 Makita 5143R
User Manual
Makita 5143R
User Manual
-
Makita 5143R
Manual
-
 Makita 5377MG
User Manual
Makita 5377MG
User Manual