Makita GPS01Z - Manuals

User Manual Makita GPS01Z


Summary
2 ENGLISH ENGLISH (Original instructions) SPECIFICATIONS Model: GPS01 Blade diameter 165 mm (6-1/2″) Max. Cutting depth at 0° 56 mm (2-3/16″) at 45° bevel 40 mm (1-9/16″) at 48° bevel 38 mm (1-1/2″) No load speed 2,500 - 4,900 /min Overall length (with BL4040) 375 mm (14-3/4″) Rated voltage D.C. 36 ...
4 ENGLISH Service 1. Have your power tool serviced by a qualified repair person using only identical replacement parts. This will ensure that the safety of the power tool is maintained. 2. Never service damaged battery packs. Service of battery packs should only be performed by the manufacturer or a...
6 ENGLISH 8. Some material contains chemicals which may be toxic. Take caution to prevent dust inhalation and skin contact. Follow material supplier safety data. 9. Do not stop the blades by lateral pressure on the saw blade. 10. Do not use any abrasive wheels. 11. Only use the saw blade with the di...
Makita Circular Saws Manuals
-
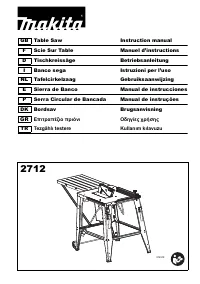 Makita 2712
User Manual
Makita 2712
User Manual
-
 Makita 4131
User Manual
Makita 4131
User Manual
-
Makita 4131
Manual
-
 Makita 5104
User Manual
Makita 5104
User Manual
-
Makita 5104
Manual
-
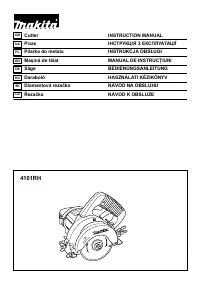 Makita 4101 RH
User Manual
Makita 4101 RH
User Manual
-
 Makita 5007F
User Manual
Makita 5007F
User Manual
-
Makita 5007F
Manual
-
 Makita 5007FA
User Manual
Makita 5007FA
User Manual
-
Makita 5007FA
Manual
-
 Makita 5007MG
User Manual
Makita 5007MG
User Manual
-
Makita 5007MG
Manual
-
 Makita 5007NK
User Manual
Makita 5007NK
User Manual
-
 Makita 5008MGA
User Manual
Makita 5008MGA
User Manual
-
Makita 5008MGA
Manual
-
 Makita 5057KB
User Manual
Makita 5057KB
User Manual
-
Makita 5057KB
Manual
-
 Makita 5143R
User Manual
Makita 5143R
User Manual
-
Makita 5143R
Manual
-
 Makita 5377MG
User Manual
Makita 5377MG
User Manual