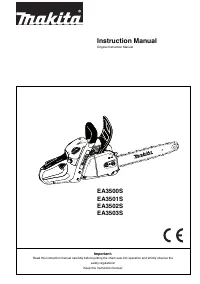
Makita EA3503S 40B - Manuals
Makita EA3503S 40B Electric Saw – User Manual in PDF format online.
Manuals:
User Manual Makita EA3503S 40B


Summary
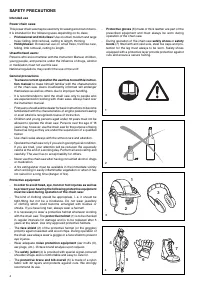
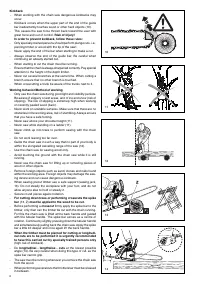
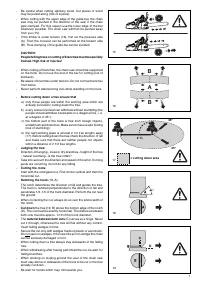
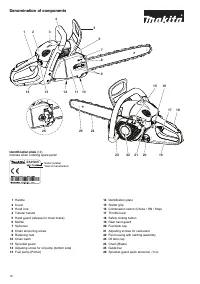
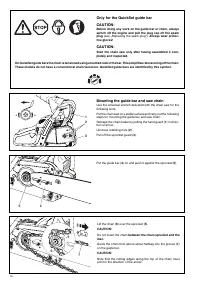
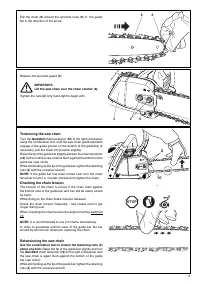
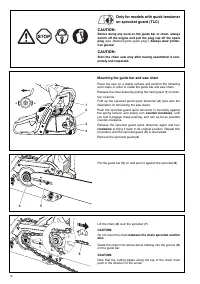
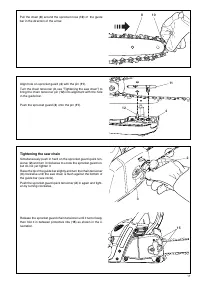
4 4 5 6 7 1 2 3 1 4 3 2 SAFETY PRECAUTIONS Intended use Power chain saws This power chain saw may be used only for sawing wood out of doors. It is intended for the followung uses depending on its class: - Professional and mid-class: Use on small, medium and large trees: felling, limb removal, cuttin...
8 20 21 22 23 NOTE Individuals with poor circulation who are exposed to excessive vibration may experience injury to blood vessels or the nervous system. Vibration may cause the following symptoms to occur in the Þ ngers, hands or wrists: ”Falling asleep” (numbness), tingling, pain, stabbing sensati...
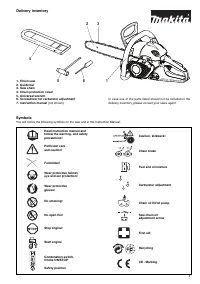
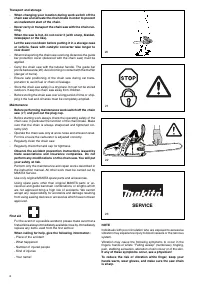
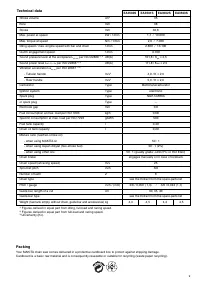
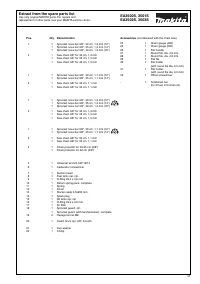
9 Packing Your MAKITA chain saw comes delivered in a protective cardboard box to protect against shipping damage. Cardboard is a basic raw material and is consequently reuseable or suitable for recycling (waste paper recycling). Stroke volume cm 3 35 Bore mm 38 Stroke mm 30,6 Max. power at speed kW ...
Makita Electric Saws Manuals
-
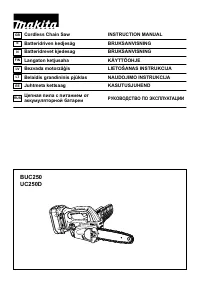 Makita BUC250
User Manual
Makita BUC250
User Manual
-
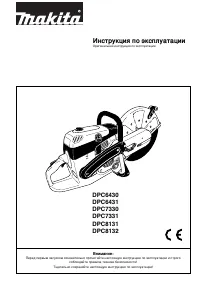 Makita DPC7330
Manual
Makita DPC7330
Manual
-
Makita DPC8131
Manual
-
 Makita DUC204Z
User Manual
Makita DUC204Z
User Manual
-
 Makita DUC302Z
User Manual
Makita DUC302Z
User Manual
-
 Makita DUC356Z
User Manual
Makita DUC356Z
User Manual
-
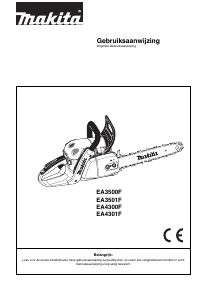 Makita EA3500F
Manual
Makita EA3500F
Manual
-
 Makita LXT DUC303Z
User Manual
Makita LXT DUC303Z
User Manual
-
 Makita UC250DZ
User Manual
Makita UC250DZ
User Manual
-
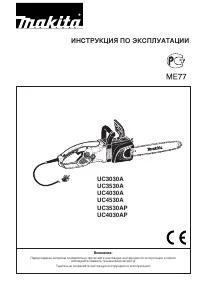 Makita UC3030A
Manual
Makita UC3030A
Manual
-
Makita UC3530AP
Manual
-
 Makita UC3551A-5M
User Manual
Makita UC3551A-5M
User Manual
-
Makita UC4030AP
Manual
-
 Makita UC4050A
User Manual
Makita UC4050A
User Manual
-
Makita UC4050A
Manual
-
 Makita UC3550A
Manual
Makita UC3550A
Manual
-
 Makita UC4550A
Manual
Makita UC4550A
Manual
-
Makita DPC6430
Manual
-
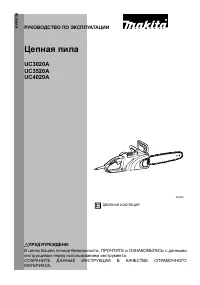 Makita UC3520A
Manual
Makita UC3520A
Manual
-
Makita UC4020A
Manual