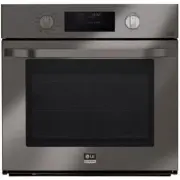
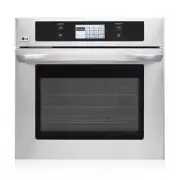
LG WSEP4723D - Manuals
User Manual LG WSEP4723D


Summary
TABLE OF CONTENTS 2 4 IMPORTANT SAFETY INSTRUCTIONS 4 READ ALL INSTRUCTIONS BEFORE USE 4 Safety Messages 4 WARNING 4 Installation5 Operation5 Maintenance6 Risk of Fire and Flammable Materials 6 CAUTION 6 Operation7 Maintenance 8 PRODUCT OVERVIEW 8 Product Features 8 Exterior / Interior8 Accessories ...
4 IMPORTANT SAFETY INSTRUCTIONS IMPORTANT SAFETY INSTRUCTIONS READ ALL INSTRUCTIONS BEFORE USE Safety Messages Your safety and the safety of others are very important. We have provided many important safety messages in this manual and on your appliance. Always read and follow all safety messages. Al...
5 IMPORTANT SAFETY INSTRUCTIONS ENGLISH Operation • DO NOT TOUCH HEATING ELEMENTS OR INTERIOR SURFACES OF OVEN. Heating elements may be hot even though they are dark in color. Interior surfaces of an oven become hot enough to cause burns. During and after use, do not touch or let clothing or other f...
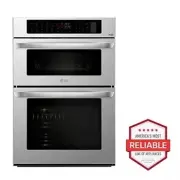
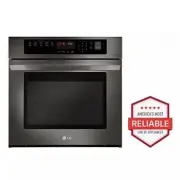
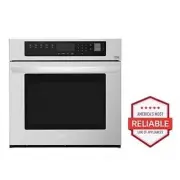
LG Ovens Manuals
-
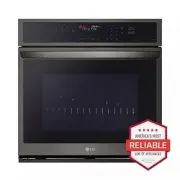
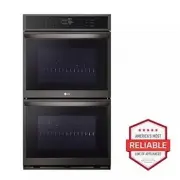
 LG WCES6428F
User Manual
LG WCES6428F
User Manual
-
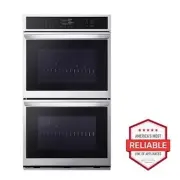
 LG WDEP9427F
User Manual
LG WDEP9427F
User Manual
-
 LG WDES9428F
User Manual
LG WDES9428F
User Manual
-
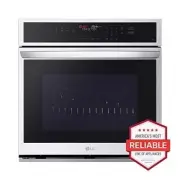
 LG WSES4728F
User Manual
LG WSES4728F
User Manual
-
 LG LSE3090ST
User Manual
LG LSE3090ST
User Manual
-
 LG LSWC307ST
User Manual
LG LSWC307ST
User Manual
-
 LG LSWD305ST
User Manual
LG LSWD305ST
User Manual
-
 LG LSWS309BD
User Manual
LG LSWS309BD
User Manual
-
 LG LWC3063BD
User Manual
LG LWC3063BD
User Manual
-
 LG LWC3063ST
User Manual
LG LWC3063ST
User Manual
-
 LG LWD3063ST
User Manual
LG LWD3063ST
User Manual
-
 LG LWS3063BD
User Manual
LG LWS3063BD
User Manual
-
 LG LWS3063ST
User Manual
LG LWS3063ST
User Manual
-
 LG LWS3081ST
Manual
LG LWS3081ST
Manual
-
 LG WCEP6423D
User Manual
LG WCEP6423D
User Manual
-
 LG WCEP6423F
User Manual
LG WCEP6423F
User Manual
-
 LG WCEP6427F
User Manual
LG WCEP6427F
User Manual
-
 LG WDEP9423D
User Manual
LG WDEP9423D
User Manual
-
 LG WDEP9423F
User Manual
LG WDEP9423F
User Manual
-
 LG WSEP4723F
User Manual
LG WSEP4723F
User Manual