Jura WE8 - Manuals

User Manual Jura WE8


Summary
2 Table of contents Your WE8 Control elements 4 Important information 6 Proper use ...................................................................................................................................................... 6For your safety ....................................................
3 Table of contents Warnings J WARNING J CAUTION Always take note of any information marked with the words CAUTION or WARNING and a warning sign. The signal word WARNING draws your attention to potential serious injury, and the signal word CAUTION to potential minor injury. CAUTION CAUTION draws you...
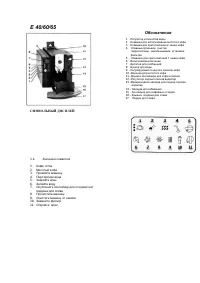
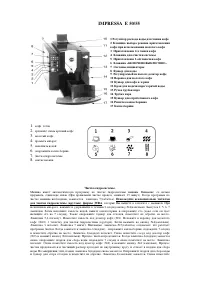
4 Control elements Control elements 13 12 3 4 5 7 6 8 14 9 10 11 1 2 1 Filler funnel cover 2 Filler funnel for ground coffee 3 Bean container with aroma preservation cover 4 Water tank cover 5 Water tank 6 Plug-in mains cable (back of the machine) 7 Coffee grounds container 8 Drip tray 9 Cover cap ...
Jura Coffee Machines Manuals
-
 Jura 13629
User Manual
Jura 13629
User Manual
-
 Jura 15094
User Manual
Jura 15094
User Manual
-
 Jura 15115
User Manual
Jura 15115
User Manual
-
 Jura 15371
User Manual
Jura 15371
User Manual
-
 Jura 15465
User Manual
Jura 15465
User Manual
-
 Jura 72166
User Manual
Jura 72166
User Manual
-
 Jura F9
User Manual
Jura F9
User Manual
-
 Jura GIGA X9c Professional
Manual
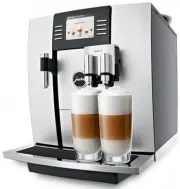
Jura GIGA X9c Professional
Manual
-
 Jura IMPRESSA X9
Manual
Jura IMPRESSA X9
Manual
-
 Jura JURAFOURTHCAREPACK
User Manual
Jura JURAFOURTHCAREPACK
User Manual
-
 Jura IMPRESSA X7-S
Manual
Jura IMPRESSA X7-S
Manual
-
 Jura IMPRESSA X7
Manual
Jura IMPRESSA X7
Manual
-
 Jura IMPRESSA S90
Manual
Jura IMPRESSA S90
Manual
-
Jura IMPRESSA S9
Manual
-
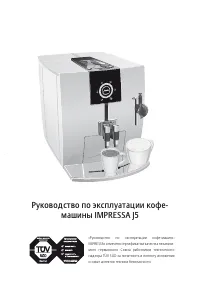 Jura IMPRESSA J5
Manual
Jura IMPRESSA J5
Manual
-
 Jura IMPRESSA F9
Manual
Jura IMPRESSA F9
Manual
-
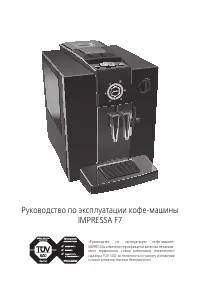 Jura IMPRESSA F7
Manual
Jura IMPRESSA F7
Manual
-
 Jura IMPRESSA E65
Manual
Jura IMPRESSA E65
Manual
-
Jura IMPRESSA E60
Manual
-
 Jura IMPRESSA E55
Manual
Jura IMPRESSA E55
Manual