Jura 15465 - Manuals
Jura 15465 Coffee Machine – User Manual in PDF format online.
Manuals:
User Manual Jura 15465


Summary
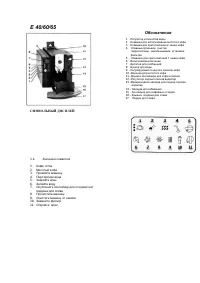
2 Table of contents Your E6 1 Control elements � � � � � � � � � � � � � � � � � � � � � � � � � � � � � � � � � � � � � � � � � � � � � � � � � � � � � � � � � � � � � � � � � � � � � � � � � � � � � � � � � � � � � � � � � � � � � � � � � � � � 4 2 For your safety � � � � � � � � � � � � � � � � �...
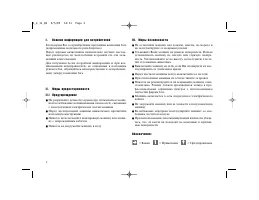
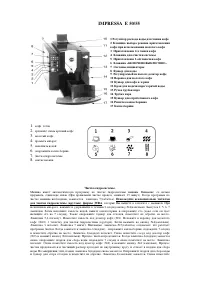
1 Control elements 4 1 Control elements 11 15 1 3 16 17 18 2 4 5 6 7 8 9 10 12 13 14
2 For your safety 6 2 For your safety Before using the machine, read these instructions for use thoroughly and completely and comply with the instructions they contain� Keep these instructions for use close to the machine and pass them on to the next user�Failure to observe the instructions for use ...
Jura Coffee Machines Manuals
-
 Jura 13629
User Manual
Jura 13629
User Manual
-
 Jura 15094
User Manual
Jura 15094
User Manual
-
 Jura 15115
User Manual
Jura 15115
User Manual
-
 Jura 15371
User Manual
Jura 15371
User Manual
-
 Jura 72166
User Manual
Jura 72166
User Manual
-
 Jura F9
User Manual
Jura F9
User Manual
-
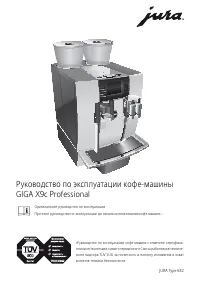 Jura GIGA X9c Professional
Manual
Jura GIGA X9c Professional
Manual
-
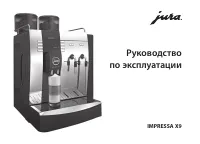 Jura IMPRESSA X9
Manual
Jura IMPRESSA X9
Manual
-
 Jura JURAFOURTHCAREPACK
User Manual
Jura JURAFOURTHCAREPACK
User Manual
-
 Jura WE8
User Manual
Jura WE8
User Manual
-
 Jura IMPRESSA X7-S
Manual
Jura IMPRESSA X7-S
Manual
-
 Jura IMPRESSA X7
Manual
Jura IMPRESSA X7
Manual
-
 Jura IMPRESSA S90
Manual
Jura IMPRESSA S90
Manual
-
Jura IMPRESSA S9
Manual
-
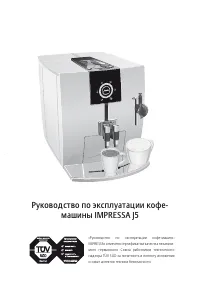 Jura IMPRESSA J5
Manual
Jura IMPRESSA J5
Manual
-
 Jura IMPRESSA F9
Manual
Jura IMPRESSA F9
Manual
-
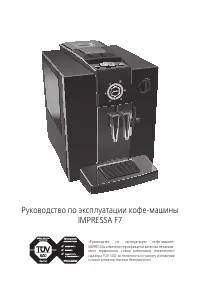 Jura IMPRESSA F7
Manual
Jura IMPRESSA F7
Manual
-
 Jura IMPRESSA E65
Manual
Jura IMPRESSA E65
Manual
-
Jura IMPRESSA E60
Manual
-
 Jura IMPRESSA E55
Manual
Jura IMPRESSA E55
Manual