Gorenje K57303AWM - Manuals
Gorenje K57303AWM Range – User Manual in PDF format online.
Manuals:
User Manual Gorenje K57303AWM


Summary
2 use of the appliance. It is recommended to have the appliance checked by the authorized service personnel every two years. Such professional maintenance will extend the useful life of the appliance. If you should smell gas, immediately shut the gas pipe cock and cut the gas supply. In such cas...
30 Class of protection against electric shock і і I. - Қ0 Lifetime – 10 years і і – 10 - RoHS Does not contain harmful substances - RoHS ұ - RoHS Earthing sign і і і X XX X XXXX Б………………… . ББ……………… Б…………… XXXX …ғ П вы а в а з вы а й SERIAL NUMBER X XX X XXXX Б………………… . Year of production ББ……………… We...
4 1. 2. 3. 4. 5. 6. 7. 8. 9. 1. Left front burner control knob 2. Left rear burner control knob 3. Right rear burner control knob 4. Right front burner control knob 5. Temperature selector 6. Oven operation indicator 7. Oven control knob 8. Control knob of the timer 9. Timer 1. і і 2. і і 3. і і 4. ...
Gorenje Ranges Manuals
-
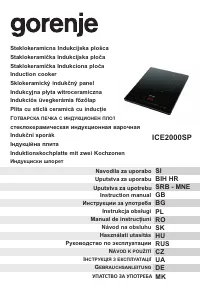 Gorenje 2000 SP
User Manual
Gorenje 2000 SP
User Manual
-
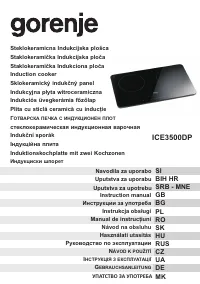 Gorenje 3500 DP
User Manual
Gorenje 3500 DP
User Manual
-
 Gorenje BC5348DX
User Manual
Gorenje BC5348DX
User Manual
-
 Gorenje BC7333AX (BX)
User Manual
Gorenje BC7333AX (BX)
User Manual
-
 Gorenje BC7345BX / BC7349DX
User Manual
Gorenje BC7345BX / BC7349DX
User Manual
-
 Gorenje BC7446AX
User Manual
Gorenje BC7446AX
User Manual
-
 Gorenje BO755SYA(B)(W)
User Manual
Gorenje BO755SYA(B)(W)
User Manual
-
 Gorenje CC500W
User Manual
Gorenje CC500W
User Manual
-
 Gorenje E52102AW0
User Manual
Gorenje E52102AW0
User Manual
-
 Gorenje E55203AW
User Manual
Gorenje E55203AW
User Manual
-
 Gorenje E65333AW (BW)
User Manual
Gorenje E65333AW (BW)
User Manual
-
 Gorenje E65348DW
User Manual
Gorenje E65348DW
User Manual
-
 Gorenje EC3000SM-W
User Manual
Gorenje EC3000SM-W
User Manual
-
 Gorenje EC300SM-W
User Manual
Gorenje EC300SM-W
User Manual
-
 Gorenje EC51101AW
User Manual
Gorenje EC51101AW
User Manual
-
 Gorenje EC51102FXC
User Manual
Gorenje EC51102FXC
User Manual
-
 Gorenje EC5151WG
User Manual
Gorenje EC5151WG
User Manual
-
 Gorenje EC52106AW
User Manual
Gorenje EC52106AW
User Manual
-
Gorenje EC52120AW
User Manual
-
Gorenje EC52160AW
User Manual