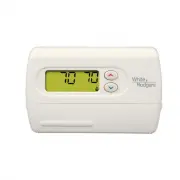
Emerson 1F78-151 - Manuals
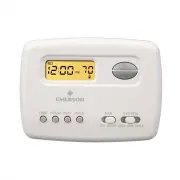
User Manual Emerson 1F78-151


Summary
www.white-rodgers.com 3 REMOVING OLD THERMOSTAT CONTINUED FROM FIRST PAGE ATTENTION! This product does not contain mercury. However, this product may replace a unit which contains mercury.Do not open mercury cells. If a cell becomes damaged, do not touch any spilled mercury. Wearing non-absorbent gl...
www.white-rodgers.com 4 MOUNTING AND WIRING CONTINUED FROM SECOND PAGE RH 24 VAC 120 VAC Hot Neutral THERMOSTAT SYSTEM G W Figure 2. Typical wiring diagram for heat only, 3-wire, single transformer systems TRANSFORMER Heating System Fan Relay Y RC JUMPER WIRE O B For 2-wire Heat only, attach to RH a...
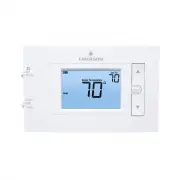
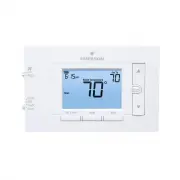
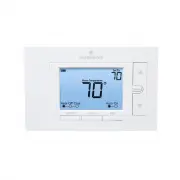
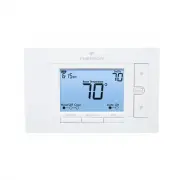
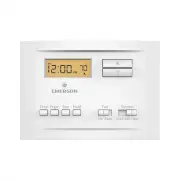
www.white-rodgers.com 5 CHECK THERMOSTAT OPERATION CONTINUED FROM THIRD PAGE Before you begin using your thermostat, you should be familiar with its features and with the display and the location and operation of the thermostat buttons. Your thermostat consists of two parts: the thermostat cover and...
Manual Emerson 1F78-151

Emerson Thermostats Manuals
-
 Emerson 1E78-144
User Manual
Emerson 1E78-144
User Manual
-
 Emerson 1F75P-21NP
User Manual
Emerson 1F75P-21NP
User Manual
-
 Emerson 1F80-361
User Manual
Emerson 1F80-361
User Manual
-
 Emerson 1F83C-11NP
User Manual
Emerson 1F83C-11NP
User Manual
-
 Emerson 1F83C-11PR
User Manual
Emerson 1F83C-11PR
User Manual
-
 Emerson 1F83H-21PR
User Manual
Emerson 1F83H-21PR
User Manual
-
 Emerson 1F85U-42NP
User Manual
Emerson 1F85U-42NP
User Manual
-
 Emerson 1F85U-42PR
User Manual
Emerson 1F85U-42PR
User Manual
-
 Emerson 1F86-344
User Manual
Emerson 1F86-344
User Manual
-
 Emerson 1F95-1277
User Manual
Emerson 1F95-1277
User Manual
-
Emerson 1F95-1277
Manual
-
 Emerson 1F95EZ-0671
User Manual
Emerson 1F95EZ-0671
User Manual
-
Emerson 1F95EZ-0671
Manual
-
 Emerson 1F97-1277
User Manual
Emerson 1F97-1277
User Manual
-
Emerson 1F97-1277
Manual
-
 Emerson P150
User Manual
Emerson P150
User Manual
-
 Emerson ST25
User Manual
Emerson ST25
User Manual
-
 Emerson ST55
User Manual
Emerson ST55
User Manual
-
 Emerson ST75
User Manual
Emerson ST75
User Manual