DeLonghi ECAM65085MS - Manuals
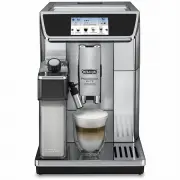
User Manual DeLonghi ECAM65085MS


Summary
7 1. FUNDAMENTAL SAFETY WARNINGS • The appliance is not intended for use by persons (including children) with reduced phys- ical, sensory or mental capabilities, or lack of experience and knowledge, unless they have been given supervision or instruction concerning use of the appliance by a person re...
11 • The message "TURNING OFF, PLEASE WAIT" is displayed, then the appliance performs a rinse cycle and goes off (standby). Please note! If you will not be using the appliance for some time, first empty the water circuit (see section “8.17 Emptying the circuit i ”), then unplug from the main...
13 3. Press " " to enable- or disable- the beep; 4. Press " " to go back to the homepage. 8.14 Cup light This function enables or disables the cup lighting.The lights come on each time coffee beverages or hot milk is de-livered and during each rinse cycle.To disable or enable this fu...
DeLonghi Coffee Machines Manuals
-
 DeLonghi CAM51025MB
User Manual
DeLonghi CAM51025MB
User Manual
-
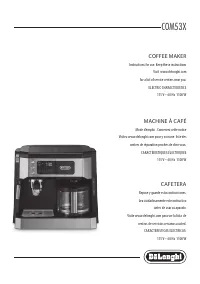 DeLonghi COM530M
User Manual
DeLonghi COM530M
User Manual
-
 DeLonghi EABI6600
User Manual
DeLonghi EABI6600
User Manual
-
DeLonghi EABI6600
Manual
-
 DeLonghi EC230
User Manual
DeLonghi EC230
User Manual
-
 DeLonghi EC260BK
User Manual
DeLonghi EC260BK
User Manual
-
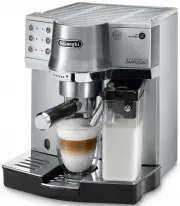
 DeLonghi EC680BK
User Manual
DeLonghi EC680BK
User Manual
-
 DeLonghi EC680R
User Manual
DeLonghi EC680R
User Manual
-
 DeLonghi EC685BK
User Manual
DeLonghi EC685BK
User Manual
-
 DeLonghi EC685M
User Manual
DeLonghi EC685M
User Manual
-
 DeLonghi EC685R
User Manual
DeLonghi EC685R
User Manual
-
 DeLonghi EC685W
User Manual
DeLonghi EC685W
User Manual
-
 DeLonghi EC785AZ
User Manual
DeLonghi EC785AZ
User Manual
-
 DeLonghi EC860M
User Manual
DeLonghi EC860M
User Manual
-
 DeLonghi EC885M
User Manual
DeLonghi EC885M
User Manual
-
 DeLonghi EC885MPK
User Manual
DeLonghi EC885MPK
User Manual
-
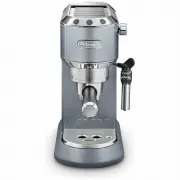
 DeLonghi EC9155GR
User Manual
DeLonghi EC9155GR
User Manual
-
 DeLonghi EC9155GRPKK
User Manual
DeLonghi EC9155GRPKK
User Manual
-
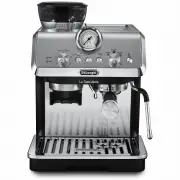 DeLonghi EC9155MB
User Manual
DeLonghi EC9155MB
User Manual
-
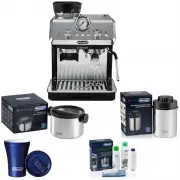 DeLonghi EC9155MBPK
User Manual
DeLonghi EC9155MBPK
User Manual