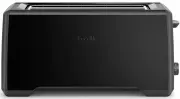
Breville BTA635 - Manuals
User Manual Breville BTA635


Summary
3 CONGRATULATIONS on the purchase of your new Breville product CONTENTS 4 Breville recommends safety first 6 Know your Breville product 8 Operating your Breville product 16 Care, cleaning & storage of your Breville product
4 5 BREvILLE RECOMMENdS SAFETy FIRST BREvILLE RECOMMENdS SAFETy FIRST 5 At Breville we are very safety conscious. We design and manufacture consumer products with the safety of you, our valued customer, foremost in mind. In addition we ask that you exercise a degree of care when using any electrical...
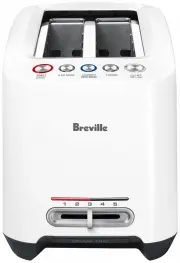
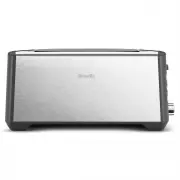
6 7 KNOW your Breville product KNOW yOUR BREvILLE PROdUCT A. TOAST/CANCEL button with motorised raising and lowering, and toast ready sound alert B. A BIT MORE TM button C. CRUMPET/FRUIT BREAD button D. FROZEN button E. Motorised LIFT & LOOK TM button F. Extra wide and long slots with self cente...
Breville Toasters Manuals
-
 Breville BOV450XL
User Manual
Breville BOV450XL
User Manual
-
Breville BOV450XL
Manual
-
 Breville BOV650XL
User Manual
Breville BOV650XL
User Manual
-
Breville BOV650XL
Manual
-
 Breville BOV800XL
User Manual
Breville BOV800XL
User Manual
-
Breville BOV800XL
Manual
-
 Breville BOV860BSS1BUS1
User Manual
Breville BOV860BSS1BUS1
User Manual
-
 Breville BOV950BSS1BUS1
User Manual
Breville BOV950BSS1BUS1
User Manual
-
Breville BOV950BST1BUS1
User Manual
-
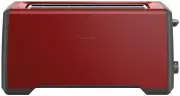
 Breville BTA320
User Manual
Breville BTA320
User Manual
-
 Breville BTA360CRN
User Manual
Breville BTA360CRN
User Manual
-
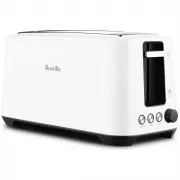 Breville BTA380WHT
User Manual
Breville BTA380WHT
User Manual
-
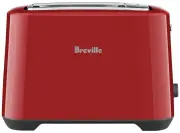
 Breville BTA425BKS
User Manual
Breville BTA425BKS
User Manual
-
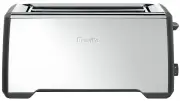
 Breville BTA430
User Manual
Breville BTA430
User Manual
-
Breville BTA430
Manual
-
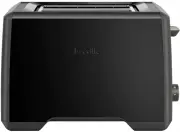
 Breville BTA430BKS
User Manual
Breville BTA430BKS
User Manual
-
 Breville BTA430CB
User Manual
Breville BTA430CB
User Manual
-
 Breville BTA430PSS
User Manual
Breville BTA430PSS
User Manual
-
 Breville BTA440BSS
User Manual
Breville BTA440BSS
User Manual
-
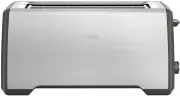
 Breville BTA630XL
User Manual
Breville BTA630XL
User Manual