Asko DC7774VWAU - Manuals

User Manual Asko DC7774VWAU


Summary
3 CONTENTS THIS USER MANUAL The contents of this user manual describe the function and operation of the drying cabinet and contain instructions for installation and maintenance. Important safety information 4 For a healthy environment 6 Packaging materials 6 Management of end-of-life drying cabinet ...
4 This drying cabinet complies with applicable safety requirements. Incorrect use may, however, lead to personal injury and damage to objects. This advice on safe operation has been compiled so that you can avoid incorrect use and unnecessary risks of accidents and should be read before the drying c...
5 Applicable to all installation The drying cabinet must be installed and kept indoors. If the power cord is damaged, it must be immediately re- placed, and this must be done only by the manufacturer, the manufacturer’s service agent or similarly qualifi ed persons in order to prevent danger. Foll...
Asko Dryers Manuals
-
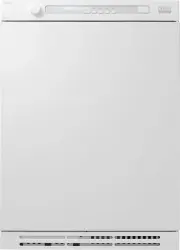
 Asko DC7573
User Manual
Asko DC7573
User Manual
-
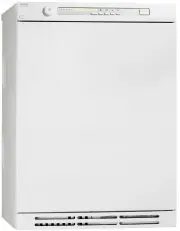
 Asko DC7774
User Manual
Asko DC7774
User Manual
-
 Asko DC7784HPW
User Manual
Asko DC7784HPW
User Manual
-
 Asko T208C.W.AU
User Manual
Asko T208C.W.AU
User Manual
-
 Asko T208H.W
User Manual
Asko T208H.W
User Manual
-
Asko T208H.W
Manual
-
 Asko T408HD.W
User Manual
Asko T408HD.W
User Manual
-
Asko T408HD.W
Manual
-
 Asko T410HD.W
User Manual
Asko T410HD.W
User Manual
-
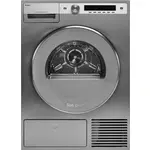
 Asko T608HX
User Manual
Asko T608HX
User Manual
-
 Asko T754C
User Manual
Asko T754C
User Manual
-
 Asko T754CHP
User Manual
Asko T754CHP
User Manual
-
 Asko T784C
User Manual
Asko T784C
User Manual
-
 Asko T784CHP
User Manual
Asko T784CHP
User Manual
-
 Asko T884XLCHP
User Manual
Asko T884XLCHP
User Manual
-
 Asko TDC112C G
User Manual
Asko TDC112C G
User Manual
-
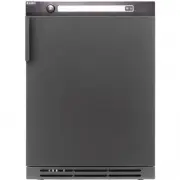
 Asko T608HX.S
Manual
Asko T608HX.S
Manual
-
 Asko T411HD.W
Manual
Asko T411HD.W
Manual
-
 Asko T608HX.W
Manual
Asko T608HX.W
Manual
-
 Asko T210H.W.P
Manual
Asko T210H.W.P
Manual