Asko DC7573 - Manuals
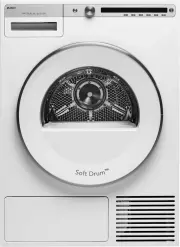
User Manual Asko DC7573


Summary
3 Safety instructions 3 Safety 3 Interrupting a program 3 Packing material 3 Recycling 4 To minimize the risk of fire in adryer cabinet, the following shouldbe observed: 5 Description of the dryer cabinet 6 Control panel 7 Assembly area 8 Electrical requirement 8 User liability 8 Electrical connecti...
Read the operating instructions andkeep them in a safe place! • Electrical installation, if required, should be carried out by a qualified electrician. • The dryer cabinet should only be used for drying as described in these instructions. • The dryer cabinet must be installed or stored indoors. • Re...
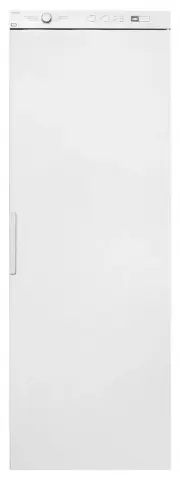
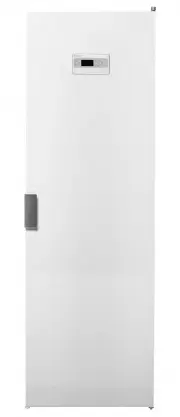
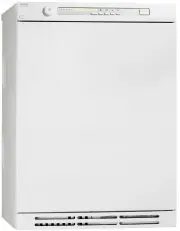
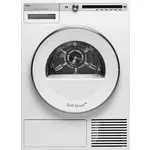
1 2 4 5 6 7 8 9 10 11 3 7. Door hanger for light goods 1. Connector 8. Middle hanger section 2. Control panel 9. Glove hanger 3. Hanging hooks 10. Lower hanger section 4. Type plate (inside) 11. Shoe rack (accessory) 5. Upper hanger section 6. Door 5 Description of the dryer cabinet
Asko Dryers Manuals
-
 Asko DC7774
User Manual
Asko DC7774
User Manual
-
 Asko DC7774VWAU
User Manual
Asko DC7774VWAU
User Manual
-
 Asko DC7784HPW
User Manual
Asko DC7784HPW
User Manual
-
 Asko T208C.W.AU
User Manual
Asko T208C.W.AU
User Manual
-
 Asko T208H.W
User Manual
Asko T208H.W
User Manual
-
Asko T208H.W
Manual
-
 Asko T408HD.W
User Manual
Asko T408HD.W
User Manual
-
Asko T408HD.W
Manual
-
 Asko T410HD.W
User Manual
Asko T410HD.W
User Manual
-
 Asko T608HX
User Manual
Asko T608HX
User Manual
-
 Asko T754C
User Manual
Asko T754C
User Manual
-
 Asko T754CHP
User Manual
Asko T754CHP
User Manual
-
 Asko T784C
User Manual
Asko T784C
User Manual
-
 Asko T784CHP
User Manual
Asko T784CHP
User Manual
-
 Asko T884XLCHP
User Manual
Asko T884XLCHP
User Manual
-
 Asko TDC112C G
User Manual
Asko TDC112C G
User Manual
-
 Asko T608HX.S
Manual
Asko T608HX.S
Manual
-
 Asko T411HD.W
Manual
Asko T411HD.W
Manual
-
 Asko T608HX.W
Manual
Asko T608HX.W
Manual
-
 Asko T210H.W.P
Manual
Asko T210H.W.P
Manual