AEG S 95200 XZM0 - Manuals
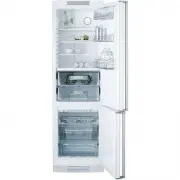
AEG S 95200 XZM0 Refrigerator – User Manual in PDF format online.
Manuals:
User Manual AEG S 95200 XZM0


Summary
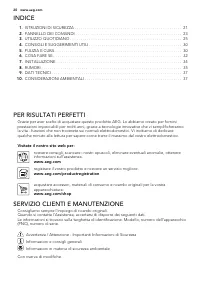
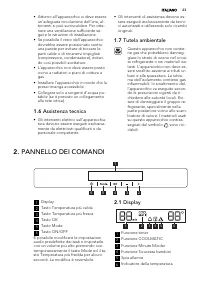
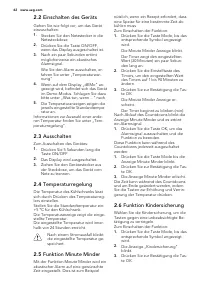
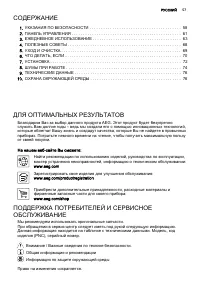
CONTENTS 1. SAFETY INSTRUCTIONS . . . . . . . . . . . . . . . . . . . . . . . . . . . . . . . . . . . . . . . . . . . . . . . . . . . . . . 3 2. CONTROL PANEL . . . . . . . . . . . . . . . . . . . . . . . . . . . . . . . . . . . . . . . . . . . . . . . . . . . . . . . . . . . 5 3. DAILY USE . . . . ...
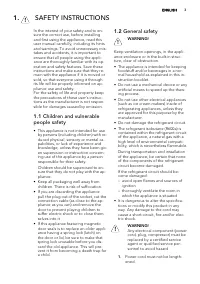
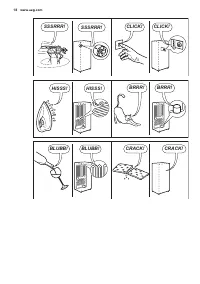
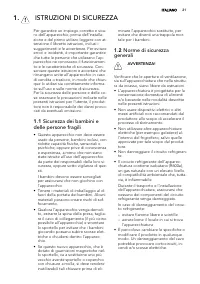
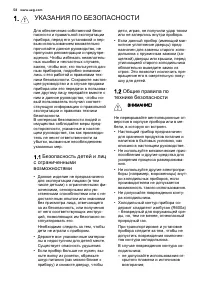
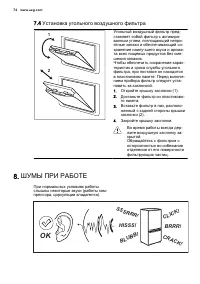
1. SAFETY INSTRUCTIONS In the interest of your safety and to en- sure the correct use, before installing and first using the appliance, read this user manual carefully, including its hints and warnings. To avoid unnecessary mis- takes and accidents, it is important to ensure that all people using th...
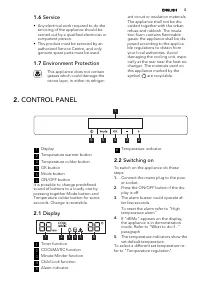
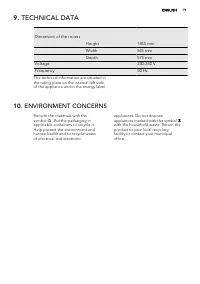
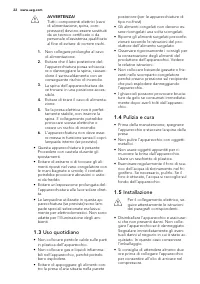
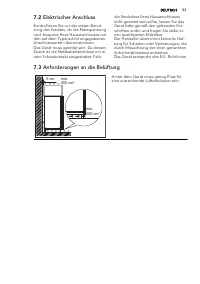
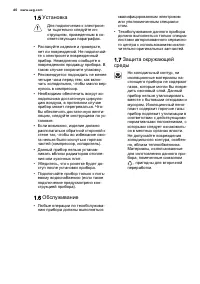
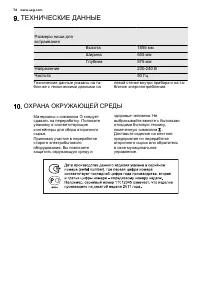
1.6 Service • Any electrical work required to do the servicing of the appliance should be carried out by a qualified electrician or competent person. • This product must be serviced by an authorized Service Centre, and only genuine spare parts must be used. 1.7 Environment Protection This appliance ...
AEG Refrigerators Manuals
-
 AEG RMB86111NX
Installation Manual
AEG RMB86111NX
Installation Manual
-
 AEG S 75348 KG
User Manual
AEG S 75348 KG
User Manual
-
AEG S 75348 KG
Manual
-
 AEG S 75438 KG
User Manual
AEG S 75438 KG
User Manual
-
 AEG S 86348 KG1
User Manual
AEG S 86348 KG1
User Manual
-
 AEG S 93000 KZM0
User Manual
AEG S 93000 KZM0
User Manual
-
 AEG S32900CSW0
User Manual
AEG S32900CSW0
User Manual
-
AEG S52900CSS0
User Manual
-
 AEG S83200CMW0
User Manual
AEG S83200CMW0
User Manual
-
AEG S83200CMW0
Manual
-
 AEG S83600CMM0
User Manual
AEG S83600CMM0
User Manual
-
 AEG S83600CMW0
User Manual
AEG S83600CMW0
User Manual
-
 AEG S83600CSM1
User Manual
AEG S83600CSM1
User Manual
-
AEG S83600CSM1
Manual
-
 AEG S86340KG1
User Manual
AEG S86340KG1
User Manual
-
 AEG S92500CNM0
User Manual
AEG S92500CNM0
User Manual
-
 AEG SCS51800S0
User Manual
AEG SCS51800S0
User Manual
-
 AEG SCS81800F0
User Manual
AEG SCS81800F0
User Manual
-
 AEG SKD71800F0
User Manual
AEG SKD71800F0
User Manual
-
AEG SKD71800F0
Manual