AEG S 86348 KG1 - Manuals
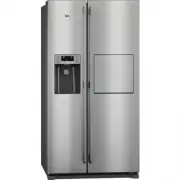
AEG S 86348 KG1 Refrigerator – User Manual in PDF format online.
Manuals:
User Manual AEG S 86348 KG1
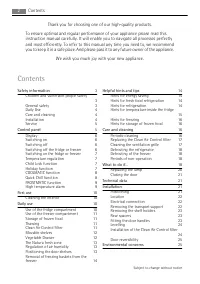


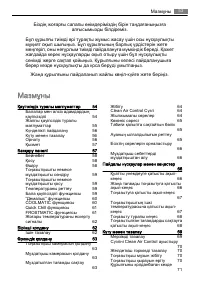


Summary
Thank you for choosing one of our high-quality products. To ensure optimal and regular performance of your appliance please read thisinstruction manual carefully. It will enable you to navigate all processes perfectlyand most efficiently. To refer to this manual any time you need to, we recommendyou...
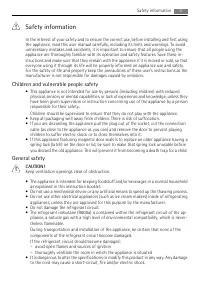
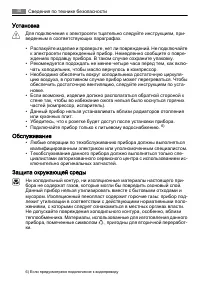
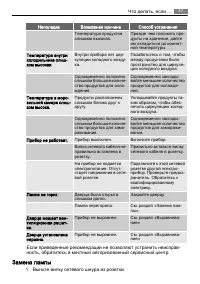
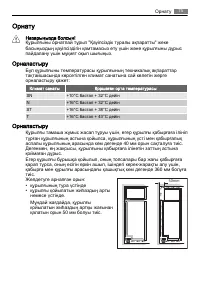
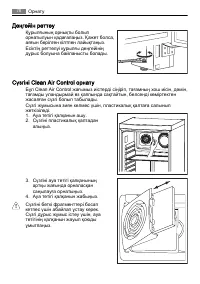
Safety information In the interest of your safety and to ensure the correct use, before installing and first usingthe appliance, read this user manual carefully, including its hints and warnings. To avoidunnecessary mistakes and accidents, it is important to ensure that all people using theappliance...
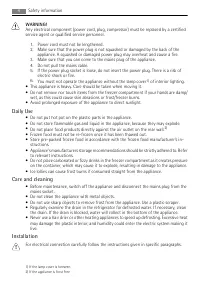
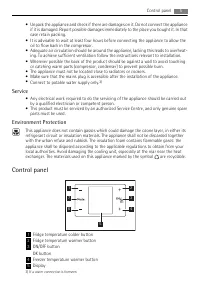
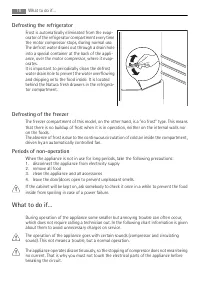
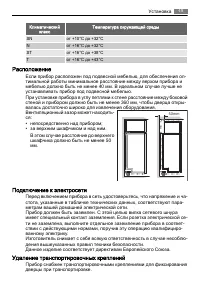
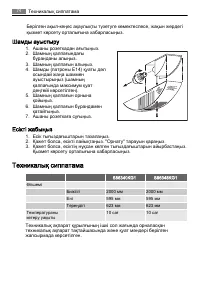
• Unpack the appliance and check if there are damages on it. Do not connect the appliance if it is damaged. Report possible damages immediately to the place you bought it. In thatcase retain packing. • It is advisable to wait at least four hours before connecting the appliance to allow the oil to fl...
AEG Refrigerators Manuals
-
 AEG RMB86111NX
Installation Manual
AEG RMB86111NX
Installation Manual
-
 AEG S 75348 KG
User Manual
AEG S 75348 KG
User Manual
-
AEG S 75348 KG
Manual
-
 AEG S 75438 KG
User Manual
AEG S 75438 KG
User Manual
-
 AEG S 93000 KZM0
User Manual
AEG S 93000 KZM0
User Manual
-
 AEG S 95200 XZM0
User Manual
AEG S 95200 XZM0
User Manual
-
 AEG S32900CSW0
User Manual
AEG S32900CSW0
User Manual
-
AEG S52900CSS0
User Manual
-
 AEG S83200CMW0
User Manual
AEG S83200CMW0
User Manual
-
AEG S83200CMW0
Manual
-
 AEG S83600CMM0
User Manual
AEG S83600CMM0
User Manual
-
 AEG S83600CMW0
User Manual
AEG S83600CMW0
User Manual
-
 AEG S83600CSM1
User Manual
AEG S83600CSM1
User Manual
-
AEG S83600CSM1
Manual
-
 AEG S86340KG1
User Manual
AEG S86340KG1
User Manual
-
 AEG S92500CNM0
User Manual
AEG S92500CNM0
User Manual
-
 AEG SCS51800S0
User Manual
AEG SCS51800S0
User Manual
-
 AEG SCS81800F0
User Manual
AEG SCS81800F0
User Manual
-
 AEG SKD71800F0
User Manual
AEG SKD71800F0
User Manual
-
AEG SKD71800F0
Manual