Soundmax SM-CMD3014 - User Manual
Soundmax SM-CMD3014 Car Radio – User Manual, read for free online in PDF format. We hope this helps you resolve any issues you may have. If you have further questions, please contact us through the contact form.
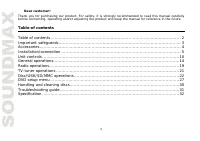
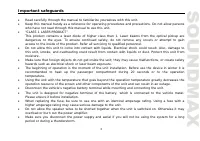
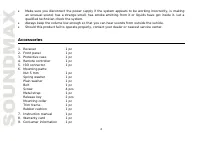
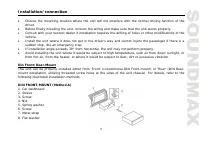
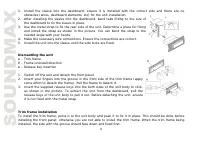
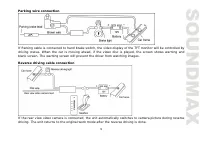
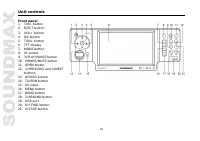
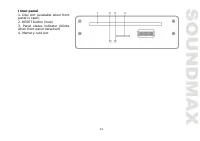
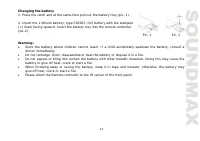

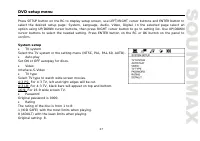
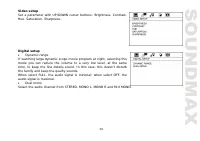
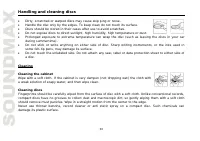
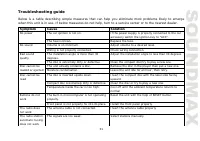

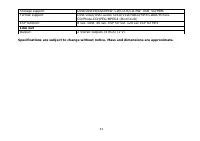
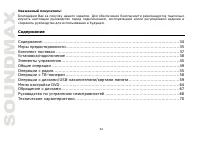

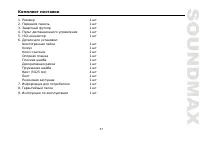
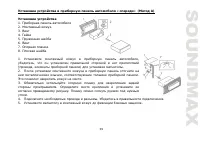
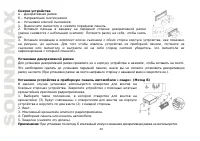
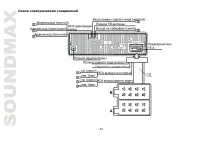

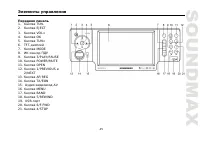
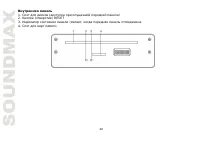
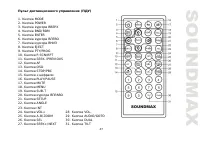

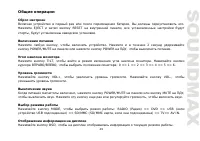

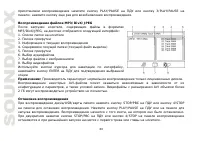
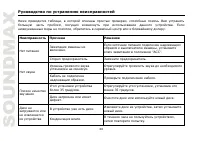
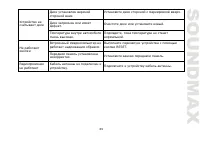
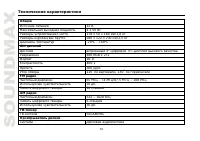
Table of Contents:
- Page 2 – Table of contents
- Page 3 – Important safeguards
- Page 4 – Accessories
- Page 5 – Installation/connection
- Page 6 – the dashboard to fix the sleeve in place.; Dismantling the unit; some effort to detach the frame). Pull the frame to detach it.
- Page 10 – Unit controls; Front panel; buttons
- Page 11 – when front panel detached)
- Page 14 – General operations
- Page 19 – Radio operations; Manual/automatic tuning
- Page 21 – Note: TV image cannot be displayed on the external monitor.
- Page 25 – Programming the playback
- Page 27 – DVD setup menu; System setup
- Page 29 – Digital setup; Dynamic range
- Page 30 – Handling and cleaning discs; Cleaning
- Page 31 – Troubleshooting guide; Symptom
- Page 32 – Specification; Maximum power output:
- Page 38 – DIN
- Page 43 – ISO
- Page 55 – BAND
- Page 56 – RDS
- Page 61 – INT
- Page 64 – DVD; SETUP
SM-CMD3014
MULTIMEDIA DVD/CD/MP3 RECEIVER with built-in 4” TFT display and
TV tuner
Instruction manual
DVD/CD/MP3-
4” TFT-
"Loading the manual" means you need to wait until the file loads and becomes available for online reading. Some manuals are very large, and the time they take to appear depends on your internet speed.
Summary
2 Dear customer! Thank you for purchasing our product. For safety, it is strongly recommended to read this manual carefully before connecting, operating and/or adjusting the product and keep the manual for reference in the future. Table of contents Table of contents ....................................
3 Important safeguards Read carefully through the manual to familiarize yourselves with this unit.Keep this manual handy as a reference for operating procedures and precautions. Do not allow personswho have not read through this manual to use this unit.“CLASS 1 LASER PRODUCT”This product contains a ...
4 Make sure you disconnect the power supply if the system appears to be working incorrectly, is makingan unusual sound, has a strange smell, has smoke emitting from it or liquids have got inside it. Let aqualified technician check the system.Always keep the volume low enough so that you can hear sou...