Soundmax SM-CMD3011 - User Manual
Soundmax SM-CMD3011 Car Radio – User Manual, read for free online in PDF format. We hope this helps you resolve any issues you may have. If you have further questions, please contact us through the contact form.
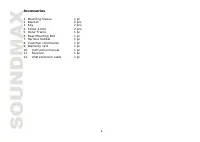
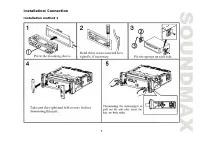
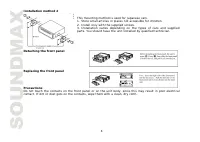
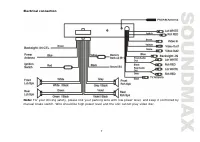
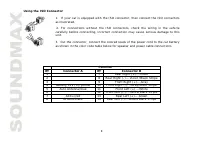
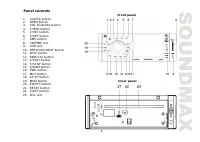
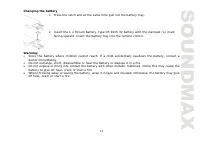
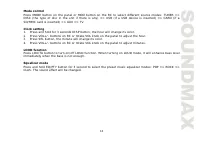
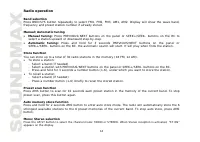
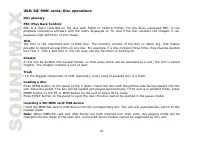
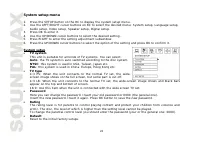
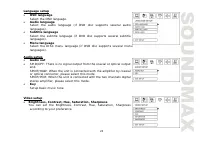
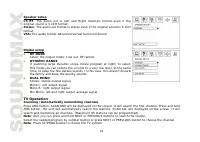
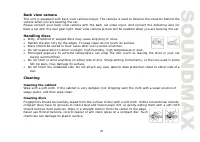
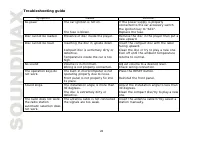
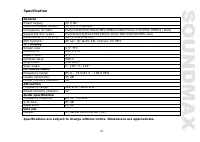
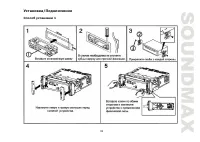
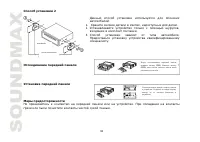
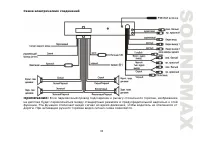

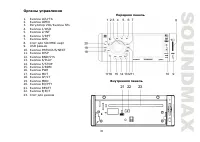
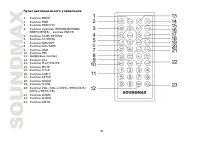
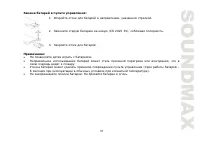
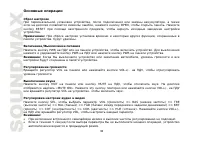
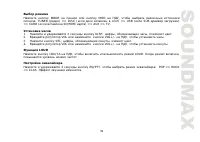

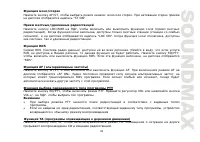
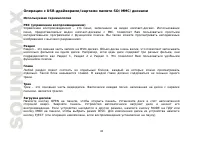
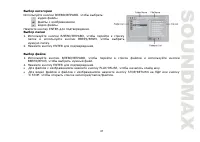
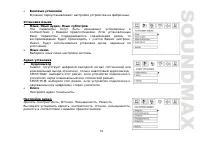

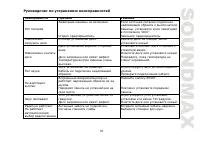
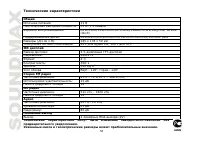
Table of Contents:
- Page 2 – Table of contents
- Page 3 – Important safeguards
- Page 4 – Accessories; Rear Mounting Bolt
- Page 5 – Installation/Connection; Installation method 1
- Page 6 – Installation method 2; This mounting method is used for Japanese cars.; Detaching the front panel
- Page 7 – Electrical connection
- Page 9 – Panel controls; Front panel
- Page 10 – ENTER button
- Page 11 – Changing the battery; Press the catch and at the same time pull out the battery tray.
- Page 12 – General operation; Reset the unit; erase the clock setting and some memorized functions.; Volume control
- Page 13 – Clock setting; Press SEL button, the minute will change its color.; LOUD function
- Page 14 – Radio operation; Band selection; appears on the display.
- Page 17 – pause the playback. Press again to resume the playback.; Playing the previous/next track
- Page 18 – Programming the playback; Press ST/PROG button on the RC to enter program list.
- Page 21 – MP3 overview; Notes on creating your own CD-R or CD-RW containing MP3 files:
- Page 22 – System setup menu; System setup; This unit is suitable for all kinds of TV systems. You can select:; TV type; screen image shows on the full screen, but some part is cut off.; Password; Reset to the initial factory setups.
- Page 23 – Select the OSD language.; Audio language; Select the audio language (if DVD disc supports several audio; Audio setup; Setup basic music tone.; Video setup; according to your preference.
- Page 24 – Digital setup; TV Operation
- Page 25 – Cleaning discs
- Page 26 – Troubleshooting guide; No power
- Page 27 – Specification; Maximum power output:
- Page 30 – USB
- Page 34 – ISO
- Page 39 – LOUD
- Page 40 – AMS
- Page 46 – ZOOM; DVD; ANGLE
- Page 50 – SETUP
- Page 52 – PRO
SM-CMD3011
MULTIMEDIA DVD/CD/MP3 RECEIVER WITH BUILT-IN 3.5” TFT DISPLAY
AND TV TUNER
Instruction manual
DVD/CD/MP3-
3.5”
TFT-
"Loading the manual" means you need to wait until the file loads and becomes available for online reading. Some manuals are very large, and the time they take to appear depends on your internet speed.
Summary
2 Dear customer! Thank you for purchasing our product. For safety, it is strongly recommended to read this manual carefullybefore connecting, operating and/or adjusting the product and keep the manual for reference in the future. Table of contents Table of contents......................................
3 Important safeguards Using the device at temperature below -10º may cause the breakage of the device. Before using please heat up the passenger compartment to the recommended temperature! Disconnect the vehicle's negative battery terminal while mounting and connecting the unit. When replacing the ...
4 Accessories 1. Mounting Sleeve 1 pc 2. Bracket 2 pcs 3. Key 2 pcs 4. Screw 2.6X4 2 pcs 5. Outer Frame 1 pc 6. Rear Mounting Bolt 1 pc 7. Harness Rubber 1 pc 8. Customer information 1 pc 9. Warranty card 1 pc 10. Instruction manual 1 pc 11. Receiver 1 pc 12. USB extension cable 1 pc