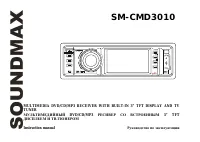
Soundmax SM-CMD3010 - User Manual
Soundmax SM-CMD3010 Car Radio – User Manual, read for free online in PDF format. We hope this helps you resolve any issues you may have. If you have further questions, please contact us through the contact form.
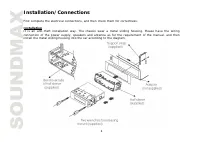
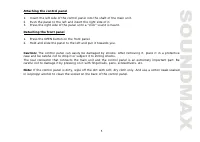
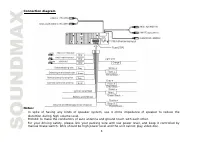
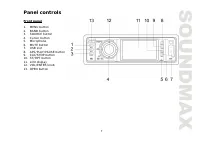
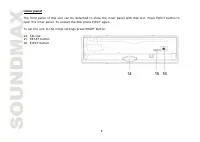
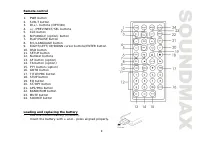
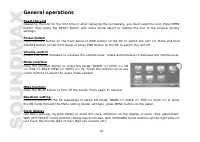
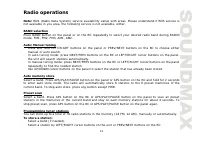
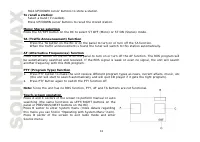

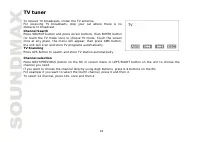
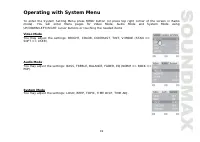
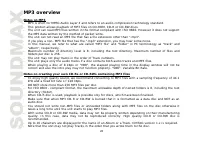
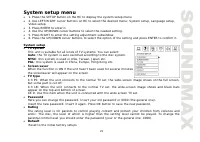
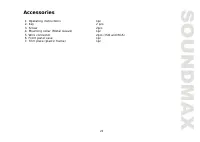
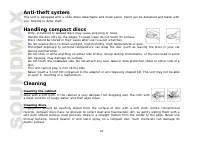

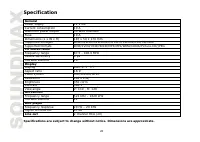
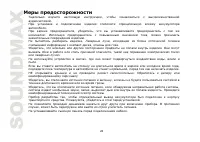
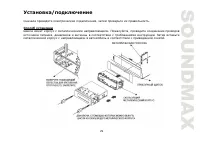
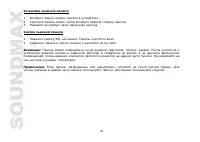
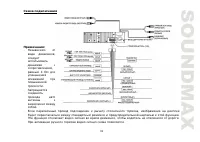
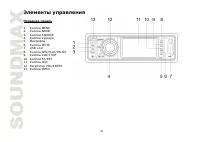
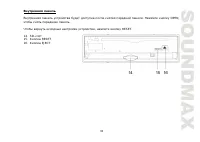
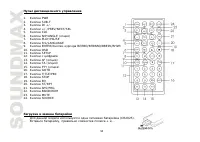
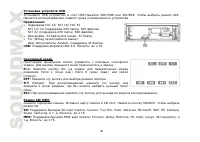
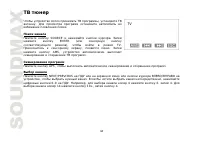
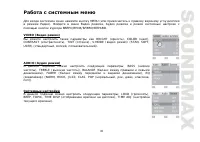
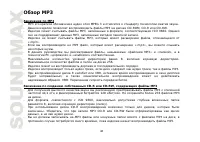


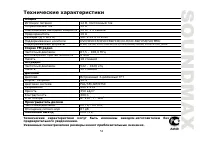
Table of Contents:
- Page 2 – Table of contents
- Page 3 – Important safeguards
- Page 4 – Installation/Connections
- Page 5 – Attaching the control panel; Detaching the front panel
- Page 6 – Connection diagram
- Page 7 – Panel controls; Front panel
- Page 8 – Inner panel
- Page 10 – General operations; Mode selection
- Page 11 – Radio operations; BAND selection; Auto memory store
- Page 12 – Touch-screen operation
- Page 16 – Video system
- Page 18 – TV tuner
- Page 19 – Operating with System Menu
- Page 20 – MP3 overview; Notes on MP3; Notes on creating your own CD-Rs or CD-RWs containing MP3 files
- Page 21 – System setup menu
- Page 22 – Language setup; Video setup
- Page 23 – Accessories
- Page 24 – Handling compact discs; Cleaning
- Page 25 – Troubleshooting guide; Symptom
- Page 26 – Specification; Line out
- Page 53 – FM
SM-CMD3010
MULTIMEDIA DVD/CD/MP3 RECEIVER WITH BUILT-IN 3” TFT DISPLAY AND TV
TUNER
DVD/CD/MP3
3” TFT
Instruction manual
MENU
BAND
SOUR CE
ENTER
PUSH
VOL
APS/
ST/RPT
MUTE
SM -C MD3010
50Wx4
CLK/
"Loading the manual" means you need to wait until the file loads and becomes available for online reading. Some manuals are very large, and the time they take to appear depends on your internet speed.
Summary
2 Dear customer! Thank you for purchasing our product. For safety, it is strongly recommended to read this manual carefullybefore connecting, operating and/or adjusting the product and keep the manual for reference in the future. Table of contents Table of contents .....................................
3 Important safeguards - Read carefully through this manual to familiarize yourself with this high-quality sound system. - Disconnect the vehicle's negative battery terminal while mounting and connecting the unit. - When replacing the fuse, be sure to use one with an identical amperage rating. Using...
4 Installation/Connections First complete the electrical connections, and then check them for correctness. InstallationIt is an anti-theft installation way. The chassis wear a metal sliding housing. Please have the wiring connection of the power supply, speakers and antenna as for the requirement of...