Soundmax SM-CDM1068 - User Manual
Soundmax SM-CDM1068 Car Radio – User Manual, read for free online in PDF format. We hope this helps you resolve any issues you may have. If you have further questions, please contact us through the contact form.
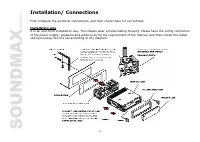
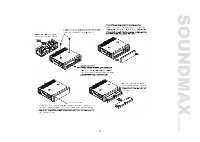
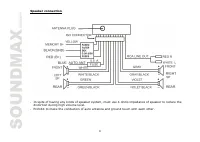


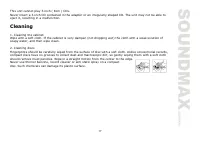
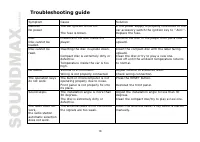
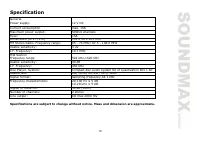
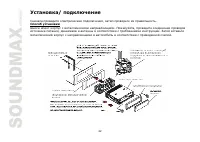
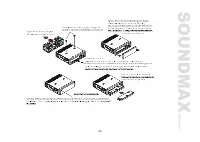
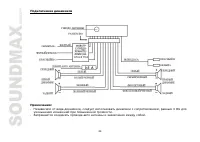
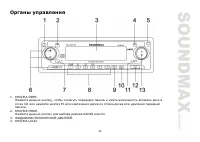
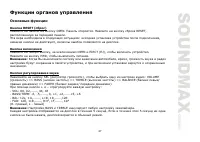
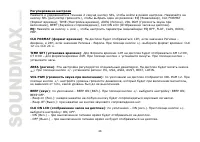

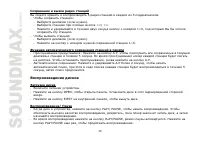
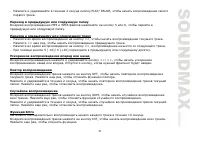

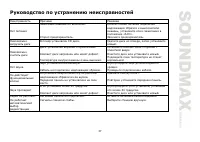
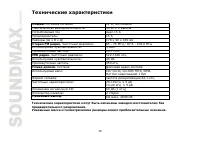
Table of Contents:
- Page 2 – Table of contents
- Page 3 – Important safeguards; qualified technician check the system.
- Page 4 – Installation/ Connections; Installation way
- Page 6 – Speaker connection
- Page 7 – Panel controls; Press it to select RADIO or CD mode.
- Page 9 – Function of controls; General operations; Reset the unit; Press the PWR to switch the unit off.; Volume mode; mode of radio or disc playback mode.; Menu mode
- Page 11 – Radio operations; BAND button; Press a Preset button (1-6) briefly to recall the stored station
- Page 12 – Discs operations; Loading a disc; Press EJECT button on the inner side to eject the disc.; track playback will start.; Playing previous/ next folder; Press again to start the previous track playback.; Scanning forward and backward
- Page 13 – tracks in current folder. Press again to cancel.; Intro playback; icon will appear on
- Page 14 – Display ID3 information of MP3 File; MP3 overview; Notes on MP3
- Page 15 – The unit may not play tracks in the order of Track numbers.; Notes on creating your own CD-Rs or CD-RWs containing MP3 files; DO NOT store more than 256 MP3 files per disc.
- Page 16 – Handling compact discs
- Page 17 – Cleaning; disc. Such chemicals can damage its plastic surface.
- Page 18 – Troubleshooting guide
- Page 19 – Specification
- Page 27 – BASS TREBLE
- Page 29 – LOUD
- Page 30 – EJECT
- Page 31 – MP3 WMA; Intro
- Page 32 – WMA
- Page 34 – PWR
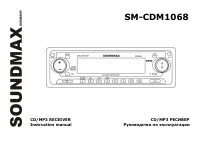
SM-CDM1068
CD/MP3 RECEIVER CD/MP3
Instruction manual
"Loading the manual" means you need to wait until the file loads and becomes available for online reading. Some manuals are very large, and the time they take to appear depends on your internet speed.
Summary
2 Dear customer! Thank you for purchasing our product. For safety, it is strongly recommended to read this manual carefullybefore connecting, operating and/or adjusting the product and keep the manual for reference in the future. Table of contents Table of contents .....................................
3 Important safeguards - Read carefully through this manual to familiarize yourself with this high-quality sound system. - Disconnect the vehicle's negative battery terminal while mounting and connecting the unit. - When replacing the fuse, be sure to use one with an identical amperage rating. Using...
4 Installation/ Connections First complete the electrical connections, and then check them for correctness. Installation way It is an anti-theft installation way. The chassis wear a metal sliding housing. Please have the wiring connection of the power supply, speakers and antenna as for the requirem...