Soundmax SM-CDM1057 - User Manual
Soundmax SM-CDM1057 Car Radio – User Manual, read for free online in PDF format. We hope this helps you resolve any issues you may have. If you have further questions, please contact us through the contact form.

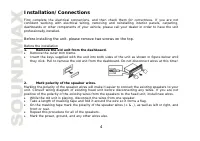
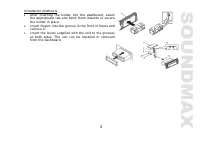
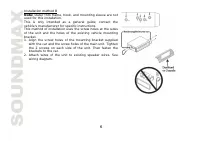
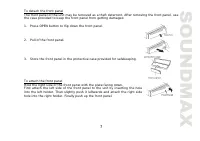
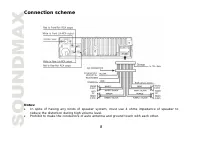
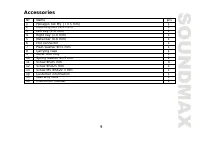
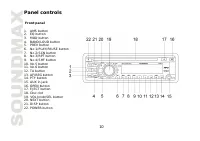
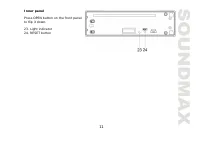
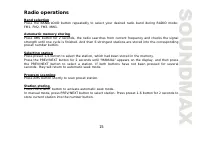
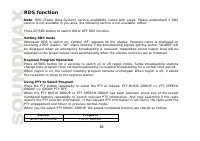

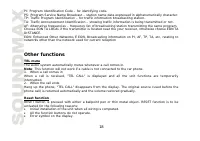
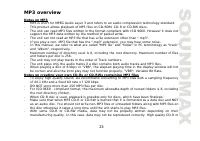
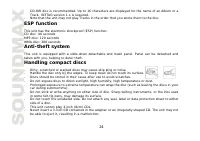
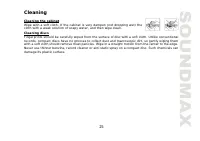
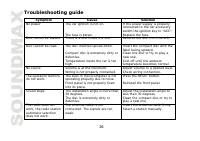
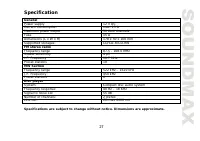
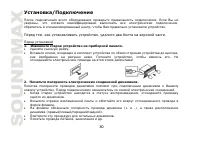
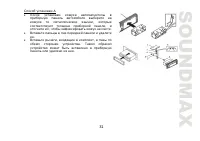
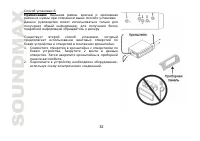

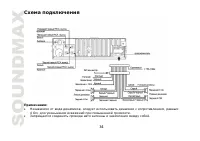
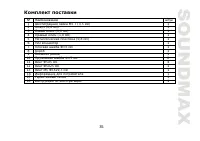

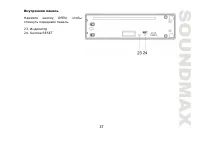

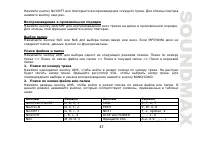
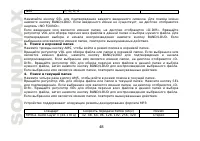


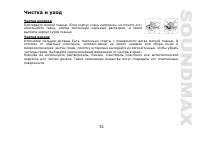
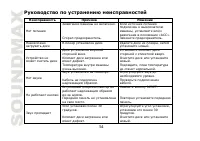
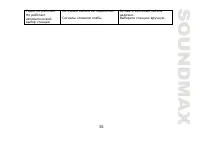
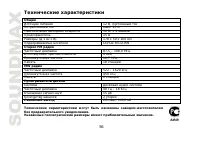
Table of Contents:
- Page 2 – reference in the future.; Table of contents
- Page 3 – IMPORTANT SAFEGUARDS
- Page 4 – Installation/Connections; professionally installed.; Before installing the unit, please remove two screws on the top.; Before the installation; Remove the old unit from the dashboard.; Remove the outer trim frame.; Mark polarity of the speaker wires.; Repeat this procedure for all of the speakers.
- Page 8 – Connection scheme; reduce the distortion during high volume level.
- Page 9 – Accessories
- Page 10 – Panel controls; Front panel
- Page 11 – Inner panel; Press OPEN button on the front panel
- Page 12 – General operations; Power button
- Page 15 – Radio operations; Band selection; preset number button.; Selecting station; seconds, they will return to automatic seek mode.; Program scanning; Press AMS button shortly to scan preset station.; Station storing; Press PREV/NEXT button to activate automatic seek mode.
- Page 16 – RDS function; Press AF/REG button to switch ON or OFF RDS function.; Setting RDS mode; the reception to move to the regional station.; Using PTY to Select Program; PTY engagement and return to previous normal mode.; Button
- Page 17 – FOLK M; Press TA button to turn on
- Page 18 – Other functions; TEL mute
- Page 21 – The main unit supports MP3 decoding modes as below:
- Page 22 – Aux In Operations
- Page 23 – MP3 overview; Notes on MP3; support the MP3 data written by the method of packet write.; Notes on creating your own CD-Rs or CD-RWs containing MP3 files; of 44.1 kHz and a fixed bit rate o f 128 kbps.
- Page 24 – ESP function; WMA disc: 300 seconds; Handling compact discs; Dirty, scratched or warped discs may cause skip ping or noise.
- Page 25 – Cleaning; damage its plastic surface.
- Page 26 – Troubleshooting guide; Symptom
- Page 27 – Specification
- Page 33 – OPEN
- Page 35 – ISO
- Page 37 – RESET
- Page 40 – CT PTY; RDS; EQ
- Page 42 – PTY; PTY MUSIC GROUP
- Page 49 – AUX In
- Page 51 – ESP; CD
SM-CDM1057
CD/MP3/WMA RECEIVER
CD/MP3/WMA-
Instruction manual
"Loading the manual" means you need to wait until the file loads and becomes available for online reading. Some manuals are very large, and the time they take to appear depends on your internet speed.
Summary
2 Dear customer! Thank you for purchasing our product. For safety, it is strongly recommended to read this manual carefully before connecting, operating and/or adjusting the product and keep the manual for reference in the future. Table of contents Table of contents ....................................
3 IMPORTANT SAFEGUARDS Read carefully through the manual to familiarize yours with this high-quality sound system. Disconnect the vehicle's negative battery terminal while mounting and connecting the unit. When replacing the fuse, be sure to use one with an identical amperage rating. Using a fuse wi...
4 Installation/Connections First complete the electrical connections, and then check them for correctness. If you are not confident working with electrical wiring, removing and reinstalling interior panels, carpeting, dashboards or other components of your vehicle, please call your dealer in order t...