Soundmax SM-CDM1037 - User Manual
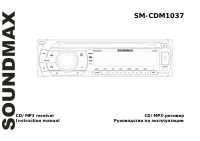
Soundmax SM-CDM1037 Car Radio – User Manual, read for free online in PDF format. We hope this helps you resolve any issues you may have. If you have further questions, please contact us through the contact form.
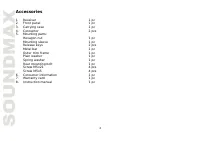
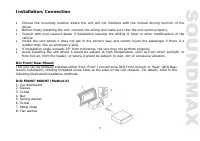
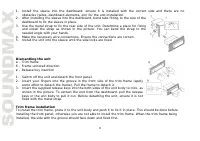
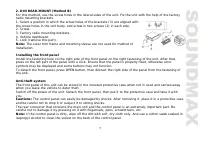
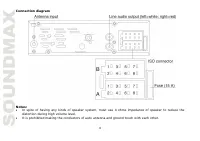
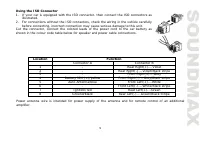
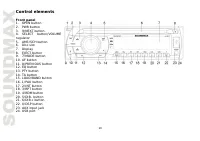
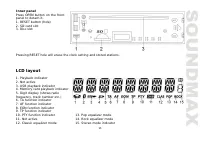
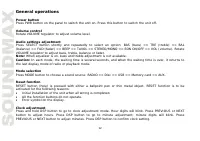

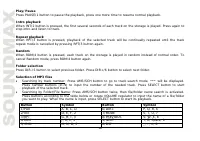

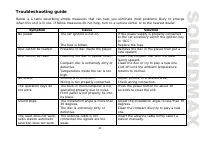
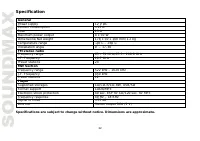
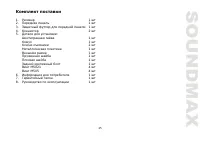
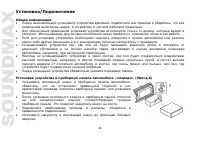
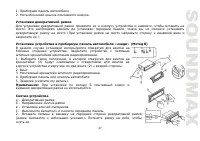
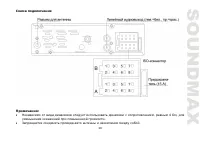

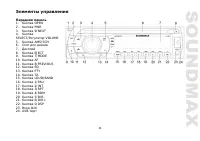
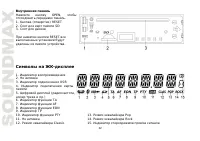
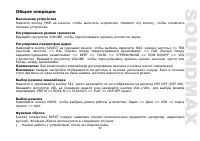
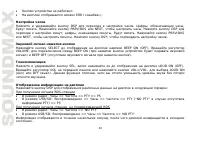

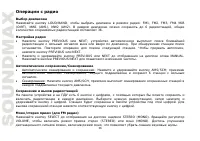

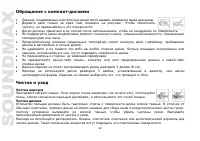
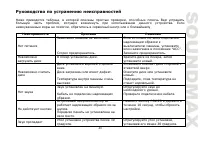
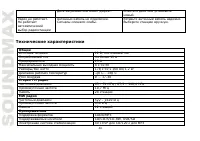
Table of Contents:
- Page 2 – Table of contents
- Page 3 – Important safeguards; amperage rating may cause serious damage to the unit.
- Page 4 – Accessories
- Page 5 – Installation/Connection; following illustrated installation methods.
- Page 7 – radio mounting brackets.; Installing the front panel; symbols may be displayed and some buttons may not function.
- Page 8 – Connection diagram; distortion during high volume level.
- Page 9 – Connector A
- Page 10 – Control elements; Front panel; regulator
- Page 11 – Inner panel; LCD layout
- Page 12 – General operations
- Page 13 – Loudness control; output. Press and hold this button again to switch loudness off.; Equalizer setting; In case of receiving a RDS station; AUX in jack; to listen to tracks using the car acoustic system.
- Page 14 – Radio operations; Band selection; stop the automatical search, press PREVIOUS or NEXT button.; Programming stations
- Page 15 – Radio Data System; If RDS service is not available in your area, turn off the AF mode.
- Page 16 – Press PTY button for the 3rd time to switch the PTY function off.
- Page 17 – SD card slot; pull it out from the slot.; USB port; systems are FAT and FAT32.
- Page 20 – Handling compact discs; Do not insert anything other than a CD into the CD loading slot.; Cleaning; Cleaning the cabinet; weak solution of soapy water, and then wipe clean.; Cleaning discs
- Page 21 – Troubleshooting guide; Symptom
- Page 22 – Specification
- Page 23 – SD
- Page 30 – ISO
- Page 35 – AUX
- Page 36 – FM; SELECT
- Page 43 – POWER
"Loading the manual" means you need to wait until the file loads and becomes available for online reading. Some manuals are very large, and the time they take to appear depends on your internet speed.
Summary
2 Dear customer! Thank you for purchasing our product. For safety, it is strongly recommended to read this manual carefully before connecting, operating and/or adjusting the product and keep the manual for reference in the future. Table of contents TABLE OF CONTENTS ....................................
3 Important safeguards Read carefully through this manual to familiarize yourself with this high-quality sound system. The beginning of operation is the moment of the unit installation. Before use the device in winter it is recommended to heat up the passenger compartment during 20 seconds or to the...
4 Accessories 1. Receiver 1 pc 2. Front panel 1 pc 3. Carrying case 1 pc 4. Connector 2 pcs 5. Mounting parts: Hexagon nut 1 pc Mounting sleeve 1 pc Release keys 2 pcs Metal bar 1 pc Outer trim frame 1 pc Plain washer 1 pc Spring washer 1 pc Rear mounting bolt 1 pc Screw M5x21 4 pcs Screw M5x5 4 pcs...