Pioneer MVH-160UI - User Manual
Pioneer MVH-160UI Car Radio – User Manual, read for free online in PDF format. We hope this helps you resolve any issues you may have. If you have further questions, please contact us through the contact form.

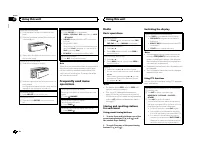
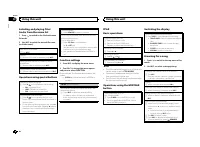

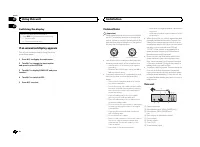
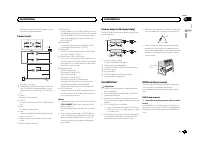
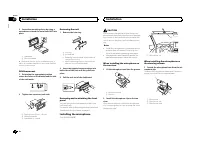
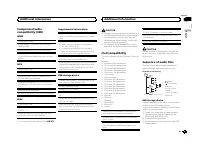
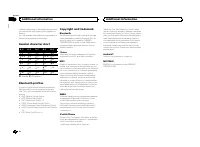
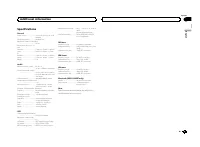
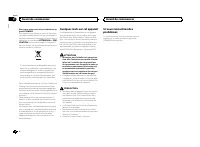
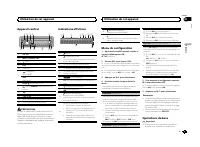
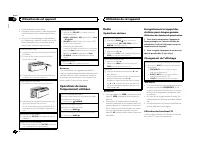
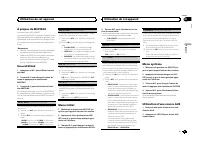

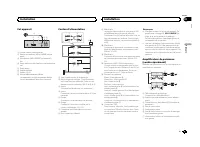
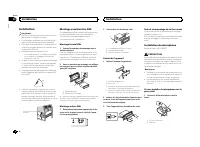


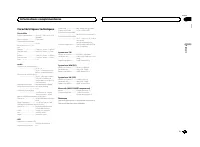
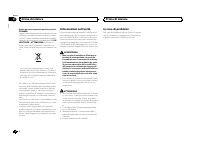
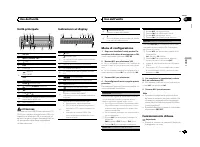
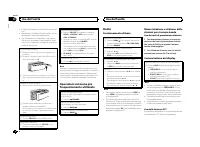


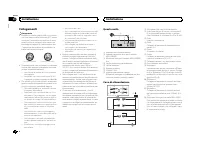
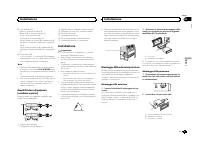
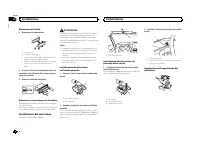
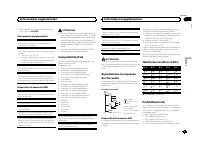
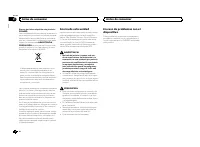
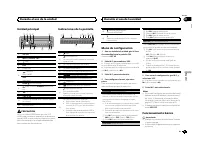
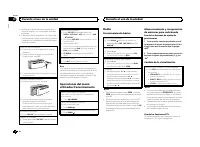

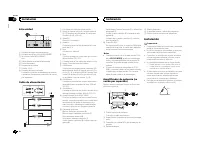
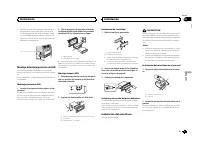
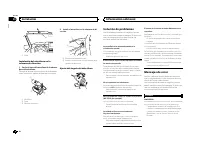


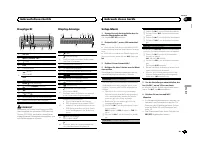
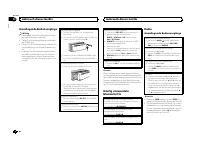
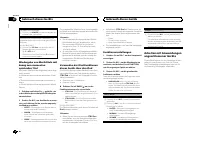

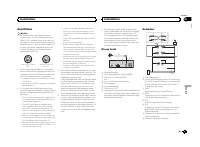
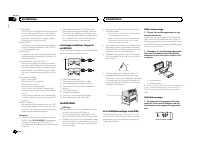
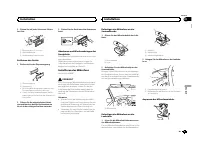

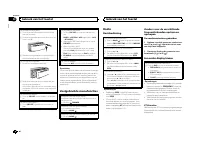
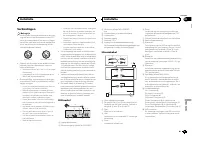

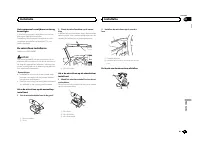

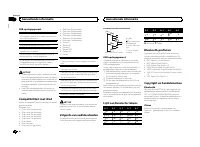
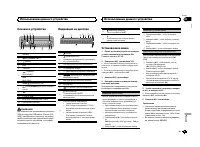


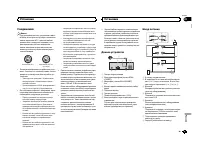
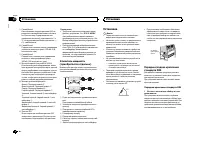
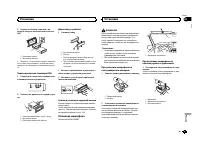
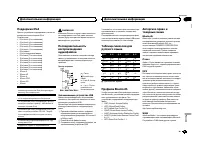

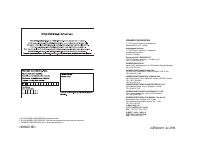
Table of Contents:
- Page 2 – Особенно важно, чтобы Вы прочли и; Оглавление
- Page 3 – Меры предосторожности; ВАЖНЫЕ МЕРЫ
- Page 4 – Во избежание разрядки
- Page 5 – Перед началом эксплуатации; Примечание
- Page 6 – Управление данным устройством; Элемент Назначение
- Page 7 – ВНИМАНИЕ
- Page 8 – Назначение; ANGLE
- Page 9 – Основные операции; Важно
- Page 10 – ПРЕДУПРЕЖДЕНИЕ; Основные функции меню
- Page 11 – Радио; Сохранение радиостанции вручную
- Page 12 – Воспроизведение с
- Page 13 – Выбор категории файла; Просмотр фотографий
- Page 14 – Просмотр видеозаписей
- Page 15 – Настройка системы; Меню настройки; Общие
- Page 16 – Видео
- Page 17 – Ш а г F M ( ш а г н а с т р о й к и в F M -; Настройки звука; Настройка видео
- Page 18 – Прочие функции; Использование
- Page 19 – Ру; Установка; Подключение устройства
- Page 21 – Рус; Ус; он
- Page 22 – Перед установкой данного
- Page 23 – Установка с помощью
- Page 24 – Снятие устройства; Установка по ISO
- Page 25 – Устранение неисправностей; Признак; Дополнительная информация
- Page 26 – Сообщения об ошибках
- Page 27 – Рекомендации по; Запоминающее устройство USB
- Page 28 – Совместимость с форматами; Внешнее запоминающее устройство; Пример иерархии
- Page 29 – Правильное использование; Светодиодная подсветка
- Page 30 – Авторское право и товарные
- Page 31 – Технические характеристики
- Page 36 – Blvd.Manuel Avila Camacho 138 10 piso
DIGITAL MEDIA RECEIVER
RECEPTEUR NUMERIQUE MULTIMEDIA
RICEVITORE MULTIMEDIALE DIGITALE
RECEPTOR DE MEDIOS DIGITALES
DIGITALER MEDIENEMPFÄNGER
DIGITALE MEDIA-RECEIVER
MVH-X360BT
MVH-160UI
English
Nederlands
Deutsch
Español
Italiano
Français
Ру
сский
"Loading the manual" means you need to wait until the file loads and becomes available for online reading. Some manuals are very large, and the time they take to appear depends on your internet speed.
Was this manual helpful?
About this manual
- Brand
- Pioneer
- Model
- MVH-160UI
- Document type
- User Manual
- Category
- Car Radio
- Language(s)
- German, English, Spanish, French, Italian, Dutch, Russian
- Pages
- 156
- File size
- 3.5 MB
- Format
Summary
Thank you for purchasing this PIONEER product To ensure proper use, please read through thismanual before using this product. It is especiallyimportant that you read and observe WARN- ING s and CAUTION s in this manual. Please keep the manual in a safe and accessible place forfuture reference. If yo...
Head unit b 7 8 6 4 1 3 5 2 9 a c 1 SRC / OFF 2 MULTI-CONTROL ( M.C. ) 3 (list) 4 DISP 5 USB port 6 (phone) MVH-X360BT iPod MVH-160UI 7 BAND / (iPod control) 8 (back)/ DIMMER (dimmer) 9 c / d a 1 / to 6 / b AUX input jack (3.5 mm stereo jack) c Detach button CAUTION Use an optional Pioneer USB cable...
Removing the front panel 1 Press the detach button to release the frontpanel. 2 Push the front panel upward ( M ) and then pull it toward ( N ) you. 3 Always store the detached front panel in a pro-tective case or bag. Re-attaching the front panel 1 Slide the front panel to the left. 2 Press the rig...
Ask a question
Related manuals
Popular Pioneer Car Radios
More Pioneer Car Radios models
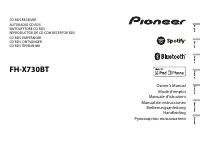 Pioneer FH-X730BT Manual
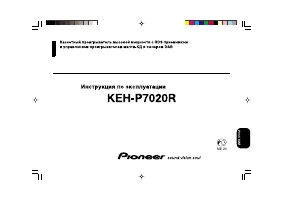 Pioneer KEH-P7020R Manual
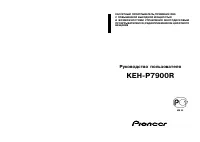 Pioneer KEH-P7900R Manual
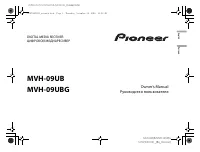 Pioneer MVH-09UB User Manual
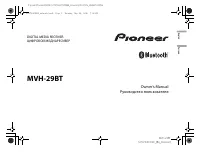 Pioneer MVH-29BT Manual
 Pioneer MVH-150UI User Manual
 Pioneer MVH-350BT User Manual
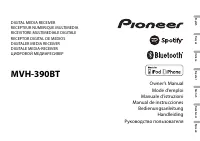 Pioneer MVH-390BT Manual
 Pioneer MVH-1400UB User Manual
 Pioneer MVH-A100V Manual
- Pioneer MVH-A200VBT Manual
 Pioneer MVH-AV180 Manual