Pioneer MVH-1400UB - User Manual
Pioneer MVH-1400UB Car Radio – User Manual, read for free online in PDF format. We hope this helps you resolve any issues you may have. If you have further questions, please contact us through the contact form.

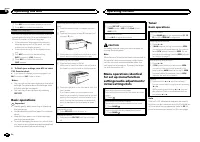
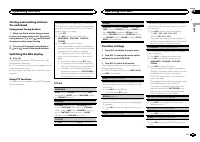
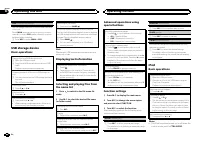
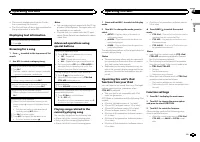
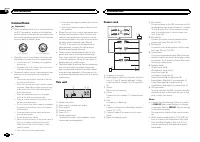
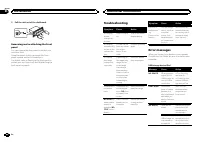

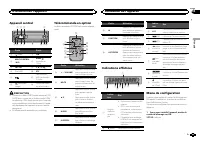
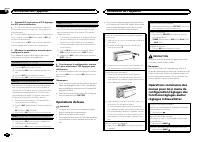

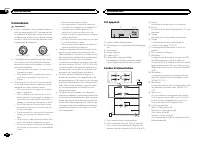
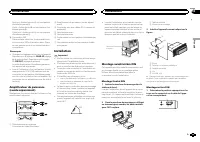
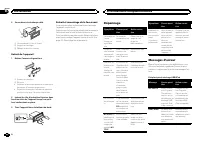

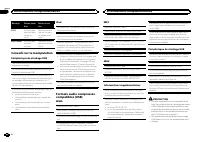

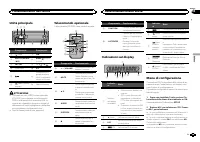
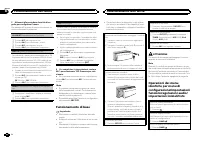
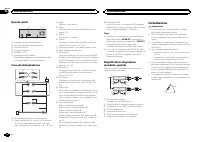
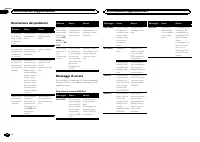


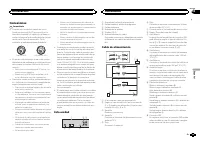
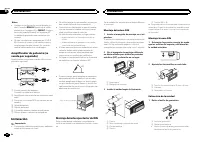
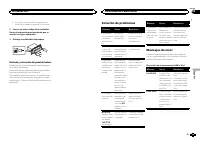
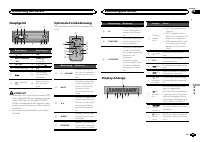
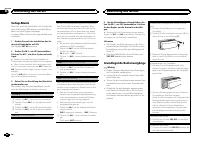


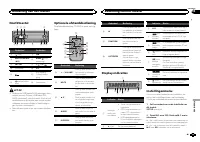
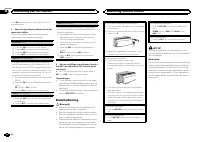

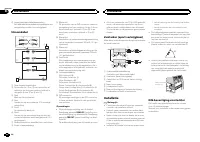
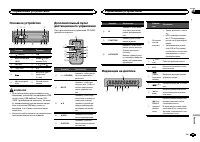
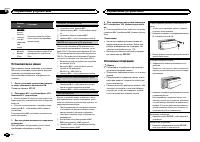
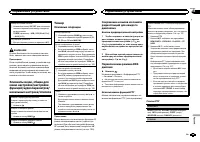

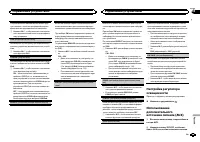
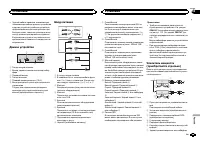
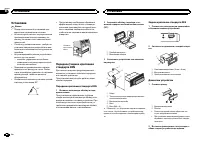
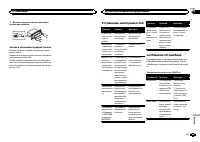
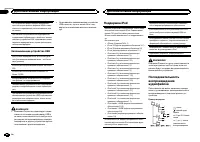

Table of Contents:
- Page 2 – Благодарим Вас; за покупку этого изделия компании; ПРЕДУПРЕЖДЕНИЕ; Оглавление
- Page 4 – Безопасность движения; а также возможного на; Меры предосторожности
- Page 5 – Viewing of; Меры
- Page 6 – Сведения об этом устройстве; RDS; ВНИМАНИЕ; Pioneer CarStereo-Pass; Условия эксплуатации; Перед началом эксплуатации
- Page 7 – Снимите переднюю панель; Демонстрационный режим; Важно; Demonstration; Перед
- Page 8 – Основное устройство; USB; Пульт дистанционного управления; Управление устройством
- Page 9 – Примечание; Основные операции; Управление
- Page 10 – Основные функции меню; Меню телефона имеется только в модели; Создание пользовательских
- Page 11 – Home; Справочная информация; Guide Info; Bluetooth; Данная функция доступна только для
- Page 12 – Настройки для громкой связи; необходимо настроить ус; Примечания
- Page 13 – Радиоприемник; Text; Radio; PTY; PI; PI SEEK; Auto PI; Нажмите
- Page 15 – Radio Text; Список
- Page 16 – Воспроизведение видео; iPod; Внешнее запоминающее устройство
- Page 17 – Поиск видео на; видео по; DivX
- Page 18 – VOD; Play; Настройка функций
- Page 21 – Воспроизведение аудио
- Page 22 – дорожек из списка; Выбор и вос; Поиск композиций на
- Page 24 – Просмотр фотографий; Photo
- Page 26 – шоу; Slide Show
- Page 27 – Телефон с поддержкой; Использование телефона с поддерж; Использование меню соединения; Перейдите в меню выбора функций; С помощью
- Page 29 – Для выбора функции вращайте
- Page 30 – Функции и их назначение; Phone Function
- Page 32 – Настройки системы; Откройте меню системы; Для выбора функции системы пово
- Page 34 – Настройки заставки; Настройка цвета подсветки; Color Setting; Appearance
- Page 35 – Начальные настройки; SRC
- Page 36 – Авто; лона автомобиля и создает кривую авто
- Page 37 – регули; Flat; Graphic EQ; Остановите автомобиль в тихом
- Page 38 – ON; Complete; Сообщения об
- Page 39 – Другие функции; AUX Input; Ос; AUX
- Page 40 – Отображение режима экрана; Wide Mode; Custom; DivX® Subtitle; Подробные инструкции
- Page 41 – TV Aspect; terbox»; DivX® VOD; Подробные
- Page 42 – Общие; Дополнительная информация
- Page 43 – Сообщения об ошибках; Для обращения к торговому представите; Дополнительная
- Page 46 – Список индикаторов
- Page 47 – Тюнер
- Page 49 – Совместимость с форматом
- Page 50 – Pioneer; Поддержка
- Page 51 – PIONEER
- Page 54 – Dolby Digital; Технические характеристики; Дисплей; Аудио
- Page 56 – EW
Owner
’
s Manual
Mode d
’
emploi
Manuale d
’
istruzioni
Manual de instrucciones
Bedienungsanleitung
Handleiding
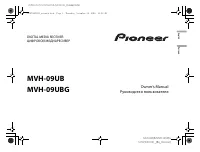
Руководство пользователя
RDS MEDIA CENTER RECEIVER
AUTORADIO MULTIMEDIA RDS
RICEVITORE MULTIMEDIALE CON RDS
RECEPTOR Y CENTRO DE COMUNICACIONES RDS
RDS-MULTIMEDIA-EMPFÄNGER
RDS MEDIA CENTER ONTVANGER
ЦИФРОВОЙ МЕДИА
-
РЕСИВЕР
MVH-1400UB
Français
"Loading the manual" means you need to wait until the file loads and becomes available for online reading. Some manuals are very large, and the time they take to appear depends on your internet speed.
Was this manual helpful?
About this manual
- Brand
- Pioneer
- Model
- MVH-1400UB
- Document type
- User Manual
- Category
- Car Radio
- Language(s)
- German, English, Spanish, French, Italian, Dutch, Russian
- Pages
- 124
- File size
- 2.1 MB
- Format
Summary
Thank you for purchasing this PIONEER product To ensure proper use, please read through thismanual before using this product. It is especiallyimportant that you read and observe WARN- ING s and CAUTION s in this manual. Please keep the manual in a safe and accessible place forfuture reference. If yo...
1 Turn M.C. to set the demo display to on or off. 2 Press M.C. to confirm the selection. TITLE (multi-language) This unit can display the text information of a com-pressed audio file even if they are embedded in aWestern European or Russian language. ! If the embedded language and the selectedlangua...
Storing and recalling stationsfor each band Using preset tuning buttons 1 When you find a station that you want to store in memory, press one of the presettuning buttons (1/ to 6/ ) and hold until the preset number stops flashing. 2 Press one of the preset tuning buttons (1/ to 6/ ) to select the de...
Ask a question
Related manuals
Popular Pioneer Car Radios
More Pioneer Car Radios models
 Pioneer MVH-09UB User Manual
 Pioneer MVH-29BT Manual
 Pioneer MVH-150UI User Manual
 Pioneer MVH-160UI User Manual
 Pioneer MVH-350BT User Manual
 Pioneer MVH-390BT Manual
 Pioneer MVH-A100V Manual
- Pioneer MVH-A200VBT Manual
 Pioneer MVH-AV180 Manual
 Pioneer MVH-AV190 Manual
 Pioneer MVH-AV280BT Manual
- Pioneer MVH-AV290BT Manual