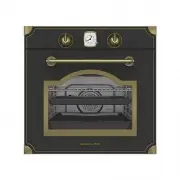
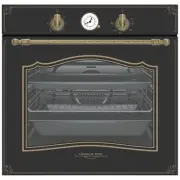
Zigmund & Shtain EN 192.522 B - Manuals
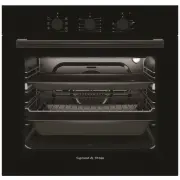
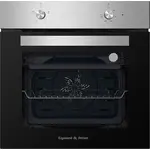
User Manual Zigmund & Shtain EN 192.522 B


Summary
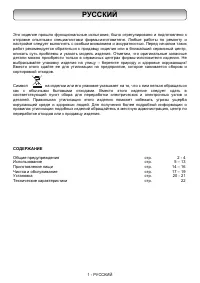
РУССКИЙ Это изделие прошло функциональные испытания , было отрегулировано и подготовлено к отправке опытными специалистами фирмы - изготовителя . Любые работы по ремонту и настройке следует выполнять с особым вниманием и аккуратностью . Перед началом таких работ рекомендуется обратиться к продавцу и...
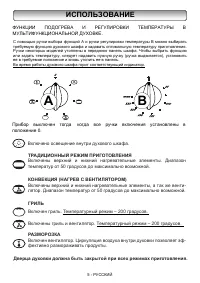
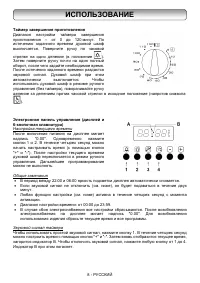
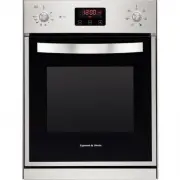
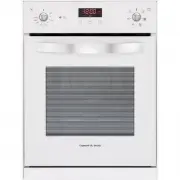
ИСПОЛЬЗОВАНИЕ C помощью ручки выбора функций А и ручки регулировки температуры В можно выбирать требуемую функцию духового шкафа и задавать оптимальную температуру приготовления . Ручки некоторых моделей утоплены в переднюю панель шкафа . Чтобы выбрать функцию или задать температуру , следует надави...
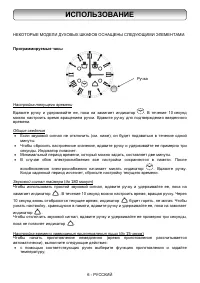
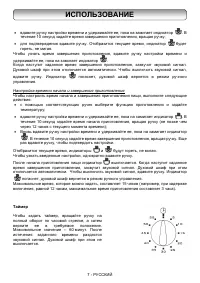
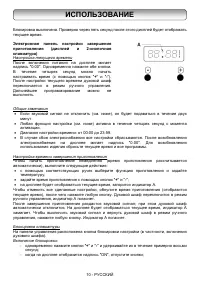
ИСПОЛЬЗОВАНИЕ НЕКОТОРЫЕ МОДЕЛИ ДУХОВЫХ ШКАФОВ ОСНАЩЕНЫ СЛЕДУЮЩИМИ ЭЛЕМЕНТАМИ . Программируемые часы Настройка текущего времени Вдавите ручку и удерживайте ее , пока на замигает индикатор . В течение 10 секунд можно настроить время вращением ручки . Вдавите ручку для подтверждения введенного времени ...
Zigmund & Shtain Ovens Manuals
-
 Zigmund & Shtain E 146 B
User Manual
Zigmund & Shtain E 146 B
User Manual
-
 Zigmund & Shtain E 146 S
User Manual
Zigmund & Shtain E 146 S
User Manual
-
 Zigmund & Shtain EN 113.722 A
User Manual
Zigmund & Shtain EN 113.722 A
User Manual
-
 Zigmund & Shtain EN 115.622 B
User Manual
Zigmund & Shtain EN 115.622 B
User Manual
-
 Zigmund & Shtain EN 115.622 S
User Manual
Zigmund & Shtain EN 115.622 S
User Manual
-
 Zigmund & Shtain EN 115.622 W
User Manual
Zigmund & Shtain EN 115.622 W
User Manual
-
 Zigmund & Shtain EN 118.511 B
User Manual
Zigmund & Shtain EN 118.511 B
User Manual
-
 Zigmund & Shtain EN 118.511 S
User Manual
Zigmund & Shtain EN 118.511 S
User Manual
-
 Zigmund & Shtain EN 118.511 W
User Manual
Zigmund & Shtain EN 118.511 W
User Manual
-
 Zigmund & Shtain EN 122.921 S
User Manual
Zigmund & Shtain EN 122.921 S
User Manual
-
 Zigmund & Shtain EN 129.612 A
User Manual
Zigmund & Shtain EN 129.612 A
User Manual
-
 Zigmund & Shtain EN 182.512 A
User Manual
Zigmund & Shtain EN 182.512 A
User Manual
-
 Zigmund & Shtain EN 182.512 M
User Manual
Zigmund & Shtain EN 182.512 M
User Manual
-
 Zigmund & Shtain EN 182.512 X
User Manual
Zigmund & Shtain EN 182.512 X
User Manual
-
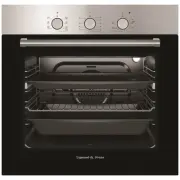
 Zigmund & Shtain EN 192.522 S
User Manual
Zigmund & Shtain EN 192.522 S
User Manual
-
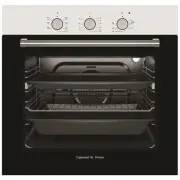
 Zigmund & Shtain EN 192.522 W
User Manual
Zigmund & Shtain EN 192.522 W
User Manual
-
 Zigmund & Shtain E 136 B
Manual
Zigmund & Shtain E 136 B
Manual
-
 Zigmund & Shtain E 149 W
Manual
Zigmund & Shtain E 149 W
Manual
-
 Zigmund & Shtain E 136 S
Manual
Zigmund & Shtain E 136 S
Manual
-
 Zigmund & Shtain E 149 I
Manual
Zigmund & Shtain E 149 I
Manual