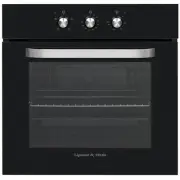
Zigmund & Shtain EN 118.511 B - Manuals
User Manual Zigmund & Shtain EN 118.511 B


Summary
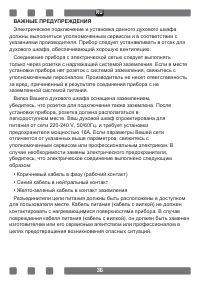
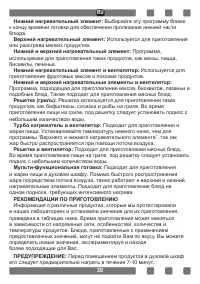
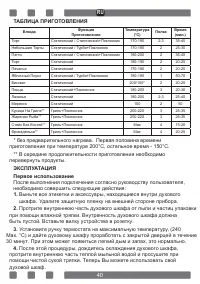
3 CONTENTS Important Warnings 4 Introducing The Appliance 6 Technical Specifications 7 Installation Of Appliance 7 Important Warnings 13 Control Panel 14 Program Types 16 Cooking Recommendations 17 Cooking Table 17 Using The Oven 18 Replacing Oven Lamp 19 Cleaning Oven Glass 19 Cleaning And Mounting...
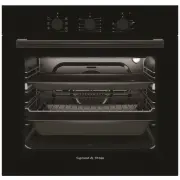
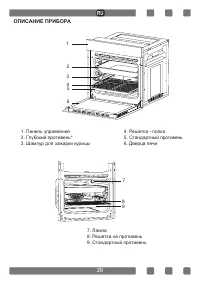
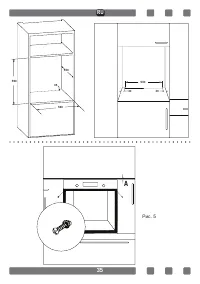
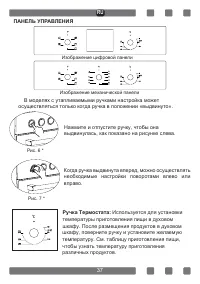
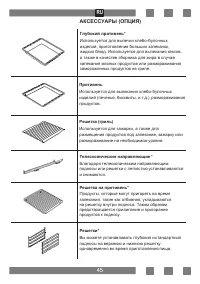
6 INTRODUCING THE APPLIANCE 1.Control Panel 4.In Tray Wire Grill 2.Deep Tray* 5.Standard Tray 3.Roast Chicken Skewer 6.Oven door 7. Lamp8. In Tray Wire Grill 9. Standard Tray 1 2 34 5 6 7 8 9 GB
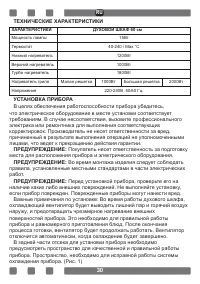
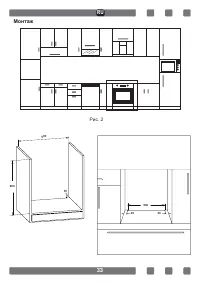
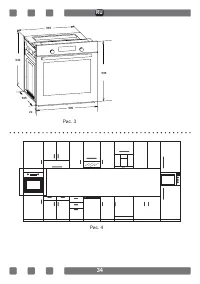
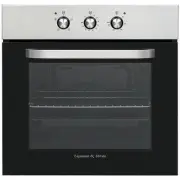
7 TECHNICAL SPECIFICATIONS SPECIFICATIONS 60 cm Built-In Oven Lamp Power 15W Thermostat 40-240 / Max ° C Lower Heater 1200W Upper Heater 1000W Turbo Heater 1800W Grill Heater Small Grill 1000W Big Grill 2000W Supply Voltage 220V-240V 50/60 Hz Technical specifications can be changed without prior not...
Zigmund & Shtain Ovens Manuals
-
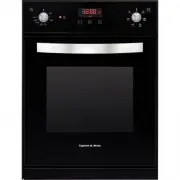
 Zigmund & Shtain E 146 B
User Manual
Zigmund & Shtain E 146 B
User Manual
-
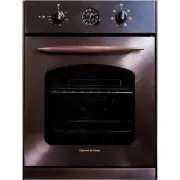
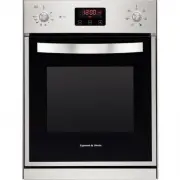
 Zigmund & Shtain E 146 S
User Manual
Zigmund & Shtain E 146 S
User Manual
-
 Zigmund & Shtain EN 113.722 A
User Manual
Zigmund & Shtain EN 113.722 A
User Manual
-
 Zigmund & Shtain EN 115.622 B
User Manual
Zigmund & Shtain EN 115.622 B
User Manual
-
 Zigmund & Shtain EN 115.622 S
User Manual
Zigmund & Shtain EN 115.622 S
User Manual
-
 Zigmund & Shtain EN 115.622 W
User Manual
Zigmund & Shtain EN 115.622 W
User Manual
-
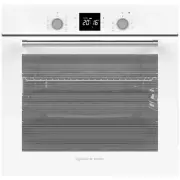
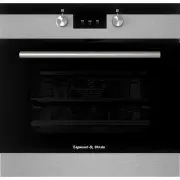
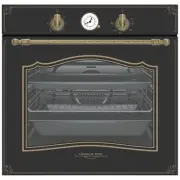
 Zigmund & Shtain EN 118.511 S
User Manual
Zigmund & Shtain EN 118.511 S
User Manual
-
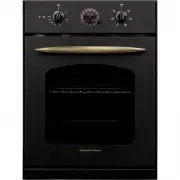
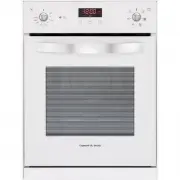
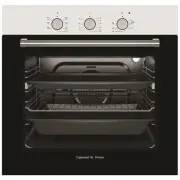 Zigmund & Shtain EN 118.511 W
User Manual
Zigmund & Shtain EN 118.511 W
User Manual
-
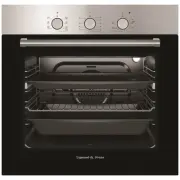
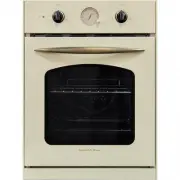
 Zigmund & Shtain EN 122.921 S
User Manual
Zigmund & Shtain EN 122.921 S
User Manual
-
 Zigmund & Shtain EN 129.612 A
User Manual
Zigmund & Shtain EN 129.612 A
User Manual
-
 Zigmund & Shtain EN 182.512 A
User Manual
Zigmund & Shtain EN 182.512 A
User Manual
-
 Zigmund & Shtain EN 182.512 M
User Manual
Zigmund & Shtain EN 182.512 M
User Manual
-
 Zigmund & Shtain EN 182.512 X
User Manual
Zigmund & Shtain EN 182.512 X
User Manual
-
 Zigmund & Shtain EN 192.522 B
User Manual
Zigmund & Shtain EN 192.522 B
User Manual
-
 Zigmund & Shtain EN 192.522 S
User Manual
Zigmund & Shtain EN 192.522 S
User Manual
-
 Zigmund & Shtain EN 192.522 W
User Manual
Zigmund & Shtain EN 192.522 W
User Manual
-
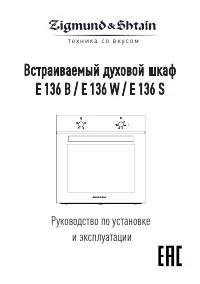 Zigmund & Shtain E 136 B
Manual
Zigmund & Shtain E 136 B
Manual
-
 Zigmund & Shtain E 149 W
Manual
Zigmund & Shtain E 149 W
Manual
-
 Zigmund & Shtain E 136 S
Manual
Zigmund & Shtain E 136 S
Manual
-
 Zigmund & Shtain E 149 I
Manual
Zigmund & Shtain E 149 I
Manual