Sunbeam EMM5400SS - Manuals
User Manual Sunbeam EMM5400SS


Summary
3 Xxx Sunbeam’s Safety Precautions Important Instructions - retain for future use If you have any concerns regarding the performance and use of your appliance, please visit the Sunbeam Website or contact Sunbeam Consumer Care - details are on the back page. Ensure the above safety precautions are un...
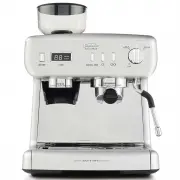
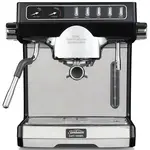
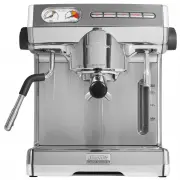
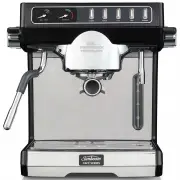
4 14 22 20 18 16 12 10 8 S BARISTA MAX MANUAL SHOT TAP & GO GRINDER CLEAN GRINDER D IS C FO R C LEA NING TAB LET U SE TH IS S IDE UP S Dual Wall Filter Basket Pin Features of your Sunbeam Barista Plus A C B E D F G M J K L H I Steam Wand Tip Pin 58mm Tamper 460mL Milk Jug Thermometer Two Cup One...
7 Temp° IQ Shot Control™ Optimum temperature The Temp° IQ Shot Control™ is an exclusive technology developed by Sunbeam for your Barista Plus. This 3 way system delivers the accurate & stable water temperature that is needed for consistently great tasting coffee. • Thermoblock Technology The The...
Sunbeam Coffee Machines Manuals
-
 Sunbeam CM2000R
User Manual
Sunbeam CM2000R
User Manual
-
 Sunbeam CM2000W
User Manual
Sunbeam CM2000W
User Manual
-
 Sunbeam EM0020EM5000
User Manual
Sunbeam EM0020EM5000
User Manual
-
 Sunbeam EM2800
User Manual
Sunbeam EM2800
User Manual
-
 Sunbeam EM4300
User Manual
Sunbeam EM4300
User Manual
-
 Sunbeam EM4300K
User Manual
Sunbeam EM4300K
User Manual
-
 Sunbeam EM4300S
User Manual
Sunbeam EM4300S
User Manual
-
 Sunbeam EM4820
User Manual
Sunbeam EM4820
User Manual
-
Sunbeam EM4820
Manual
-
 Sunbeam EM5000
User Manual
Sunbeam EM5000
User Manual
-
 Sunbeam EM5000K
User Manual
Sunbeam EM5000K
User Manual
-
 Sunbeam EM5300
User Manual
Sunbeam EM5300
User Manual
-
 Sunbeam EM5300K
User Manual
Sunbeam EM5300K
User Manual
-
 Sunbeam EM7000
User Manual
Sunbeam EM7000
User Manual
-
Sunbeam EM7000
Manual
-
 Sunbeam EM7100
User Manual
Sunbeam EM7100
User Manual
-
 Sunbeam EMM2900SS
User Manual
Sunbeam EMM2900SS
User Manual
-
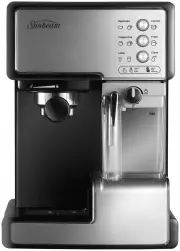
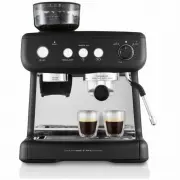
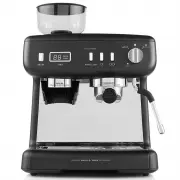 Sunbeam EMM5400BK
User Manual
Sunbeam EMM5400BK
User Manual
-
 Sunbeam EMM7200BK
User Manual
Sunbeam EMM7200BK
User Manual
-
 Sunbeam PC7800
User Manual
Sunbeam PC7800
User Manual