Soundmax SM-LCD715 - Manuals
Soundmax SM-LCD715 Car Radio – User Manual in PDF format online.
Manuals:
User Manual Soundmax SM-LCD715


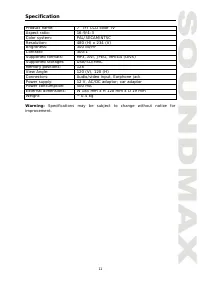
Summary
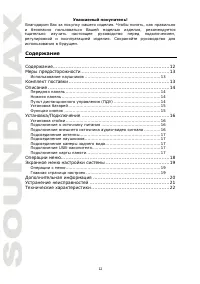
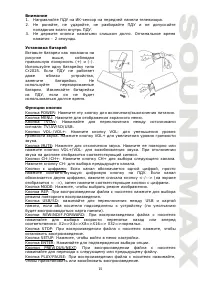
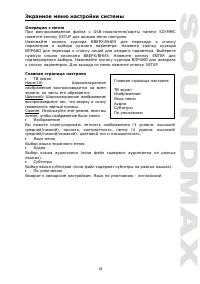
2 Dear customer! Thank you for purchasing our product. Please read this manual carefullybefore connecting, operating and adjusting the unit, so you will know how to operate this unit properly and safely. Keep the manual for reference in thefuture. Contents Contents......................................
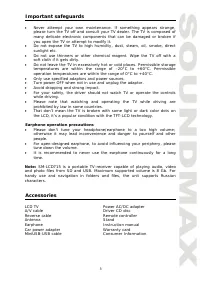
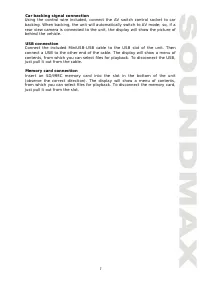
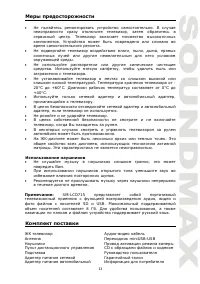
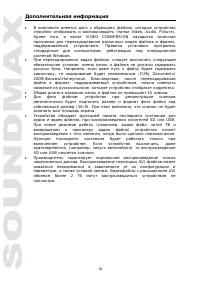
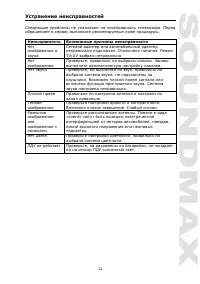
3 Important safeguards Never attempt your own maintenance. If something appears strange, please turn the TV off and consult your TV dealer. The TV is composed ofmany delicate electronic components that can be damaged or broken if you open the TV or attempt to modify it.Do not expose the TV to high h...
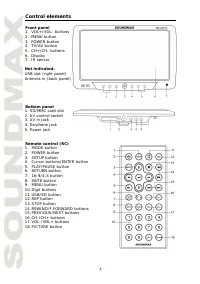
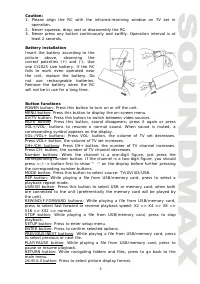
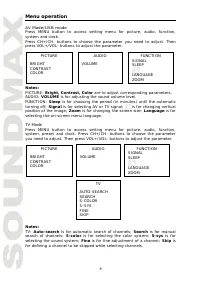
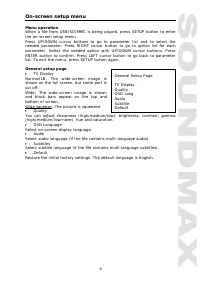
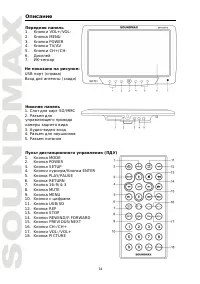
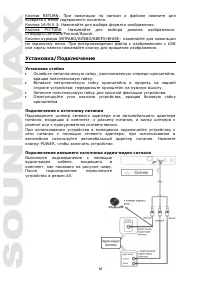
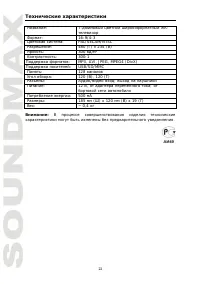
4 Control elements Front panel 1. VOL+/VOL- buttons2. MENU button 3. POWER button4. TV/AV button 5. CH+/CH- buttons6. Display 7. IR sensor Not indicated:USB slot (right panel) Antenna in (back panel) Bottom panel 1. SD/MMC card slot2. AV control socket 3. AV in jack4. Earphone jack 5. Power jack Rem...
Soundmax Car Radios Manuals
-
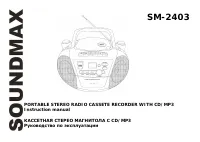 Soundmax SM-2403
User Manual
Soundmax SM-2403
User Manual
-
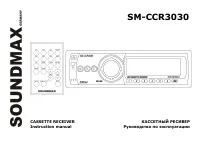 Soundmax SM-CCR3030
User Manual
Soundmax SM-CCR3030
User Manual
-
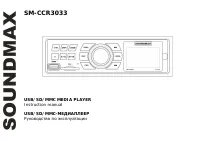 Soundmax SM-CCR3033
User Manual
Soundmax SM-CCR3033
User Manual
-
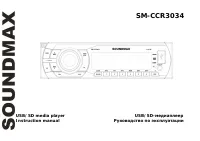 Soundmax SM-CCR3034
User Manual
Soundmax SM-CCR3034
User Manual
-
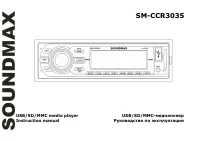 Soundmax SM-CCR3035
User Manual
Soundmax SM-CCR3035
User Manual
-
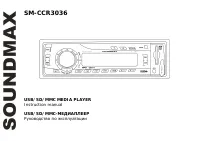 Soundmax SM-CCR3036
User Manual
Soundmax SM-CCR3036
User Manual
-
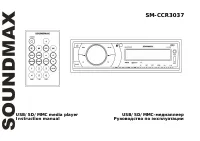 Soundmax SM-CCR3037
User Manual
Soundmax SM-CCR3037
User Manual
-
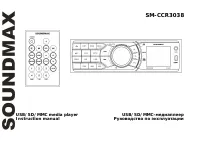 Soundmax SM-CCR3038
User Manual
Soundmax SM-CCR3038
User Manual
-
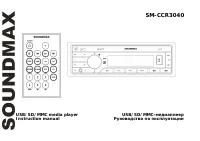 Soundmax SM-CCR3040
User Manual
Soundmax SM-CCR3040
User Manual
-
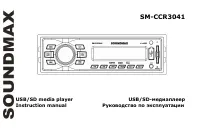 Soundmax SM-CCR3041
User Manual
Soundmax SM-CCR3041
User Manual
-
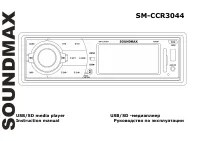 Soundmax SM-CCR3044
User Manual
Soundmax SM-CCR3044
User Manual
-
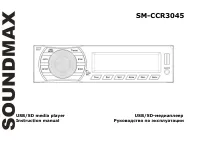 Soundmax SM-CCR3045
User Manual
Soundmax SM-CCR3045
User Manual
-
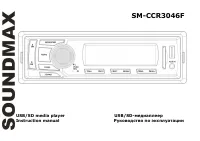 Soundmax SM-CCR3046F
User Manual
Soundmax SM-CCR3046F
User Manual
-
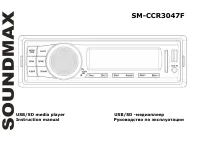 Soundmax SM-CCR3047F
User Manual
Soundmax SM-CCR3047F
User Manual
-
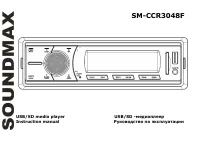 Soundmax SM-CCR3048F
User Manual
Soundmax SM-CCR3048F
User Manual
-
 Soundmax SM-CCR3049F
User Manual
Soundmax SM-CCR3049F
User Manual
-
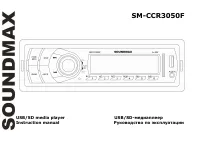 Soundmax SM-CCR3050F
User Manual
Soundmax SM-CCR3050F
User Manual
-
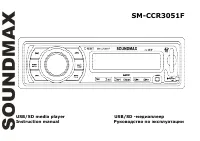 Soundmax SM-CCR3051F
User Manual
Soundmax SM-CCR3051F
User Manual
-
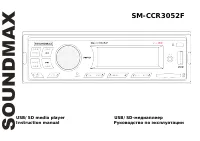 Soundmax SM-CCR3052F
User Manual
Soundmax SM-CCR3052F
User Manual
-
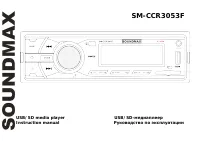 Soundmax SM-CCR3053F
User Manual
Soundmax SM-CCR3053F
User Manual