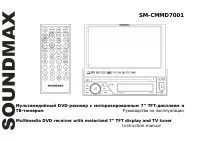
Soundmax SM-CMMD7001 - Manuals
Soundmax SM-CMMD7001 Car Radio – User Manual in PDF format online.
Manuals:
User Manual Soundmax SM-CMMD7001

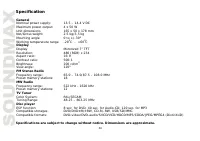


Summary
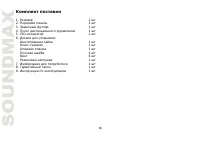
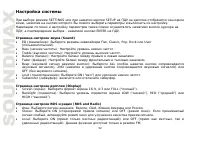
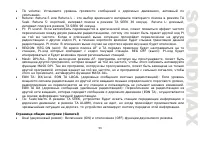
2 Dear customer! Thank you for purchasing our product. For safety, it is strongly recommended to read this manual carefully before connecting, operating and/or adjusting the product and keep the manual for reference in the future. Table of contents TABLE OF CONTENTS ....................................
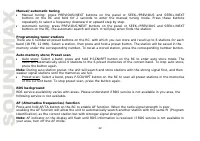
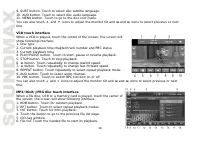
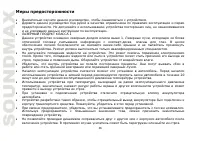
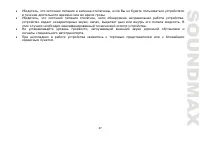
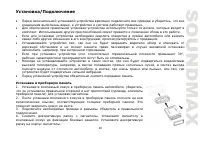
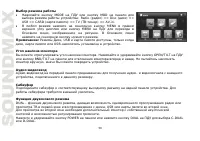
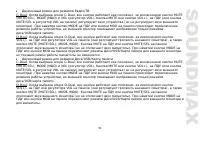
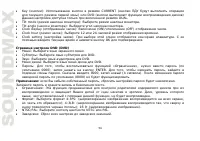
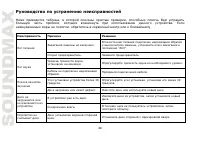
3 Important safeguards Read carefully through the manual to familiarize yourself with this unit. Keep this manual handy as a reference for operating procedures and precautions. Do not allow persons who have not read through this manual to use this unit. “CLASS 1 LASER PRODUCT” This product contains ...
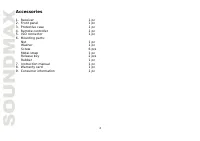
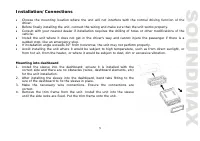
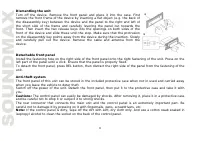
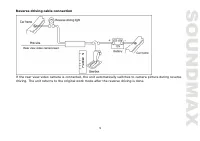
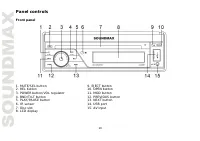
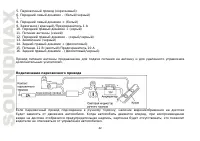
4 Accessories 1. Receiver 1 pc 2. Front panel 1 pc 3. Protective case 1 pc 4. Remote controller 1 pc 5. ISO connector 1 pc 6. Mounting parts: Nut 1 pc Washer 1 pc Screw 6 pcs Metal strap 1 pc Release key 2 pcs Rubber 1 pc 7. Instruction manual 1 pc 8. Warranty card 1 pc 9. Consumer information 1 pc
Soundmax Car Radios Manuals
-
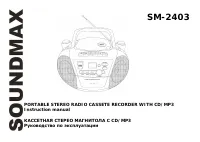 Soundmax SM-2403
User Manual
Soundmax SM-2403
User Manual
-
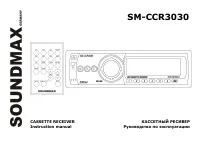 Soundmax SM-CCR3030
User Manual
Soundmax SM-CCR3030
User Manual
-
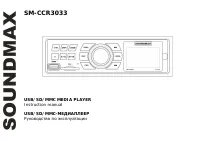 Soundmax SM-CCR3033
User Manual
Soundmax SM-CCR3033
User Manual
-
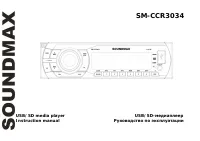 Soundmax SM-CCR3034
User Manual
Soundmax SM-CCR3034
User Manual
-
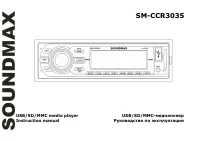 Soundmax SM-CCR3035
User Manual
Soundmax SM-CCR3035
User Manual
-
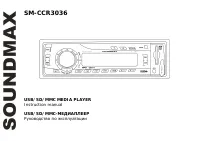 Soundmax SM-CCR3036
User Manual
Soundmax SM-CCR3036
User Manual
-
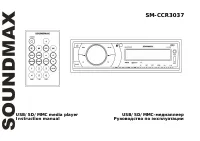 Soundmax SM-CCR3037
User Manual
Soundmax SM-CCR3037
User Manual
-
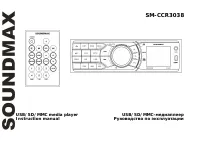 Soundmax SM-CCR3038
User Manual
Soundmax SM-CCR3038
User Manual
-
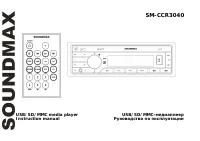 Soundmax SM-CCR3040
User Manual
Soundmax SM-CCR3040
User Manual
-
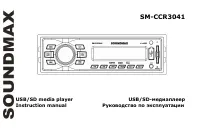 Soundmax SM-CCR3041
User Manual
Soundmax SM-CCR3041
User Manual
-
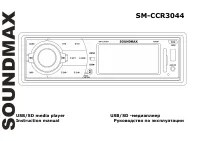 Soundmax SM-CCR3044
User Manual
Soundmax SM-CCR3044
User Manual
-
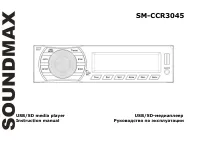 Soundmax SM-CCR3045
User Manual
Soundmax SM-CCR3045
User Manual
-
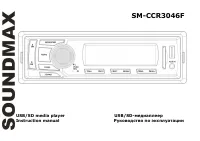 Soundmax SM-CCR3046F
User Manual
Soundmax SM-CCR3046F
User Manual
-
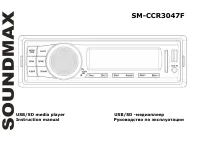 Soundmax SM-CCR3047F
User Manual
Soundmax SM-CCR3047F
User Manual
-
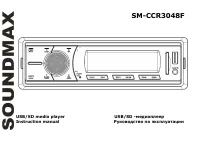 Soundmax SM-CCR3048F
User Manual
Soundmax SM-CCR3048F
User Manual
-
 Soundmax SM-CCR3049F
User Manual
Soundmax SM-CCR3049F
User Manual
-
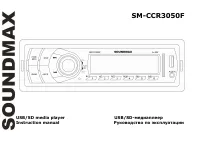 Soundmax SM-CCR3050F
User Manual
Soundmax SM-CCR3050F
User Manual
-
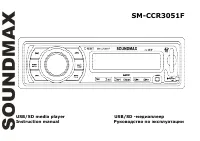 Soundmax SM-CCR3051F
User Manual
Soundmax SM-CCR3051F
User Manual
-
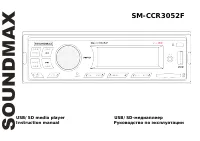 Soundmax SM-CCR3052F
User Manual
Soundmax SM-CCR3052F
User Manual
-
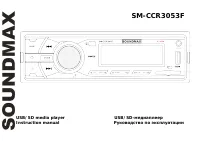 Soundmax SM-CCR3053F
User Manual
Soundmax SM-CCR3053F
User Manual