Soundmax SM-CMD3007 - Manuals
Soundmax SM-CMD3007 Car Radio – User Manual in PDF format online.
Manuals:
User Manual Soundmax SM-CMD3007


Summary
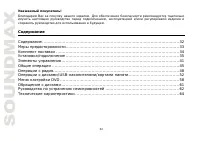
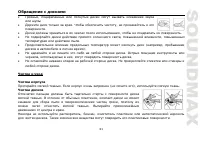
2 Dear customer! Thank you for purchasing our product. For safety, it is strongly recommended to read this manual carefully before connecting, operating and/or adjusting the product and keep the manual for reference in the future. Table of contents Table of contents ....................................
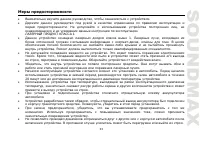
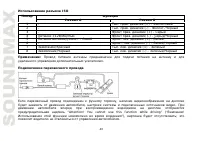
3 Important safeguards Read carefully through the manual to familiarize yourselves with this unit.Keep this manual handy as a reference for operating procedures and precautions. Do not allow personswho have not read through this manual to use this unit.“CLASS 1 LASER PRODUCT”This product contains a ...
4 Make sure you disconnect the power supply if the system appears to be working incorrectly, is makingan unusual sound, has a strange smell, has smoke emitting from it or liquids have got inside it. Let aqualified technician check the system.Always keep the volume low enough so that you can hear sou...
Soundmax Car Radios Manuals
-
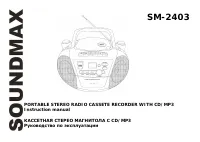 Soundmax SM-2403
User Manual
Soundmax SM-2403
User Manual
-
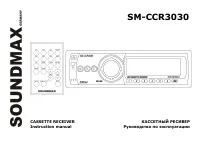 Soundmax SM-CCR3030
User Manual
Soundmax SM-CCR3030
User Manual
-
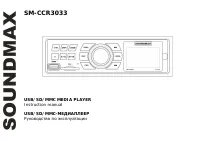 Soundmax SM-CCR3033
User Manual
Soundmax SM-CCR3033
User Manual
-
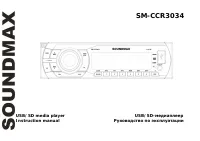 Soundmax SM-CCR3034
User Manual
Soundmax SM-CCR3034
User Manual
-
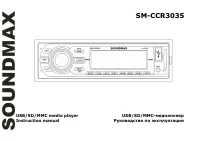 Soundmax SM-CCR3035
User Manual
Soundmax SM-CCR3035
User Manual
-
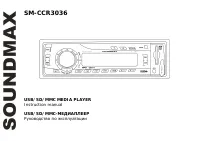 Soundmax SM-CCR3036
User Manual
Soundmax SM-CCR3036
User Manual
-
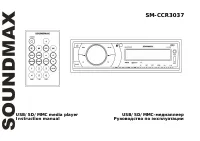 Soundmax SM-CCR3037
User Manual
Soundmax SM-CCR3037
User Manual
-
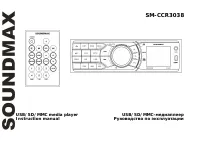 Soundmax SM-CCR3038
User Manual
Soundmax SM-CCR3038
User Manual
-
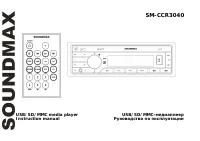 Soundmax SM-CCR3040
User Manual
Soundmax SM-CCR3040
User Manual
-
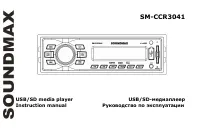 Soundmax SM-CCR3041
User Manual
Soundmax SM-CCR3041
User Manual
-
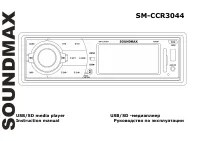 Soundmax SM-CCR3044
User Manual
Soundmax SM-CCR3044
User Manual
-
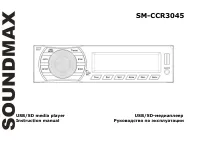 Soundmax SM-CCR3045
User Manual
Soundmax SM-CCR3045
User Manual
-
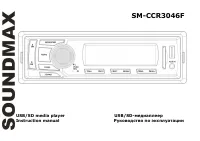 Soundmax SM-CCR3046F
User Manual
Soundmax SM-CCR3046F
User Manual
-
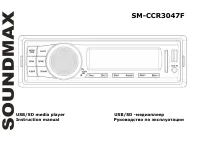 Soundmax SM-CCR3047F
User Manual
Soundmax SM-CCR3047F
User Manual
-
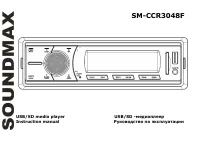 Soundmax SM-CCR3048F
User Manual
Soundmax SM-CCR3048F
User Manual
-
 Soundmax SM-CCR3049F
User Manual
Soundmax SM-CCR3049F
User Manual
-
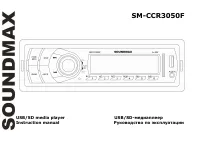 Soundmax SM-CCR3050F
User Manual
Soundmax SM-CCR3050F
User Manual
-
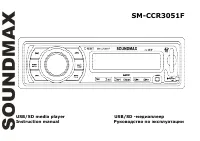 Soundmax SM-CCR3051F
User Manual
Soundmax SM-CCR3051F
User Manual
-
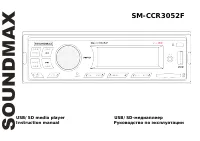 Soundmax SM-CCR3052F
User Manual
Soundmax SM-CCR3052F
User Manual
-
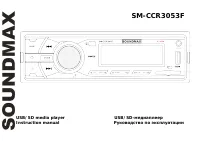 Soundmax SM-CCR3053F
User Manual
Soundmax SM-CCR3053F
User Manual