Soundmax SM-CDM1055 - Manuals
Soundmax SM-CDM1055 Car Radio – User Manual in PDF format online.
Manuals:
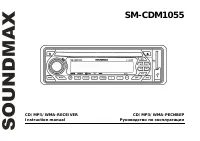
User Manual Soundmax SM-CDM1055


Summary
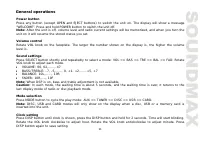
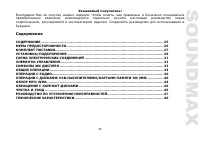
2 Dear customer! Thank you for purchasing our product. For safety, it is strongly recommended to read this manual carefully before connecting, operating and/or adjusting the product and keep the manual for reference in the future. Table of contents TABLE OF CONTENTS ....................................
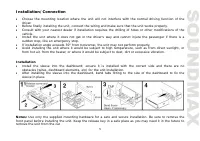
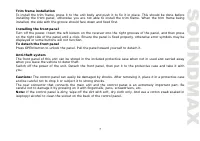
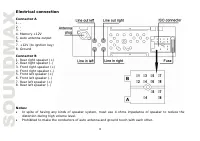
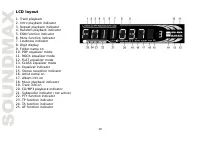
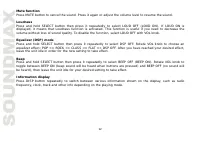
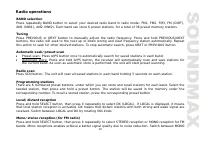
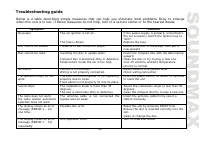
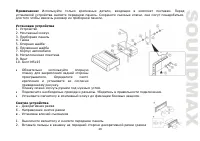
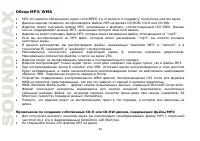
3 Important safeguards Read carefully through this manual to familiarize yourself with this high-quality sound system. The beginning of operation is the moment of the unit installation. Before use the device in winter it is recommended to heat up the passenger compartment during 20 seconds or to the...
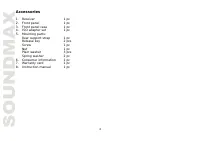
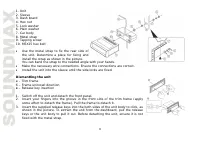
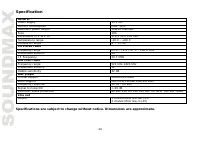
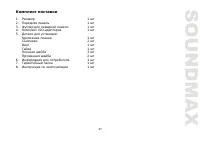
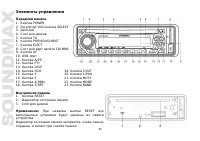
4 Accessories 1. Receiver 1 pc 2. Front panel 1 pc 3. Front panel case 1 pc 4. ISO adapter set 1 pc 5. Mounting parts: Rear support strap 1 pc Release key 2 pcs Screw 1 pc Nut 1 pc Plain washer 3 pcs Spring washer 2 pc 6. Consumer information 1 pc 7. Warranty card 1 pc 8. Instruction manual 1 pc
Soundmax Car Radios Manuals
-
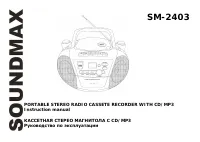 Soundmax SM-2403
User Manual
Soundmax SM-2403
User Manual
-
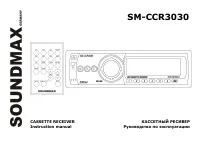 Soundmax SM-CCR3030
User Manual
Soundmax SM-CCR3030
User Manual
-
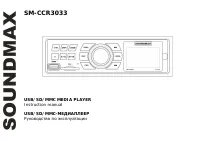 Soundmax SM-CCR3033
User Manual
Soundmax SM-CCR3033
User Manual
-
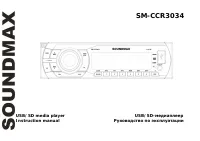 Soundmax SM-CCR3034
User Manual
Soundmax SM-CCR3034
User Manual
-
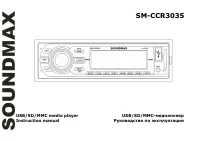 Soundmax SM-CCR3035
User Manual
Soundmax SM-CCR3035
User Manual
-
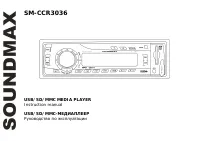 Soundmax SM-CCR3036
User Manual
Soundmax SM-CCR3036
User Manual
-
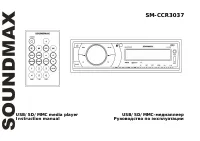 Soundmax SM-CCR3037
User Manual
Soundmax SM-CCR3037
User Manual
-
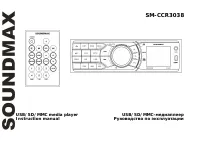 Soundmax SM-CCR3038
User Manual
Soundmax SM-CCR3038
User Manual
-
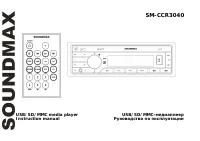 Soundmax SM-CCR3040
User Manual
Soundmax SM-CCR3040
User Manual
-
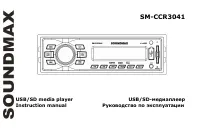 Soundmax SM-CCR3041
User Manual
Soundmax SM-CCR3041
User Manual
-
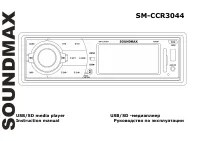 Soundmax SM-CCR3044
User Manual
Soundmax SM-CCR3044
User Manual
-
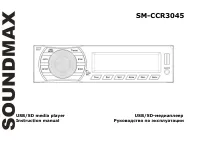 Soundmax SM-CCR3045
User Manual
Soundmax SM-CCR3045
User Manual
-
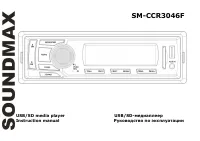 Soundmax SM-CCR3046F
User Manual
Soundmax SM-CCR3046F
User Manual
-
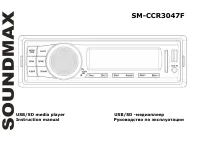 Soundmax SM-CCR3047F
User Manual
Soundmax SM-CCR3047F
User Manual
-
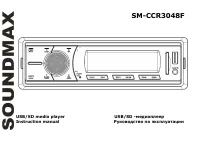 Soundmax SM-CCR3048F
User Manual
Soundmax SM-CCR3048F
User Manual
-
 Soundmax SM-CCR3049F
User Manual
Soundmax SM-CCR3049F
User Manual
-
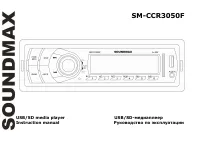 Soundmax SM-CCR3050F
User Manual
Soundmax SM-CCR3050F
User Manual
-
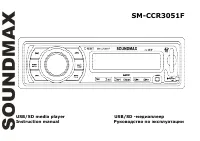 Soundmax SM-CCR3051F
User Manual
Soundmax SM-CCR3051F
User Manual
-
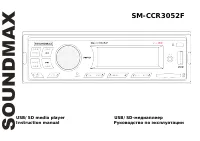 Soundmax SM-CCR3052F
User Manual
Soundmax SM-CCR3052F
User Manual
-
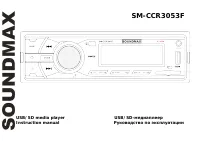 Soundmax SM-CCR3053F
User Manual
Soundmax SM-CCR3053F
User Manual