Sony KD49X8500B - Manuals
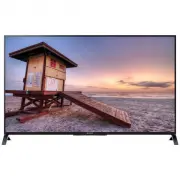
User Manual Sony KD49X8500B


Summary
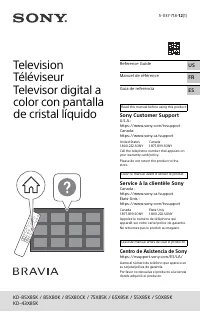
2 GB Table of Contents Safety information . . . . . . . . . . . . . . . . . . . . . 2Precautions . . . . . . . . . . . . . . . . . . . . . . . . . . . 5 Attaching the Table-Top Stand (Alternative) . . . . . . . . . . . . . . . . . . . . . . . . 7 Hiding the camera . . . . . . . . . . . . . . . . . ....
7 GB GB To bundle the cables * When the Table-top Stand is attached to middle position, you can choose either hole to attach the cable holder. If you do not wish to use the camera, hide it as illustrated. Hiding the camera ʓ ʔ *
8 GB Using the Remote Control You can operate the TV by using the supplied Touchpad Remote Control or IR (infrared) Remote Control. Note • Touchpad Remote Control can only be used after registration with the TV. You can register the Touchpad Remote Control by pressing HOME , then select [Settings] t...
Sony TVs Manuals
-
 Sony BRAVIA XR Mini 75X95K (XR75X95KR2)
User Manual
Sony BRAVIA XR Mini 75X95K (XR75X95KR2)
User Manual
-
Sony BRAVIA XR Mini 85X95K (XR85X95KR2)
User Manual
-
 Sony BRAVIA XR O55A80K (XR55A80KR2)
User Manual
Sony BRAVIA XR O55A80K (XR55A80KR2)
User Manual
-
Sony BRAVIA XR O65A80K (XR65A80KR2)
User Manual
-
Sony BRAVIA XR O77A80K (XR77A80KR2)
User Manual
-
 Sony KD32W830K
User Manual
Sony KD32W830K
User Manual
-
 Sony KD-32W830K
User Manual
Sony KD-32W830K
User Manual
-
 Sony KD-43X75K
User Manual
Sony KD-43X75K
User Manual
-
 Sony KD43X8000G
User Manual
Sony KD43X8000G
User Manual
-
 Sony KD43X8000H
User Manual
Sony KD43X8000H
User Manual
-
 Sony KD43X85K
User Manual
Sony KD43X85K
User Manual
-
 Sony KD49X7000D
User Manual
Sony KD49X7000D
User Manual
-
 Sony KD49X7500F
User Manual
Sony KD49X7500F
User Manual
-
 Sony KD49X8000G
User Manual
Sony KD49X8000G
User Manual
-
 Sony KD49X8000H
User Manual
Sony KD49X8000H
User Manual
-
 Sony KD-50X72K
User Manual
Sony KD-50X72K
User Manual
-
 Sony KD50X81JR
User Manual
Sony KD50X81JR
User Manual
-
 Sony KD-50X81K
User Manual
Sony KD-50X81K
User Manual
-
Sony KD50X85K
User Manual
-
 Sony KD50X85TJ
User Manual
Sony KD50X85TJ
User Manual