Smeg TRA90BL2 - Manuals
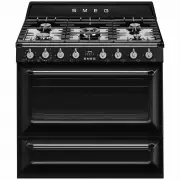
User Manual Smeg TRA90BL2


Summary
PRECAUTIONS - 5 91477A378/A e APPLIANCE WHILST IT IS IN USE. • DO NOT MODIFY THIS APPLIANCE. • Always wear personal protective equipment (PPE) before carrying out any work on the appliance (installation, maintenance, positioning or moving). • Do not clean the appliance if it is still hot or in opera...
8 - PRECAUTIONS 91477A378/A wires must be 1.5 - 2 Nm. • This appliance can be used up to a maximum altitude of 2,000 metres above sea level. For this appliance • The swing doors are not held in place when open and may tend to close again. During use, pay attention not to come into contact with the i...
DESCRIPTION - 9 91477A378/A e • Keep the inside of the oven clean at all times. Light sources • This appliance contains user-replaceable light sources. • The light sources contained in the appliance are declared suitable for operation at ambient temperature ≥300°C and intended for use in high temper...
Smeg Ovens Manuals
-
 Smeg A1PYID-9
User Manual
Smeg A1PYID-9
User Manual
-
 Smeg ALFA625EHDS
User Manual
Smeg ALFA625EHDS
User Manual
-
 Smeg C6GMXA8
User Manual
Smeg C6GMXA8
User Manual
-
 Smeg C9GMX
User Manual
Smeg C9GMX
User Manual
-
 Smeg C9IMX2
User Manual
Smeg C9IMX2
User Manual
-
 Smeg C9IMX9-1
User Manual
Smeg C9IMX9-1
User Manual
-
 Smeg CPF9IPAN
User Manual
Smeg CPF9IPAN
User Manual
-
 Smeg CPF9IPBL
User Manual
Smeg CPF9IPBL
User Manual
-
 Smeg CPF9IPOG
User Manual
Smeg CPF9IPOG
User Manual
-
 Smeg CPF9IPOR
User Manual
Smeg CPF9IPOR
User Manual
-
 Smeg CPF9IPWH
User Manual
Smeg CPF9IPWH
User Manual
-
 Smeg CPF9IPX
User Manual
Smeg CPF9IPX
User Manual
-
 Smeg CS6CMXA
User Manual
Smeg CS6CMXA
User Manual
-
 Smeg CS9GMXA
User Manual
Smeg CS9GMXA
User Manual
-
 Smeg CS9GMXA2
User Manual
Smeg CS9GMXA2
User Manual
-
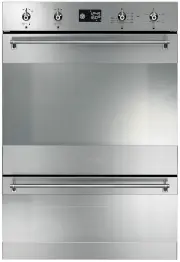 Smeg DOSPA38X
User Manual
Smeg DOSPA38X
User Manual
-
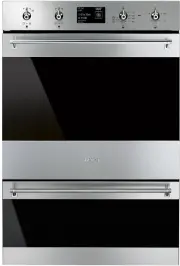 Smeg DOSPA6395X
User Manual
Smeg DOSPA6395X
User Manual
-
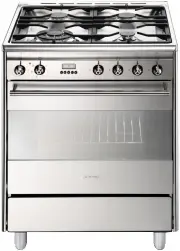 Smeg FS61XNG8
User Manual
Smeg FS61XNG8
User Manual
-
 Smeg FS9010CER-1
User Manual
Smeg FS9010CER-1
User Manual
-
 Smeg FS9606XS
User Manual
Smeg FS9606XS
User Manual