Smeg SOPA6301TN - Manuals
User Manual Smeg SOPA6301TN


Summary
4 - PRECAUTIONS 91477A235/B are constantly supervised. • Keep children under the age of 8 away from the appliance when it is in use. • Cleaning and maintenance must not be carried out by unsupervised children. • The cooking process must always be monitored. A short cooking process must be continuous...
PRECAUTIONS - 5 91477A235/B e oven cavity. • Do not use steam jets to clean the appliance. • Do not spray any spray product near the appliance. • Do not obstruct ventilation openings and heat dispersal slots. • Fire hazard: never leave objects in the oven cavity. • DO NOT FOR ANY REASON USE THE APPL...
PRECAUTIONS - 7 91477A235/B e appliance outdoors. • (on some models only) Only use the temperature probe provided or recommended by the manufacturer. Appliance purpose This appliance is intended for cooking food in the home environment. Every other use is considered inappropriate. It cannot be used:...
Smeg Ovens Manuals
-
 Smeg A1PYID-9
User Manual
Smeg A1PYID-9
User Manual
-
 Smeg ALFA625EHDS
User Manual
Smeg ALFA625EHDS
User Manual
-
 Smeg C6GMXA8
User Manual
Smeg C6GMXA8
User Manual
-
 Smeg C9GMX
User Manual
Smeg C9GMX
User Manual
-
 Smeg C9IMX2
User Manual
Smeg C9IMX2
User Manual
-
 Smeg C9IMX9-1
User Manual
Smeg C9IMX9-1
User Manual
-
 Smeg CPF9IPAN
User Manual
Smeg CPF9IPAN
User Manual
-
 Smeg CPF9IPBL
User Manual
Smeg CPF9IPBL
User Manual
-
 Smeg CPF9IPOG
User Manual
Smeg CPF9IPOG
User Manual
-
 Smeg CPF9IPOR
User Manual
Smeg CPF9IPOR
User Manual
-
 Smeg CPF9IPWH
User Manual
Smeg CPF9IPWH
User Manual
-
 Smeg CPF9IPX
User Manual
Smeg CPF9IPX
User Manual
-
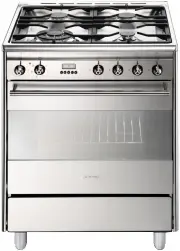
 Smeg CS6CMXA
User Manual
Smeg CS6CMXA
User Manual
-
 Smeg CS9GMXA
User Manual
Smeg CS9GMXA
User Manual
-
 Smeg CS9GMXA2
User Manual
Smeg CS9GMXA2
User Manual
-
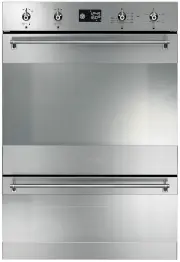 Smeg DOSPA38X
User Manual
Smeg DOSPA38X
User Manual
-
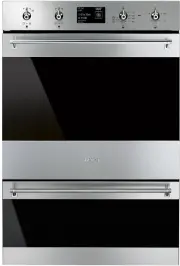 Smeg DOSPA6395X
User Manual
Smeg DOSPA6395X
User Manual
-
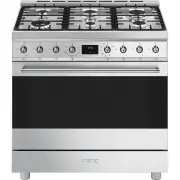
 Smeg FS61XNG8
User Manual
Smeg FS61XNG8
User Manual
-
 Smeg FS9010CER-1
User Manual
Smeg FS9010CER-1
User Manual
-
 Smeg FS9606XS
User Manual
Smeg FS9606XS
User Manual