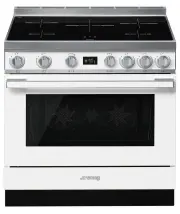
Smeg SFRA9300TVX - Manuals
User Manual Smeg SFRA9300TVX


Summary
Instructions 4 1 Instructions 1.1 General safety instructions Risk of personal injury • During use the appliance becomes hot. Care should be taken to avoid touching heating elements inside the oven. • Protect your hands by wearing oven gloves when moving food inside the oven. • Never try to put out ...
Instructions 5 EN • WARNING - Accessible parts will become hot when in use. Young children should be kept away. • DO NOT USE OR STORE FLAMMABLE MATERIALS NEAR THE APPLIANCE. • DO NOT USE AEROSOLS IN THE VICINITY OF THIS APPLIANCE WHILST IT IS IN USE. • DO NOT MODIFY THIS APPLIANCE. • Have qualified ...
Instructions 6 • DO NOT FOR ANY REASON USE THE APPLIANCE AS A SPACE HEATER. • Do not use plastic cookware or containers when cooking food. • Do not put sealed tins or containers in the oven. • Remove all trays and racks which are not required during cooking. • Do not cover the bottom of the oven cav...
Smeg Ovens Manuals
-
 Smeg A1PYID-9
User Manual
Smeg A1PYID-9
User Manual
-
 Smeg ALFA625EHDS
User Manual
Smeg ALFA625EHDS
User Manual
-
 Smeg C6GMXA8
User Manual
Smeg C6GMXA8
User Manual
-
 Smeg C9GMX
User Manual
Smeg C9GMX
User Manual
-
 Smeg C9IMX2
User Manual
Smeg C9IMX2
User Manual
-
 Smeg C9IMX9-1
User Manual
Smeg C9IMX9-1
User Manual
-
 Smeg CPF9IPAN
User Manual
Smeg CPF9IPAN
User Manual
-
 Smeg CPF9IPBL
User Manual
Smeg CPF9IPBL
User Manual
-
 Smeg CPF9IPOG
User Manual
Smeg CPF9IPOG
User Manual
-
 Smeg CPF9IPOR
User Manual
Smeg CPF9IPOR
User Manual
-
 Smeg CPF9IPWH
User Manual
Smeg CPF9IPWH
User Manual
-
 Smeg CPF9IPX
User Manual
Smeg CPF9IPX
User Manual
-
 Smeg CS6CMXA
User Manual
Smeg CS6CMXA
User Manual
-
 Smeg CS9GMXA
User Manual
Smeg CS9GMXA
User Manual
-
 Smeg CS9GMXA2
User Manual
Smeg CS9GMXA2
User Manual
-
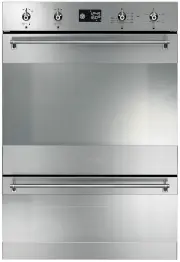 Smeg DOSPA38X
User Manual
Smeg DOSPA38X
User Manual
-
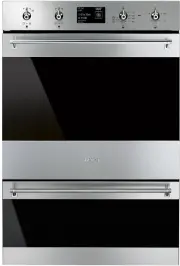 Smeg DOSPA6395X
User Manual
Smeg DOSPA6395X
User Manual
-
 Smeg FS61XNG8
User Manual
Smeg FS61XNG8
User Manual
-
 Smeg FS9010CER-1
User Manual
Smeg FS9010CER-1
User Manual
-
 Smeg FS9606XS
User Manual
Smeg FS9606XS
User Manual