Smeg SFA7300TVX - Manuals
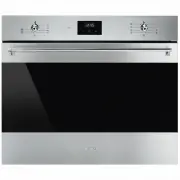
User Manual Smeg SFA7300TVX


Summary
Instructions 4 1 Instructions 1.1 General safety instructions Risk of personal injury • During use the appliance becomes hot. Care should be taken to avoid touching heating elements inside the oven. • WARNING - Accessible parts will become hot when in use. Young children should be kept away. • Prote...
Instructions 5 EN • DO NOT SPRAY AEROSOLS IN THE VICINITY OF THIS APPLIANCE WHILE IT IS IN OPERATION. • Switch the appliance off immediately after use. • DO NOT MODIFY THIS APPLIANCE. • Always use any necessary/ required personal protective equipment (PPE) before performing any work on the appliance...
Instructions 6 • Do not place pans or trays directly on the bottom of the oven cavity. • If you wish to use greaseproof paper, place it so that it will not interfere with the hot air circulation inside the oven. • Do not use the open door to rest pans or trays on the internal glass pane. • Do not us...
Smeg Ovens Manuals
-
 Smeg A1PYID-9
User Manual
Smeg A1PYID-9
User Manual
-
 Smeg ALFA625EHDS
User Manual
Smeg ALFA625EHDS
User Manual
-
 Smeg C6GMXA8
User Manual
Smeg C6GMXA8
User Manual
-
 Smeg C9GMX
User Manual
Smeg C9GMX
User Manual
-
 Smeg C9IMX2
User Manual
Smeg C9IMX2
User Manual
-
 Smeg C9IMX9-1
User Manual
Smeg C9IMX9-1
User Manual
-
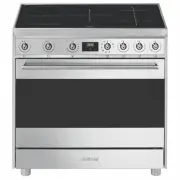
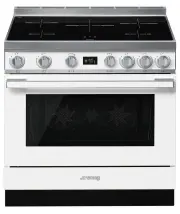
 Smeg CPF9IPAN
User Manual
Smeg CPF9IPAN
User Manual
-
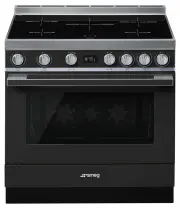
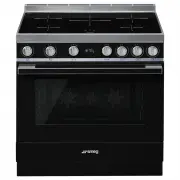 Smeg CPF9IPBL
User Manual
Smeg CPF9IPBL
User Manual
-
 Smeg CPF9IPOG
User Manual
Smeg CPF9IPOG
User Manual
-
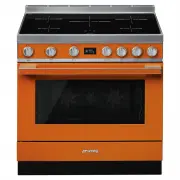 Smeg CPF9IPOR
User Manual
Smeg CPF9IPOR
User Manual
-
 Smeg CPF9IPWH
User Manual
Smeg CPF9IPWH
User Manual
-
 Smeg CPF9IPX
User Manual
Smeg CPF9IPX
User Manual
-
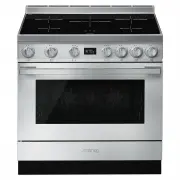
 Smeg CS6CMXA
User Manual
Smeg CS6CMXA
User Manual
-
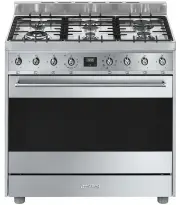 Smeg CS9GMXA
User Manual
Smeg CS9GMXA
User Manual
-
 Smeg CS9GMXA2
User Manual
Smeg CS9GMXA2
User Manual
-
 Smeg DOSPA38X
User Manual
Smeg DOSPA38X
User Manual
-
 Smeg DOSPA6395X
User Manual
Smeg DOSPA6395X
User Manual
-
 Smeg FS61XNG8
User Manual
Smeg FS61XNG8
User Manual
-
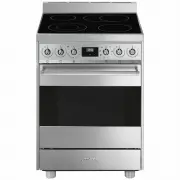
 Smeg FS9010CER-1
User Manual
Smeg FS9010CER-1
User Manual
-
 Smeg FS9606XS
User Manual
Smeg FS9606XS
User Manual