Smeg SFA304X - Manuals
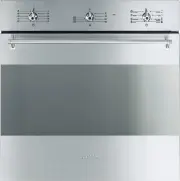
User Manual Smeg SFA304X


Summary
Instructions 4 1 Instructions 1.1 General safety instructions Risk of personal injury • During use the appliance and its accessible parts become very hot. • Never touch the heating elements during use. • Keep children under eight years of age at a safe distance if they are not constantly supervised....
Instructions 5 EN For this appliance • Ensure that the appliance is switched off before replacing the bulb. • Do not rest any weight or sit on the open door of the appliance. • Take care that no objects are stuck in the doors. 1.2 Manufacturer liability The manufacturer declines all liability for da...
Instructions 6 Our appliances are packed in non-polluting and recyclable materials.• Consign the packing materials to the appropriate selective collection centres. 1.5 Identification plate The identification plate bears the technical data, serial number and brand name of the appliance. Do not remove...
Manual Smeg SFA304X


Summary
Contents 3 EN 1 Instructions 4 1.1 General safety instructions 4 1.2 Manufacturer liability 5 1.3 Appliance purpose 5 1.4 Disposal 5 1.5 Identification plate 6 1.6 This user manual 6 1.7 How to read the user manual 6 2 Description 7 2.1 General Description 7 2.2 Control panel 7 2.3 Other parts 8 2.4...
Instructions 4 1 Instructions 1.1 General safety instructions Risk of personal injury • During use the appliance and its accessible parts become very hot. • Never touch the heating elements during use. • Keep children under eight years of age at a safe distance if they are not constantly supervised....
Instructions 5 EN For this appliance • Ensure that the appliance is switched off before replacing the bulb. • Do not rest any weight or sit on the open door of the appliance. • Take care that no objects are stuck in the doors. 1.2 Manufacturer liability The manufacturer declines all liability for da...
Smeg Ovens Manuals
-
 Smeg A1PYID-9
User Manual
Smeg A1PYID-9
User Manual
-
 Smeg ALFA625EHDS
User Manual
Smeg ALFA625EHDS
User Manual
-
 Smeg C6GMXA8
User Manual
Smeg C6GMXA8
User Manual
-
 Smeg C9GMX
User Manual
Smeg C9GMX
User Manual
-
 Smeg C9IMX2
User Manual
Smeg C9IMX2
User Manual
-
 Smeg C9IMX9-1
User Manual
Smeg C9IMX9-1
User Manual
-
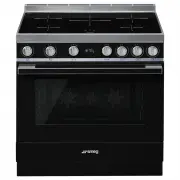
 Smeg CPF9IPAN
User Manual
Smeg CPF9IPAN
User Manual
-
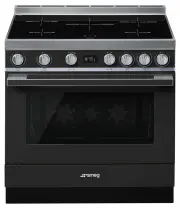
 Smeg CPF9IPBL
User Manual
Smeg CPF9IPBL
User Manual
-
 Smeg CPF9IPOG
User Manual
Smeg CPF9IPOG
User Manual
-
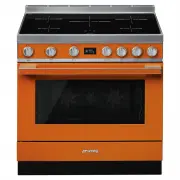 Smeg CPF9IPOR
User Manual
Smeg CPF9IPOR
User Manual
-
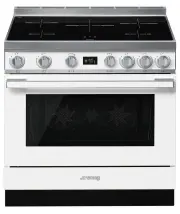 Smeg CPF9IPWH
User Manual
Smeg CPF9IPWH
User Manual
-
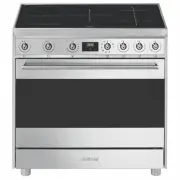
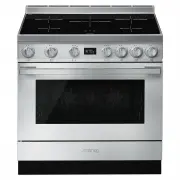 Smeg CPF9IPX
User Manual
Smeg CPF9IPX
User Manual
-
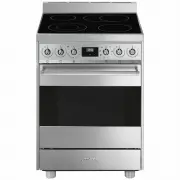 Smeg CS6CMXA
User Manual
Smeg CS6CMXA
User Manual
-
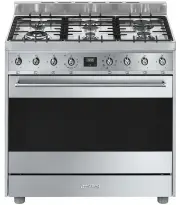 Smeg CS9GMXA
User Manual
Smeg CS9GMXA
User Manual
-
 Smeg CS9GMXA2
User Manual
Smeg CS9GMXA2
User Manual
-
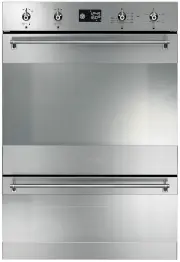 Smeg DOSPA38X
User Manual
Smeg DOSPA38X
User Manual
-
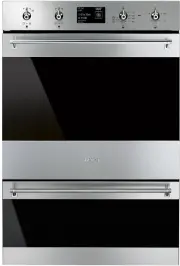 Smeg DOSPA6395X
User Manual
Smeg DOSPA6395X
User Manual
-
 Smeg FS61XNG8
User Manual
Smeg FS61XNG8
User Manual
-
 Smeg FS9010CER-1
User Manual
Smeg FS9010CER-1
User Manual
-
 Smeg FS9606XS
User Manual
Smeg FS9606XS
User Manual