Smeg S201X - Manuals
User Manual Smeg S201X
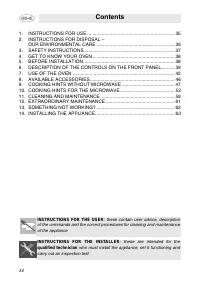


Summary
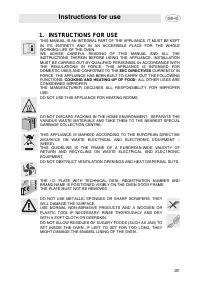
35 Instructions for use 1. INSTRUCTIONS FOR USE THIS MANUAL IS AN INTEGRAL PART OF THE APPLIANCE. IT MUST BE KEPTIN ITS ENTIRETY AND IN AN ACCESSIBLE PLACE FOR THE WHOLEWORKING LIFE OF THE OVEN.WE ADVISE CAREFUL READING OF THIS MANUAL AND ALL THEINSTRUCTIONS THEREIN BEFORE USING THE APPLIANCE. INSTA...
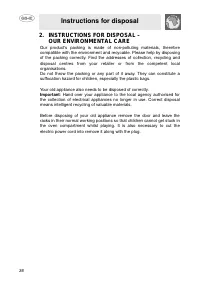
36 Instructions for disposal 2. INSTRUCTIONS FOR DISPOSAL – OUR ENVIRONMENTAL CARE Our product's packing is made of non-polluting materials, thereforecompatible with the environment and recycable. Please help by disposingof the packing correctly. Find the addresses of collection, recycling anddispos...
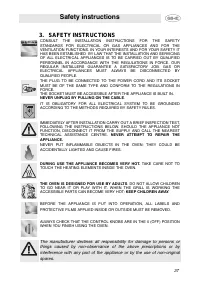
37 Safety instructions 3. SAFETY INSTRUCTIONS CONSULT THE INSTALLATION INSTRUCTIONS FOR THE SAFETYSTANDARDS FOR ELECTRICAL OR GAS APPLIANCES AND FOR THEVENTILATION FUNCTIONS. IN YOUR INTERESTS AND FOR YOUR SAFETY ITHAS BEEN ESTABLISHED BY LAW THAT THE INSTALLATION AND SERVICINGOF ALL ELECTRICAL APPL...
Smeg Ovens Manuals
-
 Smeg A1PYID-9
User Manual
Smeg A1PYID-9
User Manual
-
 Smeg ALFA625EHDS
User Manual
Smeg ALFA625EHDS
User Manual
-
 Smeg C6GMXA8
User Manual
Smeg C6GMXA8
User Manual
-
 Smeg C9GMX
User Manual
Smeg C9GMX
User Manual
-
 Smeg C9IMX2
User Manual
Smeg C9IMX2
User Manual
-
 Smeg C9IMX9-1
User Manual
Smeg C9IMX9-1
User Manual
-
 Smeg CPF9IPAN
User Manual
Smeg CPF9IPAN
User Manual
-
 Smeg CPF9IPBL
User Manual
Smeg CPF9IPBL
User Manual
-
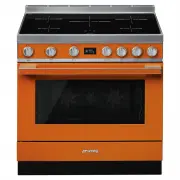
 Smeg CPF9IPOG
User Manual
Smeg CPF9IPOG
User Manual
-
 Smeg CPF9IPOR
User Manual
Smeg CPF9IPOR
User Manual
-
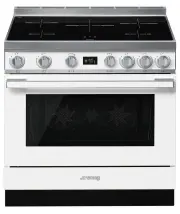 Smeg CPF9IPWH
User Manual
Smeg CPF9IPWH
User Manual
-
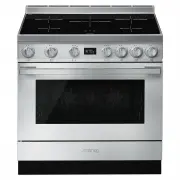 Smeg CPF9IPX
User Manual
Smeg CPF9IPX
User Manual
-
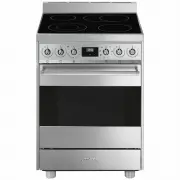 Smeg CS6CMXA
User Manual
Smeg CS6CMXA
User Manual
-
 Smeg CS9GMXA
User Manual
Smeg CS9GMXA
User Manual
-
 Smeg CS9GMXA2
User Manual
Smeg CS9GMXA2
User Manual
-
 Smeg DOSPA38X
User Manual
Smeg DOSPA38X
User Manual
-
 Smeg DOSPA6395X
User Manual
Smeg DOSPA6395X
User Manual
-
 Smeg FS61XNG8
User Manual
Smeg FS61XNG8
User Manual
-
 Smeg FS9010CER-1
User Manual
Smeg FS9010CER-1
User Manual
-
 Smeg FS9606XS
User Manual
Smeg FS9606XS
User Manual