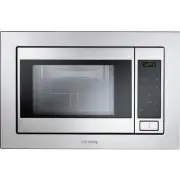
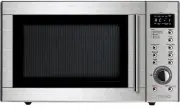
Smeg FME24N-2 - Manuals
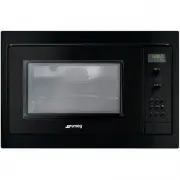
User Manual Smeg FME24N-2
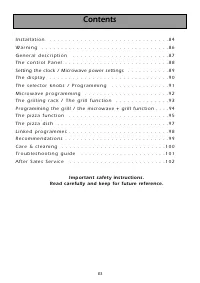


Summary
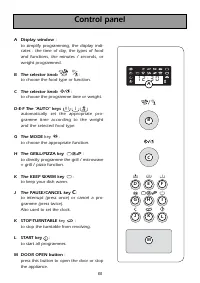
83 I n s t a l l a t i o n . . . . . . . . . . . . . . . . . . . . . . . . . . . . . . . 8 4 W a r n i n g . . . . . . . . . . . . . . . . . . . . . . . . . . . . . . . . . 8 6 G e n e r a l d e s c r i p t i o n . . . . . . . . . . . . . . . . . . . . . . . . . 8 7 T h e c o n t r o l P a n e l . ....
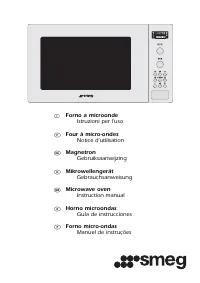
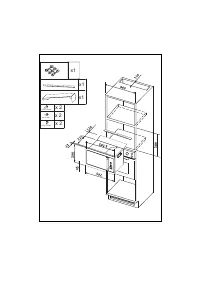
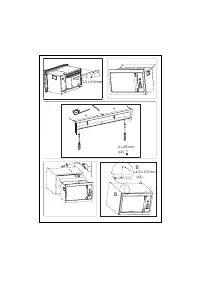
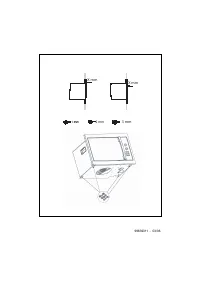
Installation BEFORE CONNECTION • C heck whether your oven has suffered any damage during transport (deformed door or door seal, etc.). If you see any signs of damage, contact your dealer before use. In order to easily locate the reference informationfor your appliance,we recommend that younotethese ...
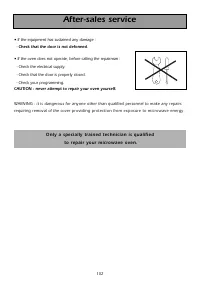
86 Warning • Warning:Ensure that your appliance has not sufferedany damage during transport (deformed sealordoor,etc...).If you see any kind of damage,before doing anything else,contact your retai-ler. Safety recommandations: • Your appliance is designed for standard householduse for cooking, reheat...
Smeg Microwaves Manuals
-
 Smeg FME20EX3
User Manual
Smeg FME20EX3
User Manual
-
 Smeg FME20TC3
User Manual
Smeg FME20TC3
User Manual
-
 Smeg FME24B-2
User Manual
Smeg FME24B-2
User Manual
-
 Smeg FME24X-2
User Manual
Smeg FME24X-2
User Manual
-
 Smeg FMI120
User Manual
Smeg FMI120
User Manual
-
 Smeg FMI325X
User Manual
Smeg FMI325X
User Manual
-
 Smeg FMIU020X
User Manual
Smeg FMIU020X
User Manual
-
 Smeg OTR316XU
User Manual
Smeg OTR316XU
User Manual
-
 Smeg SA34MX
User Manual
Smeg SA34MX
User Manual
-
 Smeg SA35MX
User Manual
Smeg SA35MX
User Manual
-
Smeg SA35MX
Manual
-
 Smeg SA37X
User Manual
Smeg SA37X
User Manual
-
Smeg SA37X
Manual
-
 Smeg SA384X
User Manual
Smeg SA384X
User Manual
-
Smeg SA384X
Manual
-
 Smeg SA45MX2
User Manual
Smeg SA45MX2
User Manual
-
 Smeg SA985-2CX
User Manual
Smeg SA985-2CX
User Manual
-
Smeg SA985-2CX
Manual
-
 Smeg SA985-2CX1
User Manual
Smeg SA985-2CX1
User Manual
-
 Smeg SA987CX
User Manual
Smeg SA987CX
User Manual