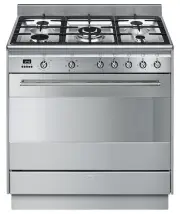
Smeg C9IMX2 - Manuals
User Manual Smeg C9IMX2


Summary
38 - PRECAUTIONS 91477A441/D USE. • DO NOT MODIFY THIS APPLIANCE. • Always wear personal protective equipment (PPE) before carrying out any work on the appliance (installation, maintenance, positioning or moving). • Do not clean the appliance if it is still hot or in operation. • Before performing a...
42 - PRECAUTIONS 91477A441/D qualified technician. • If the power cable becomes damaged, contact technical support immediately to arrange for it to be replaced in order to avoid possible hazards. • Allow the appliance to be disconnected after installation, via an accessible plug or a switch in the c...
PRECAUTIONS - 43 91477A441/D e appropriate recycling centre. Information for European Control Bodies Fan forced mode the ECO function used to define the energy efficiency class complies with the specifications of European standard EN 60350-1. Energy efficiency technical data Information in accordanc...
Smeg Ovens Manuals
-
 Smeg A1PYID-9
User Manual
Smeg A1PYID-9
User Manual
-
 Smeg ALFA625EHDS
User Manual
Smeg ALFA625EHDS
User Manual
-
 Smeg C6GMXA8
User Manual
Smeg C6GMXA8
User Manual
-
 Smeg C9GMX
User Manual
Smeg C9GMX
User Manual
-
 Smeg C9IMX9-1
User Manual
Smeg C9IMX9-1
User Manual
-
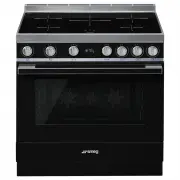
 Smeg CPF9IPAN
User Manual
Smeg CPF9IPAN
User Manual
-
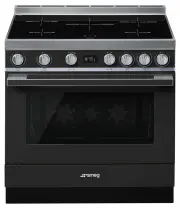
 Smeg CPF9IPBL
User Manual
Smeg CPF9IPBL
User Manual
-
 Smeg CPF9IPOG
User Manual
Smeg CPF9IPOG
User Manual
-
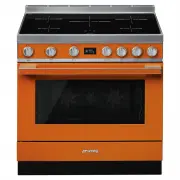 Smeg CPF9IPOR
User Manual
Smeg CPF9IPOR
User Manual
-
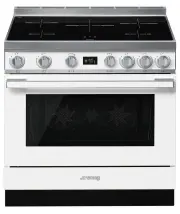 Smeg CPF9IPWH
User Manual
Smeg CPF9IPWH
User Manual
-
 Smeg CPF9IPX
User Manual
Smeg CPF9IPX
User Manual
-
 Smeg CS6CMXA
User Manual
Smeg CS6CMXA
User Manual
-
 Smeg CS9GMXA
User Manual
Smeg CS9GMXA
User Manual
-
 Smeg CS9GMXA2
User Manual
Smeg CS9GMXA2
User Manual
-
 Smeg DOSPA38X
User Manual
Smeg DOSPA38X
User Manual
-
 Smeg DOSPA6395X
User Manual
Smeg DOSPA6395X
User Manual
-
 Smeg FS61XNG8
User Manual
Smeg FS61XNG8
User Manual
-
 Smeg FS9010CER-1
User Manual
Smeg FS9010CER-1
User Manual
-
 Smeg FS9606XS
User Manual
Smeg FS9606XS
User Manual
-
 Smeg FS9606XS1
User Manual
Smeg FS9606XS1
User Manual