Shop Fox W1773 - Manuals

Shop Fox W1773 Grinding Machine – User Manual, Manual in PDF format online.
Manuals:
User Manual Shop Fox W1773


Summary
SE T U P EL EC TR IC A L M A INTEN A N CE SE RV IC E PA RT S O PE R ATIONS SA FE T Y IN TR O DUCT IO N USE THE QUICK GUIDE PAGE LABELS TO SEARCH OUT INFORMATION FAST! INTRODUCTION...................................... 2 Woodstock Technical Support .................. 2 W1772 Specificatons ..............
-2- W1772/W1773 37" Drum Sander IN TR O DU CT IO N Woodstock.Technical.Support This machine has been specially designed to provide many years of trouble-free service. Close attention to detail, ruggedly built parts and a rigid quality control program assure safe and reliable operation. Woodstock...
-5- W1772/W1773 37" Drum Sander IN TR O DUCT IO N Model W1773 Machine Specifications, Page 1 of 2 MODEL W1773 SHOP FOX ® 15 HP 3PHASE 37" DRUM SANDER Product Dimensions Weight........................................................................................................ 1283 lbs.Wi...
Manual Shop Fox W1773


Summary
SE T U P EL EC TR IC A L M A IN TE N A N CE SE RV IC E PA RT S O PE R AT IO N S SA FE T Y IN TR O DU CT IO N USE THE QUICK GUIDE PAGE LABELS TO SEARCH OUT INFORMATION FAST! INTRODUCTION ..................................... 2 Woodstock Technical Support .................. 2 W1772 Specificatons ........
-2- W1772/W1773 37" Drum Sander IN TR O DU CT IO N Woodstock Technical Support This machine has been specially designed to provide many years of trouble-free service. Close attention to detail, ruggedly built parts and a rigid quality control program assure safe and reliable operation. Woodstock...
-7- W1772/W1773 37" Drum Sander IN TR O DU CT IO N Controls and Features A. Micro-Adjust Knob (Left Side) B. Micro-Adjust Lock (Left Side) C. Sanding Drum Motor D. V-Belts E. Table Height Handwheel F. Conveyor Belt G. Depth Scale H. Top Cover Lock Knob I. Table Height Lock Knob J. Dust Port K. T...
Shop Fox Grinding Machines Manuals
-
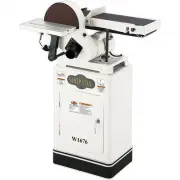 Shop Fox W1676
User Manual
Shop Fox W1676
User Manual
-
Shop Fox W1676
Manual
-
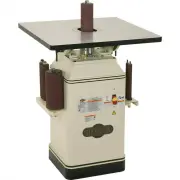 Shop Fox W1686
User Manual
Shop Fox W1686
User Manual
-
Shop Fox W1686
Manual
-
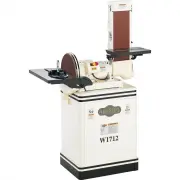 Shop Fox W1712
User Manual
Shop Fox W1712
User Manual
-
Shop Fox W1712
Manual
-
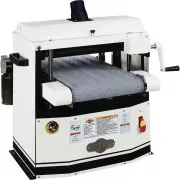 Shop Fox W1740
User Manual
Shop Fox W1740
User Manual
-
Shop Fox W1740
Manual
-
 Shop Fox W1831
User Manual
Shop Fox W1831
User Manual
-
Shop Fox W1831
Manual
-
 Shop Fox W1838
User Manual
Shop Fox W1838
User Manual
-
 Shop Fox W1839
User Manual
Shop Fox W1839
User Manual
-
 Shop Fox W1840
User Manual
Shop Fox W1840
User Manual
-
 Shop Fox W1843
User Manual
Shop Fox W1843
User Manual
-
 Shop Fox W1846
User Manual
Shop Fox W1846
User Manual
-
 Shop Fox W1847
User Manual
Shop Fox W1847
User Manual
-
 Shop Fox W1850
User Manual
Shop Fox W1850
User Manual
-
 Shop Fox W1854
User Manual
Shop Fox W1854
User Manual