Shark IZ163H - Manuals
Shark IZ163H – User Manual in PDF format online.
Manuals:
User Manual Shark IZ163H


Summary
s h a r k c l e a n . c o m s h a r k c l e a n . c o m SAVE THESE INSTRUCTIONS QUICK START GUIDE THE FLOOR NOZZLE, WAND, AND HANDHELD VACUUM CONTAIN ELECTRICAL CONNECTIONS:1. This vacuum consists of a motorized nozzle, wand, and handheld vacuum. These components contain electrical connections, elec...
s h a r k c l e a n . c o m s h a r k c l e a n . c o m ASSEMBLY 1. Insert Wand into Floor Nozzle . 2. Insert Handheld Vacuum into wand. For proper operation, ensure all components are completely connected and clicked into place. LI- ION BATTERY The Shark Li-Ion battery does not come fully charged. ...
s h a r k c l e a n . c o m s h a r k c l e a n . c o m CHARGING THE BATTERY Remove the handheld vacuum from the wand by pressing the Wand Release Button and pulling up. Plug the charger into the charging port on the handheld vacuum. To put the vacuum in storage mode, press the MultiFLEX Wand Unlock...
Shark Manuals
-
 Shark NV356E
User Manual
Shark NV356E
User Manual
-
 Shark BU3521
User Manual
Shark BU3521
User Manual
-
Shark BU3521
Manual
-
 Shark S8201
User Manual
Shark S8201
User Manual
-
 Shark FA222
Manual
Shark FA222
Manual
-
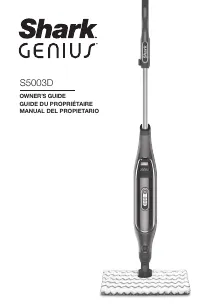 Shark S5003D
User Manual
Shark S5003D
User Manual
-
 Shark NV141
User Manual
Shark NV141
User Manual
-
 Shark S7201
User Manual
Shark S7201
User Manual
-
Shark S7201
Manual
-
 Shark RV2410WD
User Manual
Shark RV2410WD
User Manual
-
 Shark ZD201
User Manual
Shark ZD201
User Manual
-
Shark ZD201
Manual
-
 Shark AZ913ANZ
User Manual
Shark AZ913ANZ
User Manual
-
 Shark LA322
User Manual
Shark LA322
User Manual
-
 Shark HZ251
User Manual
Shark HZ251
User Manual
-
 Shark RV2001
User Manual
Shark RV2001
User Manual
-
Shark RV2001
Manual
-
 Shark SV1115
Manual
Shark SV1115
Manual
-
 Shark WD101
User Manual
Shark WD101
User Manual
-
 Shark HP200
User Manual
Shark HP200
User Manual