Omron M1 Eco (HEM-4011C-RU) - Manuals
Omron M1 Eco (HEM-4011C-RU) Tonometer Unit – User Manual in PDF format online.
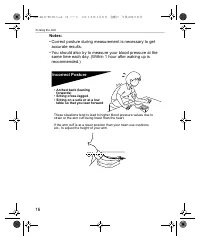
Manuals:
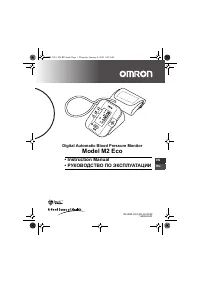
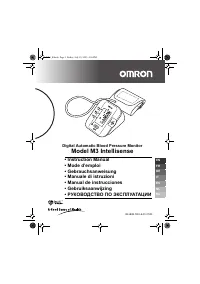
User Manual Omron M1 Eco (HEM-4011C-RU)


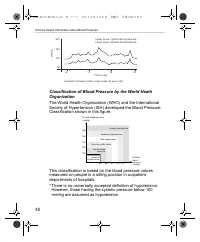


Summary
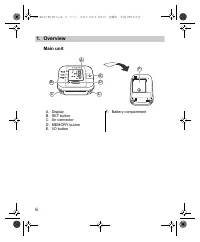
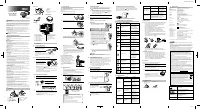
2 Contents Before using the unit Introduction ........................................................................... 3Important Safety Information ............................................... 41.Overview ............................................................................. 62.Prepara...
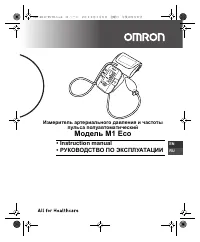
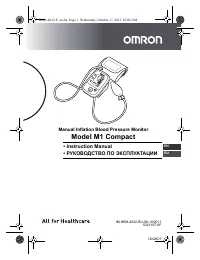
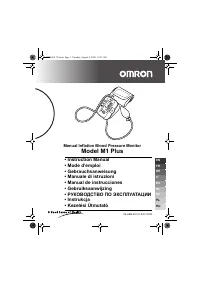
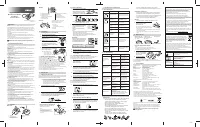
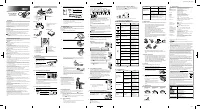
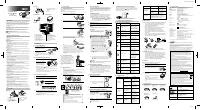
3 EN Introduction Thank you for purchasing the OMRON M1 Eco Upper Arm Blood Pressure Monitor. The OMRON M1 Eco is a manual inflation blood pressure monitor, operating on the oscillometric principle. It measures your blood pressure and pulse rate simply and quickly. The unit also stores up to 42 meas...
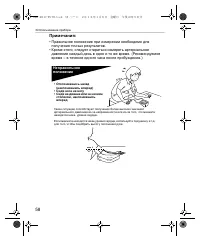
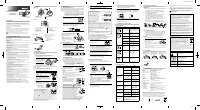
4 Important Safety Information Consult your doctor during pregnancy, arrhythmia and arteriosclerosis.You should never change the dosage of medication prescribed by your doctor.Use the M1 Eco only for yourself. Warning: Indicates a potentially hazardous situation which, if not avoided, could result i...
Omron Tonometer Units Manuals
-
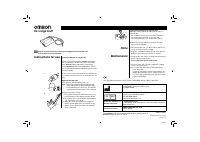 Omron CL
User Manual
Omron CL
User Manual
-
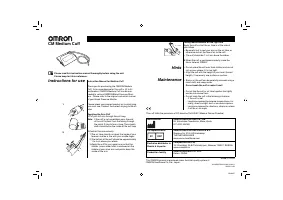 Omron CM
User Manual
Omron CM
User Manual
-
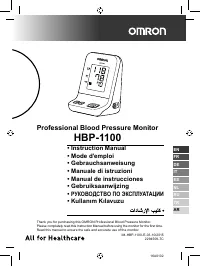 Omron HBP-1100
User Manual
Omron HBP-1100
User Manual
-
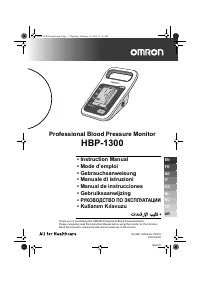 Omron HBP-1300
User Manual
Omron HBP-1300
User Manual
-
Omron HBP-1300
Manual
-
 Omron M1 Compact (HEM-4022-RU)
User Manual
Omron M1 Compact (HEM-4022-RU)
User Manual
-
 Omron M1 Plus (HEM-4011C-E)
User Manual
Omron M1 Plus (HEM-4011C-E)
User Manual
-
 Omron M2 Basic (HEM-7116-ARU)
User Manual
Omron M2 Basic (HEM-7116-ARU)
User Manual
-
 Omron M2 Basic (HEM-7116H-ARU)
User Manual
Omron M2 Basic (HEM-7116H-ARU)
User Manual
-
 Omron M2 Basic (HEM-7116-RU)
User Manual
Omron M2 Basic (HEM-7116-RU)
User Manual
-
 Omron M2 Classic (HEM-7117H-ARU)
User Manual
Omron M2 Classic (HEM-7117H-ARU)
User Manual
-
 Omron M2 Classic (HEM-7117-RU)
User Manual
Omron M2 Classic (HEM-7117-RU)
User Manual
-
 Omron M2 Eco (HEM-7051-RU)
User Manual
Omron M2 Eco (HEM-7051-RU)
User Manual
-
 Omron M2 Plus (HEM-7119-ARU)
User Manual
Omron M2 Plus (HEM-7119-ARU)
User Manual
-
 Omron M3 Expert (HEM-7200H-ARU)
User Manual
Omron M3 Expert (HEM-7200H-ARU)
User Manual
-
 Omron M3 Family (HEM-7202-ARU)
User Manual
Omron M3 Family (HEM-7202-ARU)
User Manual
-
 Omron M3 Intellisense (HEM-7051-E)
User Manual
Omron M3 Intellisense (HEM-7051-E)
User Manual
-
 Omron M5 Comfort (HEM-7224-ARU)
User Manual
Omron M5 Comfort (HEM-7224-ARU)
User Manual
-
 Omron M5-I
Manual
Omron M5-I
Manual
-
 Omron M6 (HEM-7213-ARU)
User Manual
Omron M6 (HEM-7213-ARU)
User Manual