MartinLogan IC3AW - Manuals
MartinLogan IC3AW Speaker – User Manual in PDF format online.
Manuals:
User Manual MartinLogan IC3AW


Summary
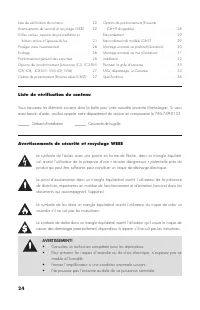
2 Content Check List . . . . . . . . . . . . . . . . . . 2Safety Warnings and WEEE Recycling . . . . 2Square Grilles, Pre-Installation Brackets, & Fire Rated Backboxes . . . . . . . . . . . . . 3Protect Your Investment . . . . . . . . . . . . . . . 6Break-In . . . . . . . . . . . . . . . . . . ....
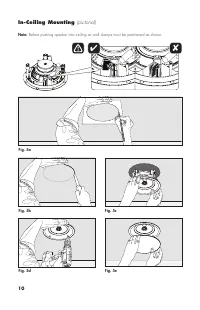
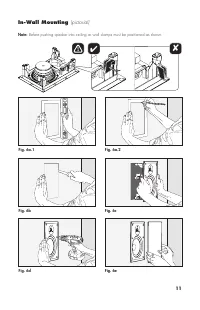
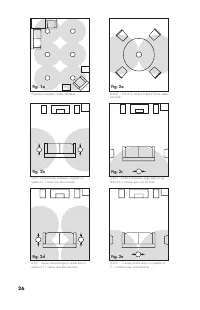
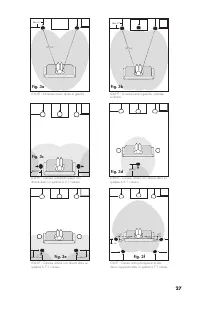
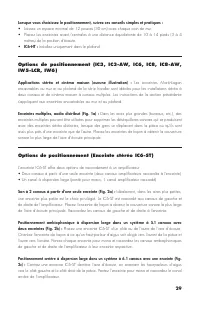
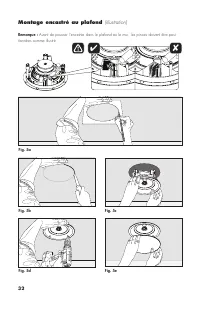
4 IC6-ST: Wide dispersion rear in a 6.1-channel system using one speaker. IC6-ST: Rear channels in a 7.1-channel system using one speaker. Multiple speakers, distributed audio. Fig. 2c Fig. 2b Fig. 2e Fig. 2d Fig. 1a IC6-ST: Wide dispersion surrounds in a 5.1-channel system using two speakers. IC6-S...
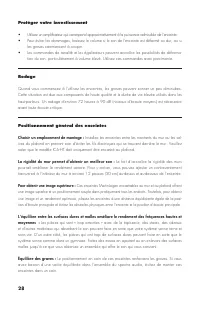
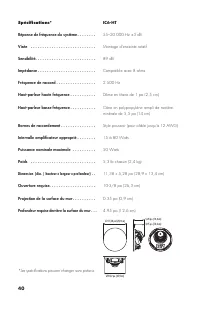
6 Protect Your Investment • Use an amp that approximately matches the speaker's specified power handling.• To avoid damage, turn down the volume if the speaker sounds like it is distorting, sounds harsh, or the bass begins to break up. • Tone controls and equalizers may increase the likelihood of di...
MartinLogan Speakers Manuals
-
 MartinLogan CLA9DCD
User Manual
MartinLogan CLA9DCD
User Manual
-
MartinLogan CLA9GBD
User Manual
-
MartinLogan CLA9WAD
User Manual
-
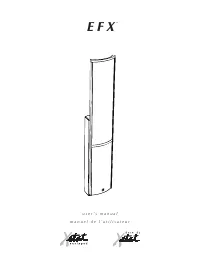 MartinLogan EFXBLD
User Manual
MartinLogan EFXBLD
User Manual
-
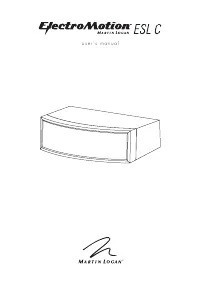 MartinLogan EMESLCSBD
User Manual
MartinLogan EMESLCSBD
User Manual
-
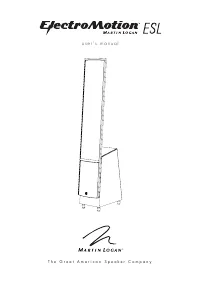 MartinLogan EMESLD
User Manual
MartinLogan EMESLD
User Manual
-
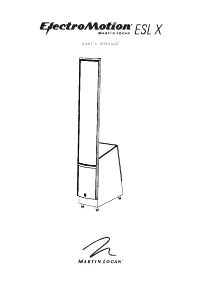 MartinLogan EMESLXGBD
User Manual
MartinLogan EMESLXGBD
User Manual
-
MartinLogan EMESLXSBD
User Manual
-
 MartinLogan EMFX2
User Manual
MartinLogan EMFX2
User Manual
-
 MartinLogan EXP13DCD
User Manual
MartinLogan EXP13DCD
User Manual
-
MartinLogan EXP13GBD
User Manual
-
MartinLogan EXP13GWD
User Manual
-
 MartinLogan FB1B
User Manual
MartinLogan FB1B
User Manual
-
MartinLogan FB1SW
User Manual
-
MartinLogan FB1WNT
User Manual
-
MartinLogan FB2B
User Manual
-
MartinLogan FB2SW
User Manual
-
MartinLogan FB2WNT
User Manual
-
MartinLogan FC1B
User Manual
-
MartinLogan FC1SW
User Manual