Makita XMU04Z - Manuals

User Manual Makita XMU04Z


Summary
2 ENGLISH ENGLISH (Original instructions) SPECIFICATIONS Model: XMU04 Cutting width 160 mm (6-5/16") Strokes per minute 2,500/min Dimensions (L x W x H) 353 mm x 177 mm x 131 mm (13-7/8" x 7" x 5-1/8") Rated voltage D.C. 18 V Standard battery cartridge BL1815N / BL1820B / BL1830 / BL...
3 ENGLISH 7. If devices are provided for the connection of dust extraction and collection facilities, ensure these are connected and properly used. Use of dust collection can reduce dust-related hazards. Power tool use and care 1. Do not force the power tool. Use the correct power tool for your appl...
4 ENGLISH 14. Store idle appliances indoors - When not in use, appliances should be stored indoors in dry, and high or locked-up place out of reach of children. 15. Maintain appliance with care - Keep cutting edge sharp and clean for best performance and to reduce the risk of injury. Follow instruct...
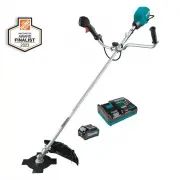
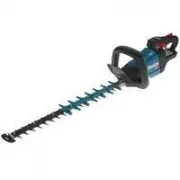
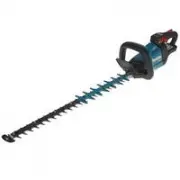
Makita Brush Cutters Manuals
-
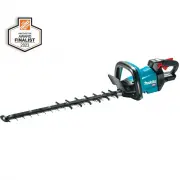
 Makita DUM604ZX
User Manual
Makita DUM604ZX
User Manual
-
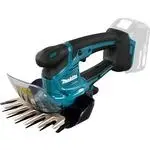
 Makita GAU02Z
User Manual
Makita GAU02Z
User Manual
-
 Makita GHU01M1
User Manual
Makita GHU01M1
User Manual
-
 Makita GHU01Z
User Manual
Makita GHU01Z
User Manual
-
 Makita GHU02M1
User Manual
Makita GHU02M1
User Manual
-
 Makita GHU02M1-BL4040
User Manual
Makita GHU02M1-BL4040
User Manual
-
 Makita GHU02Z
User Manual
Makita GHU02Z
User Manual
-
 Makita GHU03M1
User Manual
Makita GHU03M1
User Manual
-
 Makita GHU03Z
User Manual
Makita GHU03Z
User Manual
-
 Makita GHU04M1
User Manual
Makita GHU04M1
User Manual
-
 Makita GHU04Z
User Manual
Makita GHU04Z
User Manual
-
 Makita GHU05M1
User Manual
Makita GHU05M1
User Manual
-
 Makita GHU05Z
User Manual
Makita GHU05Z
User Manual
-
 Makita GRU02M1
User Manual
Makita GRU02M1
User Manual
-
 Makita GRU02Z
User Manual
Makita GRU02Z
User Manual
-
 Makita GRU05PM
User Manual
Makita GRU05PM
User Manual
-
 Makita MU04Z
User Manual
Makita MU04Z
User Manual
-
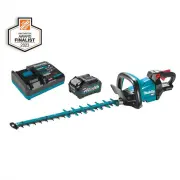
 Makita UH004G
User Manual
Makita UH004G
User Manual
-
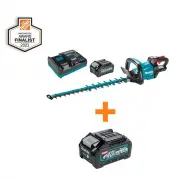
 Makita UH005G
User Manual
Makita UH005G
User Manual
-
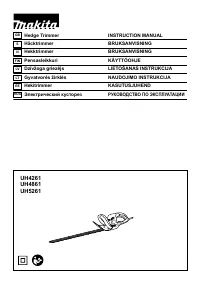 Makita UH4261
User Manual
Makita UH4261
User Manual