Makita XHU10Z - Manuals

User Manual Makita XHU10Z


Summary
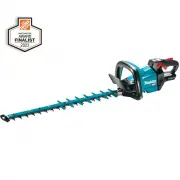
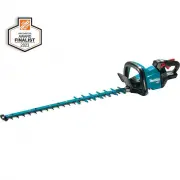
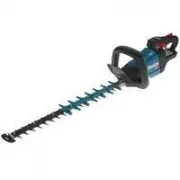
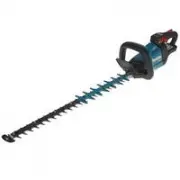
2 ENGLISH ENGLISH (Original instructions) SPECIFICATIONS Model: XHU10 Blade length 600 mm (23-5/8") Strokes per minute 2,700 /min Overall length (Without battery) 976 mm (38-1/2") Rated voltage D.C. 18 V Net weight 2.8 - 3.1 kg (6.2 - 6.8 lbs) • Due to our continuing program of research and ...
4 ENGLISH 7. Follow all charging instructions and do not charge the battery pack or tool outside the temperature range specified in the instruc - tions. Charging improperly or at temperatures outside the specified range may damage the battery and increase the risk of fire. Service 1. Have your power...
5 ENGLISH Electrical and battery safety 1. Avoid dangerous environment. Don't use the tool in dump or wet locations or expose it to rain. Water entering the tool will increase the risk of electric shock. 2. Do not dispose of the battery(ies) in a fire. The cell may explode. Check with local codes fo...
Makita Brush Cutters Manuals
-
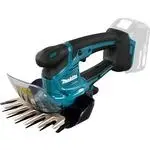 Makita DUM604ZX
User Manual
Makita DUM604ZX
User Manual
-
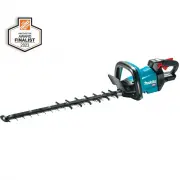
 Makita GAU02Z
User Manual
Makita GAU02Z
User Manual
-
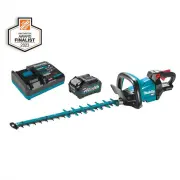
 Makita GHU01M1
User Manual
Makita GHU01M1
User Manual
-
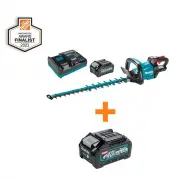
 Makita GHU01Z
User Manual
Makita GHU01Z
User Manual
-
 Makita GHU02M1
User Manual
Makita GHU02M1
User Manual
-
 Makita GHU02M1-BL4040
User Manual
Makita GHU02M1-BL4040
User Manual
-
 Makita GHU02Z
User Manual
Makita GHU02Z
User Manual
-
 Makita GHU03M1
User Manual
Makita GHU03M1
User Manual
-
 Makita GHU03Z
User Manual
Makita GHU03Z
User Manual
-
 Makita GHU04M1
User Manual
Makita GHU04M1
User Manual
-
 Makita GHU04Z
User Manual
Makita GHU04Z
User Manual
-
 Makita GHU05M1
User Manual
Makita GHU05M1
User Manual
-
 Makita GHU05Z
User Manual
Makita GHU05Z
User Manual
-
 Makita GRU02M1
User Manual
Makita GRU02M1
User Manual
-
 Makita GRU02Z
User Manual
Makita GRU02Z
User Manual
-
 Makita GRU05PM
User Manual
Makita GRU05PM
User Manual
-
 Makita MU04Z
User Manual
Makita MU04Z
User Manual
-
 Makita UH004G
User Manual
Makita UH004G
User Manual
-
 Makita UH005G
User Manual
Makita UH005G
User Manual
-
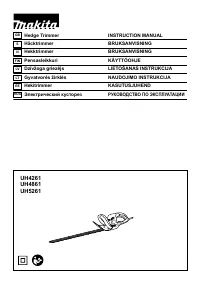 Makita UH4261
User Manual
Makita UH4261
User Manual