Makita GHU04Z - Manuals

User Manual Makita GHU04Z


Summary
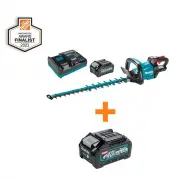
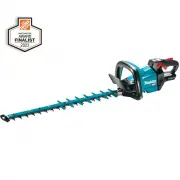
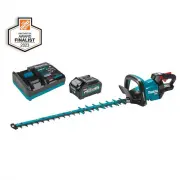
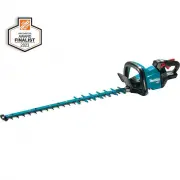
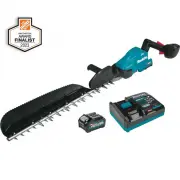
2 ENGLISH ENGLISH (Original instructions) SPECIFICATIONS Model: GHU04 GHU05 Blade length 600 mm (23-5/8") 750 mm (29-1/2") Strokes per minute 2,000 / 3,600 / 5,000 /min Overall length 1,085 mm (42-3/4") 1,225 mm (48-1/4") Rated voltage D.C. 36 V - 40 V max Net weight 3.9 - 4.5 kg (8....
4 ENGLISH Service 1. Have your power tool serviced by a qualified repair person using only identical replacement parts. This will ensure that the safety of the power tool is maintained. 2. Never service damaged battery packs. Service of battery packs should only be performed by the manufacturer or a...
5 ENGLISH 3. Do not open or mutilate the battery(ies). Released electrolyte is corrosive and may cause damage to the eyes or skin. It may be toxic if swallowed. 4. Do not charge battery in rain, or in wet locations. 5. Do not charge the battery outdoors. 6. Do not handle charger, including charger p...
Makita Brush Cutters Manuals
-
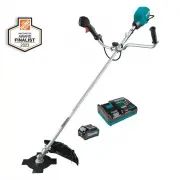
 Makita DUM604ZX
User Manual
Makita DUM604ZX
User Manual
-
 Makita GAU02Z
User Manual
Makita GAU02Z
User Manual
-
 Makita GHU01M1
User Manual
Makita GHU01M1
User Manual
-
 Makita GHU01Z
User Manual
Makita GHU01Z
User Manual
-
 Makita GHU02M1
User Manual
Makita GHU02M1
User Manual
-
 Makita GHU02M1-BL4040
User Manual
Makita GHU02M1-BL4040
User Manual
-
 Makita GHU02Z
User Manual
Makita GHU02Z
User Manual
-
 Makita GHU03M1
User Manual
Makita GHU03M1
User Manual
-
 Makita GHU03Z
User Manual
Makita GHU03Z
User Manual
-
 Makita GHU04M1
User Manual
Makita GHU04M1
User Manual
-
 Makita GHU05M1
User Manual
Makita GHU05M1
User Manual
-
 Makita GHU05Z
User Manual
Makita GHU05Z
User Manual
-
 Makita GRU02M1
User Manual
Makita GRU02M1
User Manual
-
 Makita GRU02Z
User Manual
Makita GRU02Z
User Manual
-
 Makita GRU05PM
User Manual
Makita GRU05PM
User Manual
-
 Makita MU04Z
User Manual
Makita MU04Z
User Manual
-
 Makita UH004G
User Manual
Makita UH004G
User Manual
-
 Makita UH005G
User Manual
Makita UH005G
User Manual
-
 Makita UH4261
User Manual
Makita UH4261
User Manual
-
Makita UH4861
User Manual