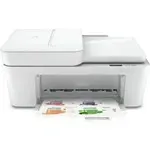
HP 6510 - Manuals
HP 6510 Multifunction Printer – Manual in PDF format online.
Manuals:
Manual HP 6510
1

2

3

4

5

6

7

8

9

10

11

12

13

14

15

16

17

18

19

20

21

22

23

24

25

26

27

28

29

30

31

32

33

34

35

36

37

38

39

40

41

42

43

44

45

46

47

48

49

50

51

52

53

54

55

56

57

58

59

60

61

62

63

64

Summary
Page 3 - Contents
Contents 1 HP Photosmart 6510 series Help .....................................................................................3 2 Get to know the HP Photosmart Printer parts....................................................................................................................6 Control ...
Page 5 - For information about the HP Photosmart, see:
1 HP Photosmart 6510 series Help For information about the HP Photosmart, see: • Get to know the HP Photosmart • How do I? • Print • Copy and scan • Work with cartridges • Connectivity • Solve a problem • Technical information HP Photosmart 6510 series Help 3
Page 7 - Printer parts
2 Get to know the HP Photosmart • Printer parts • Control panel features • Apps Manager Get to know the HP Photosmart 5
HP Multifunction Printers Manuals
-
 HP 1200
Manual
HP 1200
Manual
-
 HP 2050
Manual
HP 2050
Manual
-
 HP 2710
User Manual
HP 2710
User Manual
-
HP 2710
Manual
-
 HP 7510
Manual
HP 7510
Manual
-
 HP CM4540
Manual
HP CM4540
Manual
-
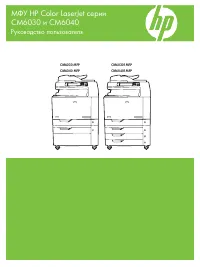 HP CM6040
Manual
HP CM6040
Manual
-
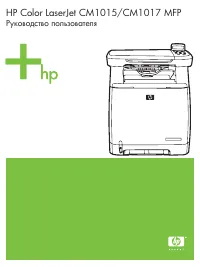 HP Color LaserJet CM1015
User Manual
HP Color LaserJet CM1015
User Manual
-
 HP Color LaserJet CM1017
User Manual
HP Color LaserJet CM1017
User Manual
-
 HP DeskJet F4172
User Manual
HP DeskJet F4172
User Manual
-
 HP DeskJet Plus 4120
User Manual
HP DeskJet Plus 4120
User Manual
-
 HP LaserJet 3015
Manual
HP LaserJet 3015
Manual
-
 HP LaserJet 3050
User Manual
HP LaserJet 3050
User Manual
-
 HP LaserJet 3052
User Manual
HP LaserJet 3052
User Manual
-
 HP LaserJet 3055
User Manual
HP LaserJet 3055
User Manual
-
 HP LaserJet 3380
User Manual
HP LaserJet 3380
User Manual
-
 HP LaserJet 3390
User Manual
HP LaserJet 3390
User Manual
-
 HP LaserJet 3392
User Manual
HP LaserJet 3392
User Manual
-
 HP LaserJet M1005 MFP
User Manual
HP LaserJet M1005 MFP
User Manual
-
 HP LaserJet M1319 MFP
User Manual
HP LaserJet M1319 MFP
User Manual