Friedrich FSHW121 - Manuals
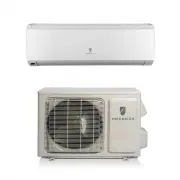
User Manual Friedrich FSHW121


Summary
Content Operation Notices Precautions ..........................................................................................................1Parts Name ..........................................................................................................6 Installation Notice Installation dim...
Explanation of Symbols Indicates a hazardous situation that, if not avoided, willresult in death or serious injury. Indicates a hazardous situation that, if not avoided, could result in death or serious injury. Indicates a hazardous situation that, if not avoided, mayresult in minor or moderate inju...
Precautions WARNING 1 Operation and Maintenance This appliance can be used by children aged from 8 years and above and persons with reduced physical, sensory or mental capabilities or lack of experience and knowledge if they have been given supervision or instruction concerning use of the appliance ...
Friedrich Air Conditioners Manuals
-
 Friedrich CCF10B10A
User Manual
Friedrich CCF10B10A
User Manual
-
 Friedrich CCF12B10A
User Manual
Friedrich CCF12B10A
User Manual
-
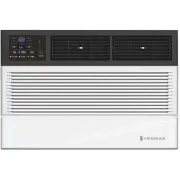
 Friedrich CEW12B33A
User Manual
Friedrich CEW12B33A
User Manual
-
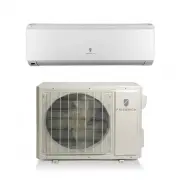
 Friedrich FSHW091
User Manual
Friedrich FSHW091
User Manual
-
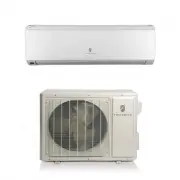
 Friedrich FSHW183
User Manual
Friedrich FSHW183
User Manual
-
 Friedrich FSHW243
User Manual
Friedrich FSHW243
User Manual
-
 Friedrich FSHW363
User Manual
Friedrich FSHW363
User Manual
-
 Friedrich KCL24A30B
User Manual
Friedrich KCL24A30B
User Manual
-
 Friedrich KCM21A30A
User Manual
Friedrich KCM21A30A
User Manual
-
Friedrich KCQ06A10A
User Manual
-
Friedrich KCQ10A10B
User Manual
-
Friedrich KCS10A10A
User Manual
-
Friedrich KCS12A10A
User Manual
-
Friedrich KCS14A10A
User Manual
-
 Friedrich KCS16A30A
User Manual
Friedrich KCS16A30A
User Manual
-
 Friedrich KEQ08A11A
User Manual
Friedrich KEQ08A11A
User Manual
-
Friedrich KES12A33A
User Manual
-
 Friedrich PZE12K3SB
User Manual
Friedrich PZE12K3SB
User Manual
-
 Friedrich UCT10B10A
User Manual
Friedrich UCT10B10A
User Manual
-
Friedrich UCT10B30A
User Manual