Epson 2580 - Perfection PHOTO- Manuals
Epson 2580 - Perfection PHOTO– User Manual in PDF format online.
Manuals:
User Manual Epson 2580 - Perfection PHOTO


Summary
University of Arizona Information Commons Training 2 Introduction and Overview General information 1. The image to be scanned is placed face down with the image facing toward the scanner buttons in the lower left corner. This is exactly opposite of many other scanners. 2. The Epson scanning software...
University of Arizona Information Commons Training 3 Understanding Resolution and File Types for different output It is important that proper resolution be used in scanning according to the purpose. For example, an image needed for use on a web page needs to be scanned at a different resolution than...
University of Arizona Information Commons Training 4 Epson Scan Software (model 2580 and 1670 scanners) Full Auto Mode vs. Home Mode vs. Professional Mode Regardless of how scanning is accomplished (through the Epson Smart Panel or through an application such as PhotoShop), there is a choice of thre...
Epson Manuals
-
 Epson V11HA52820
User Manual
Epson V11HA52820
User Manual
-
Epson V11HA67820
User Manual
-
 Epson V12H004UA3
User Manual
Epson V12H004UA3
User Manual
-
Epson V12H004UA3
Troubleshooting Guide
-
 Epson V11HA85020
Installation Manual
Epson V11HA85020
Installation Manual
-
 Epson C11CK65201
User Manual
Epson C11CK65201
User Manual
-
 Epson V11H980020
Manual
Epson V11H980020
Manual
-
 Epson HOME CINEMA 3200
Manual
Epson HOME CINEMA 3200
Manual
-
 Epson HOME CINEMA 3800
User Manual
Epson HOME CINEMA 3800
User Manual
-
Epson HOME CINEMA 3800
Manual
-
 Epson B11B252201
User Manual
Epson B11B252201
User Manual
-
Epson C11CJ91201
User Manual
-
 Epson WF 7210
Installation Manual
Epson WF 7210
Installation Manual
-
Epson WF 7210
Manual
-
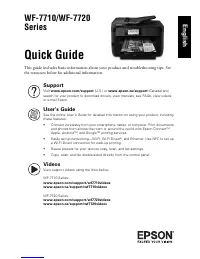 Epson WF 7720
User Manual
Epson WF 7720
User Manual
-
 Epson ET 2750
User Manual
Epson ET 2750
User Manual
-
 Epson ET 7700
User Manual
Epson ET 7700
User Manual
-
Epson ET 7700
Manual
-
Epson ET 7700
Troubleshooting Guide
-
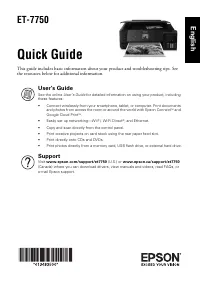 Epson ET 7750
Troubleshooting Guide
Epson ET 7750
Troubleshooting Guide